
Next lesson playing in 5 seconds
CancelHow to Design Flat Icons in Affinity Designer
Introduction
01:17
This course will show you in detail the process of creating flat vector icons in Affinity Designer. You will learn useful tips and tricks of working with basic geometric shapes, modifying them, and using various operations to combine the shapes. You'll also discover how to align and arrange the objects, and you'll get used to the main functions of the program.
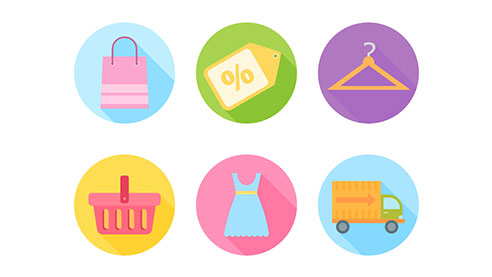
By the end of this course, you’ll have created six shopping icons and will be able to use the described techniques either to expand the set or to make a new one. Let’s get started!
1.Introduction1 lesson, 01:17
1 lesson, 01:17
1.1Introduction01:17
1.1
Introduction
01:17
2.Creating Flat Shopping Icons 6 lessons, 38:56
6 lessons, 38:56
2.1Shopping Bag Icon07:13
2.1
Shopping Bag Icon
07:13
2.2Discount Badge Icon07:01
2.2
Discount Badge Icon
07:01
2.3Hanger Icon05:21
2.3
Hanger Icon
05:21
2.4Shopping Basket Icon06:07
2.4
Shopping Basket Icon
06:07
2.5Dress Icon05:33
2.5
Dress Icon
05:33
2.6Cargo Truck Icon07:41
2.6
Cargo Truck Icon
07:41
3.Conclusion1 lesson, 01:36
1 lesson, 01:36
3.1Conclusion01:36
3.1
Conclusion
01:36
Hi! I'm Yulia Sokolova, a 2D/3D Senior Character Artist in games and a 3D Modeling Instructor at Coco School in Spain and in VertexSchool online.
Sharing my knowledge and creating easy-to-follow tutorials is my true passion. I'm mainly focused on character design, icons, lettering design, and illustrations. I've been working with Disney, Adobe, SEGA, Digital Sun Games, Beresnev Games, NineZyme and many others!
Here at Envato I'm writing tutorials and blog articles about Spline, Adobe Illustrator, Adobe Photoshop, Affinity Designer, and CorelDRAW, and I hope you will find some useful tips and tricks and get inspired to try out some new tools and create amazing artworks!
Enjoy!


