
 Lessons: 10Length: 1.6 hours
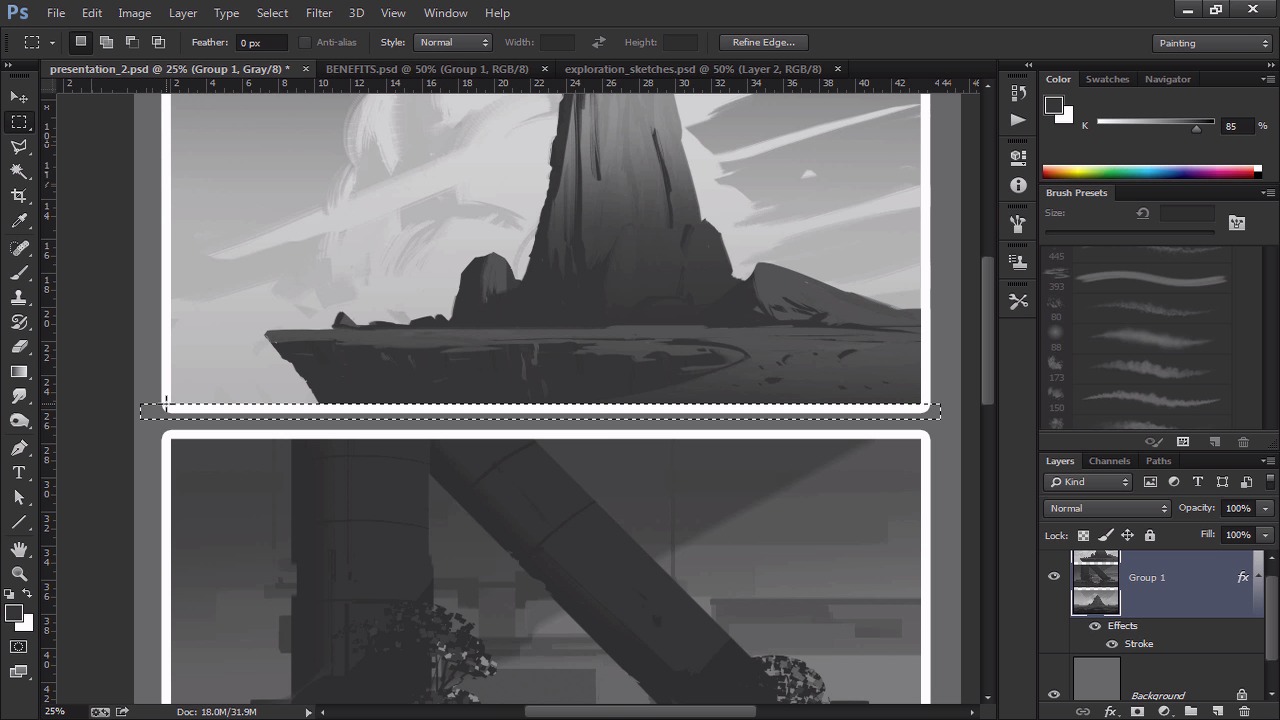
- Overview
- Transcript
2.5 Presentation
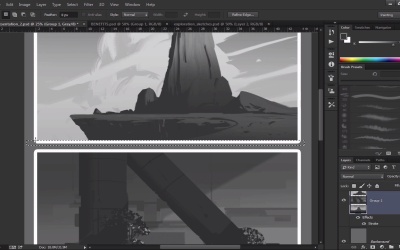
Now that we've added all the finished touches, we have to arrange the thumbnails so that they can be presented to a potential client. So we will put them all together, number them, and make sure everything is cropped to our liking. This is a good habit to acquire, as it will make your work feel even more professional.
1.Introduction
1.1Introduction01:13
1.2Benefits of Thumbnail Sketching07:49
1.3Gathering References/Inspiration06:30
1.4Exploration Sketching11:22
2.Thumbnail Sketching in Adobe Photoshop
2.1Thumbnail Number 115:00
2.2Thumbnail Number 214:56
2.3Thumbnail Number 315:01
2.4Evaluation/Finishing Touches15:12
2.5Presentation04:49
3.Conclusion
3.1Overview01:43
2.5 Presentation
All right, so we are pretty much finished. So what then, about what, 45 minutes? Each of these took 15 minutes, so, but in 45 minutes, we did three environment thumbnail sketches, which is pretty good timing. And I guess if you wanna add in the research and then the exploration sketches, it's pretty much about an hour. And that's a pretty good work time in terms of like, producing sketches that you can show to your boss and within the hour, so you get to work at 10. If you start work right away, by 11, you can show him something and then he can pick something and say, you know what, I really like the middle one. And the next thing you guys know you guys can go off to produce some more sketches. Or you can say, you know what, really finish this one out and then you spend the rest of the day finishing out a sketch. So for me, usually I like to do at least like three to six, and then I show the boss and then show the client and they pick one and I usually go from there. And then once you pick one, you can render it all out. But before we show the boss, before we show the client, we wanna kind of get everything in in kind of presentation mode so that way, it looks as nice as possible. Though it's not really important to me, that usually the work should kind of speak for itself. Sometimes that kind of presentation stuff can kind of help people that aren't artists, and they can kind of sell people on certain things. So let's actually do that. So, I actually merged all the layers down right here so we have that. But don't worry, you'll have the actual presentation file with all the drawings as well, so you have that for yourself too. But I merged these all down and I'm actually gonna merge it down even further. So we just have them all right there, and so now, we have all the layers. What I'm gonna do is I'm actually gonna go to Effects. I wanna go to Stroke. And I wanna add a nice little border to it. So I'm gonna make it white. And we'll make that just a little bit brighter. I guess something like that could be nice. So for whatever reason, there's actually some kind of thing happening there. And this is where the presentation mode kinda comes in, you have to kind of make sure that everything is as clean as possible. So you wanna go in there and delete any kind of straggling pixels, any kind of stuff like that. So it just looks like, that this list line right here wasn't that flat. So we wanna do that. So there we go. So we have all that in there, it looks pretty nice. Let's go to the stroke effect. Position, outside, opacity, blend, it looks like everything is good. I'm gonna make it a little bit smaller. And then, yeah, something like that. And there we go, so we have kind of this nice little edge to it. And you know what, I'm gonna make it a little bit smaller, I don't want it to be that much. But there we go. So we have that. The next thing I wanna do is I wanna number them. I'm just gonna put a number in the bottom lefthand corner. That just makes it easier for clients whenever you're sending these through emails, that kind of stuff. Sometimes clients are gonna be like, you know what, I like number one, number two, especially if you're doing a lot of sketches. So usually in the bottom righthand corner, I just put number one, number two, and number three. Just like that. Very, very nice. And then if you want, you can actually add a little title. You know, you can make this a little bit bigger actually. So I'll actually make this a tad bit bigger. So I'm just gonna do that, like so. Granted the background color was white, so that's why I was gonna fill it with white. But we're just gonna sample this color and fill it back so we have that. And you can kind of write exploration sketches, all that kind of stuff. But what I like to do, it's like it's gonna make a little line. I usually put it in the bottom lefthand corner. And I'll just sign it, just so they know who did it. So hopefully if they like it, they'll remember my name. If they don't like it, then they can know who to blame. All that kind of stuff. And so usually, I just write very, very small, I can probably make this a little bit smaller. I don't want to kind of detract from the actual sketches. I can just write Kalen. And then it's 2015, so, just so we know the date. So you can kinda look back at this and kind of reminisce on good times when you're watching this tutorial and be like, oh, some good times in 2015. So there we go. So then we have all that right there. And that to me is kind of a nice presentation. You can show this to a client, to your boss. And then they can give you some feedback and all that kind of fun stuff. So that's pretty much it. Hopefully that made sense, and I will see you guys over at the conclusion video, okay? See you then.


