
 Lessons: 7Length: 38 minutes
- Overview
- Transcript
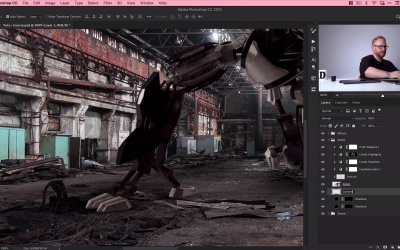
2.4 Shadows and Glow
In this lesson, we’ll look at ways to enhance and create shadows in our photo manipulation, as well as creating glow effects on our subject. These are very useful digital compositing techniques to learn.
2.4 Shadows and Glow
Hello, welcome back to the course. In this lesson we're gonna take a look at adding some shadows and some glow effects to our robot in our composite. So let's jump back into it. Right here, so this is where we left off. We have our robot and our scene. Now, we're going to accentuate the eyes with some glow effects and work on the shadows around the hand and the feet. So first of all, let's do the shadows. So click on our Shadows layer. Remember, these are existing shadows that we brought in, we can actually duplicate that there by pressing Cmd or Ctrl+J, and it makes us a bit more pronounced. So that's a pretty quick win. Over here that we don't really have a shadow, so let's add a new layer from the bottom of the last panel. And I'm gonna use one of Photoshop's soft round pressure opacity brushes. Now, you can adjust the hardness depending on how hard you would like the edge of your shadow to be. You could go for 100%, which would look quite terrible. [LAUGH] So if I just bring this brush down in size, remember you can adjust the size of your brush using the left and right square brackets on the keyboard. That is a bit too hard, so I'm gonna just go for a hardness with about 30%. And you can see it softens the edge considerably. So what I'm gonna do is actually change my round brush. I just bring this down over here. I can just squash this down. And that's just the size of that. And it gives me a much more shadow kind of S brush. So what are these shadows here are kind of coming out from the right to the left. So now with my brush I can actually, and this does take a little practice. I can just brush in some shadows of my own. And you can spend a lot more time doing this, and then you can use the erase it all as well if you want to just finesse those shadows. So that's a really, really quick way that you can add some shadows. And I'll just call this layer Custom Shadows, just so I don't get mixed up. [MUSIC] And I could even add a little bit more, something really soft just around here, something like that. And then I could bring the opacity down if I wanted to, to 90% just so it's not total blackness. But there we go that's a pretty quick job and it looks pretty effective. So next we're gonna go and add a glow to the eyes. So what I'm gonna do is I'm gonna go above all of my other layers because I don't want those color balance and levels and all that are effecting what I'm about to do. So I'm putting this right at the top. So I'll create a new adjustment layer and we'll go with solid color. You can do this with a brush, but I'm doing this with a color because well, I'll show you why in a moment. So I'm gonna go with blue, I can actually hide this and just sample the same color blue here and bring this up so it's a bit more punchy. And then remember click on the Layer Mask and go Cmd or Ctrl+I, if you hide that completely. And then I can use white and well I'm gonna make sure my brush is perfectly round again, so I'll just click on other brush and go back to you soft round pressure opacity brush. I've got my hardness at 0 now, and I'm just going to click, make the brush every so slightly bigger than what you're trying to add the glow to. I'm just gonna click, click, click, click, a bit smaller over here, click, click, click, click. And then what I can actually do as well is I could change the blending mode to something else. So you get that live preview here. And if I go for hard light for example, and just maybe bring your pasty down just a tiny bit, you can see that we very quickly and easily added a glow to our robot's eyes. And then we got it, so some shadow effects and some glow effects. That was it for this lesson, and I'll see you in the next one.


