
 Lessons: 7Length: 38 minutes
- Overview
- Transcript
2.3 Adding Textures
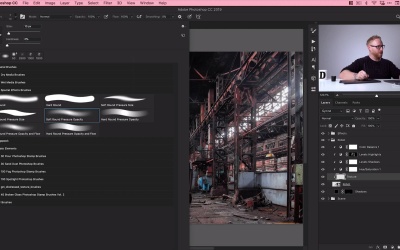
In this lesson, you’ll learn how to apply a texture to the surface of our subject. This is a great technique for adding consistency to the elements in our design and creating a realistic photo manipulation. It's a must when doing photo compositing in Photoshop.
2.3 Adding Textures
Okay, so you're back for more. So in this lesson, we're gonna look at taking our robot, adding some distressed texture with some awesome brushes from Envato Elements. So we'll jump into that now and get started. Okey-dokey, so this is where we left off. Of course, we're gonna start by going to File > Save. Now, what we're gonna do is add some distressed texture to our robot. You can see he is very, very clean, pristine, you might say. And our background, well, it's a little bit rusted and disheveled. So we need to kind of match our robot with our scene, and just rust him up a bit with a bit of texture. Now, there's lots of different ways you can apply texture. What I'm going to do is with a brush. So if we click on our robot layer, we can click on the New Layer icon from the bottom of the Layers panel, and it creates a new layer. Now, because we created this in between some existing adjustment layers and our robot there, it automatically just applies that as a clipping mask. And I'm gonna double-click this and call this Texture. So what I can do is I can pick a color for this texture. I'm gonna stick with black and use the Brush tool. Now, if you've ever installed any brushes in Photoshop before, you can click on this drop-down here to get the Brush panel up. And then go up to the cog, go down to Import Brushes, and then just navigate to a .abr file. So the brushes that I'm gonna use in this course, what I'll do is I'll include those in the course notes. But yeah, any ABR file, you just double-click that, or go and import it like this, and it will bring it into your Brushes panel. So you can see in Envato Elements, I've got quite a few here. We're not gonna be using all of them in this course, but we've got a few of my favorites. So distressed texture brushes, we have plenty to choose from. I'm just gonna click on one. And you can see, if I just click, it adds a bunch of texture. In fact, I'll just make a new layer really quickly so you can see this brush in all its glory. So I can brush in texture like so. And then I can pick maybe a different one, and it adds a slightly different texture. And you can resize these brushes like you can with anything. This one's quite nice, okay, so we'll go with that. So let's go back to our Texture layer. I'm gonna bring the brush size down. You can see it looks something like this, and I'm just gonna click in a few places, and just add some texture. You can see, literally, how easy that was. And you could spend ages doing this. We could really mess up our robot here. But he's not that damaged, he's not that worn down, so I'm gonna undo that a little bit. So there we go, we got some texture. We can turn that off and back on. Now, we could leave that as completely black. But to blend this even more with our robot, our subject, what we can do is change the blending mode from Normal to something else. Now, Overlay and Soft Light are pretty good. So if I go to Soft Light and just zoom in, you can see here, we've gone from just solid black to then blending that with our robot. And we could even bring the opacity down up here from the top of the Layers panel, if we wanted to make it a bit more subtle. So I could go for 80%, so it depends entirely on what you're going for. Okay, so that wraps up that lesson, a quick look at brushes, and how you can use some of them to add texture, some grittiness to an object in your scene. And yeah, so I look forward to seeing you in the next lesson.


