
 Lessons: 13Length: 1.2 hours
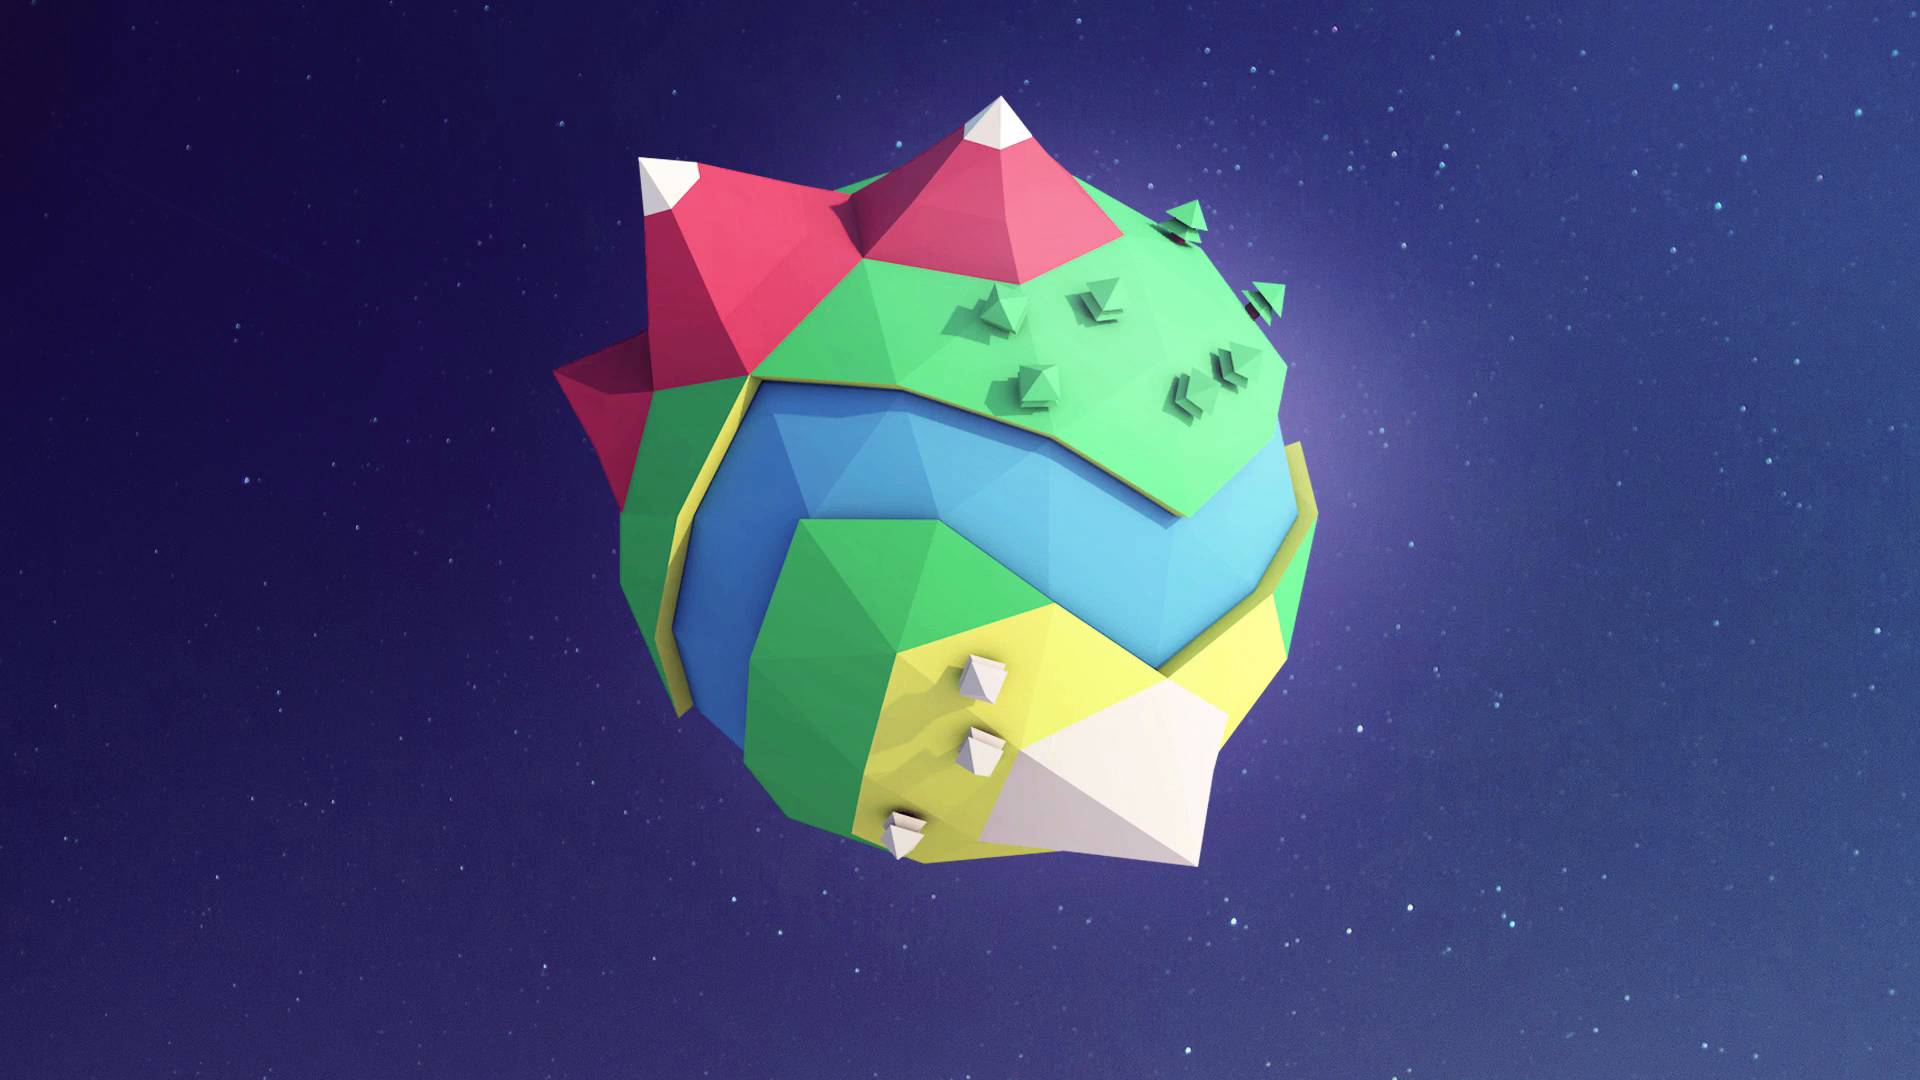

- Overview
- Transcript
6.1 Thanks for Watching!
In this video, we’ll go through what we’ve learned in the course, and I’ll give you my final thoughts on the process of creating our low poly moon in Cinema 4D. I hope you’ve learned something during the process! My name’s Jonathan Lam, and from all of us here at Envato Tuts+, thanks for watching.
1.Introduction
1.1Welcome to the Course00:40
2.Cinema 4D Tools
2.1Cinema 4D Setup05:43
2.2How to Create Basic Shapes05:48
3.Modelling the Moon
3.1How to Edit a Sphere06:02
3.2How to Extrude the Craters09:29
3.3Creating Moon Craters09:43
3.4How to Create the Moon Materials03:55
4.Lighting and Rendering
4.1How to Create Different Lighting Setups05:46
4.2How to Use the Camera Tool02:57
4.3How to Render the Moon02:52
5.Editing in Photoshop
5.1How to Import the Render Into Adobe Photoshop11:01
5.2Final Touches09:32
6.Conclusion
6.1Thanks for Watching!00:58
6.1 Thanks for Watching!
So with that, we've come to the end of the create a low poly moon in Cinema 4D course. So now that you know the basics of how to create and adjust shapes to create a moon, you can experiment by creating similar types of models, such as creating other planets. The great thing about constructing models in 3D, is that you can easily come back to the model to make some adjustments, and edit the shapes later on. I hope you've learned a lot from these demos, and that you can apply these skills to your own work flows. I hope that you've learned some new things in 3D that you haven't been able to use before, and that you can use them to create your own future illustrations and designs. I had a lot of fun creating this course. So thanks for watching. Good luck creating your own 3D low poly moons, and planets, and I'll see you next time on Tuts Plus.


