
 Lessons: 15Length: 1 hour
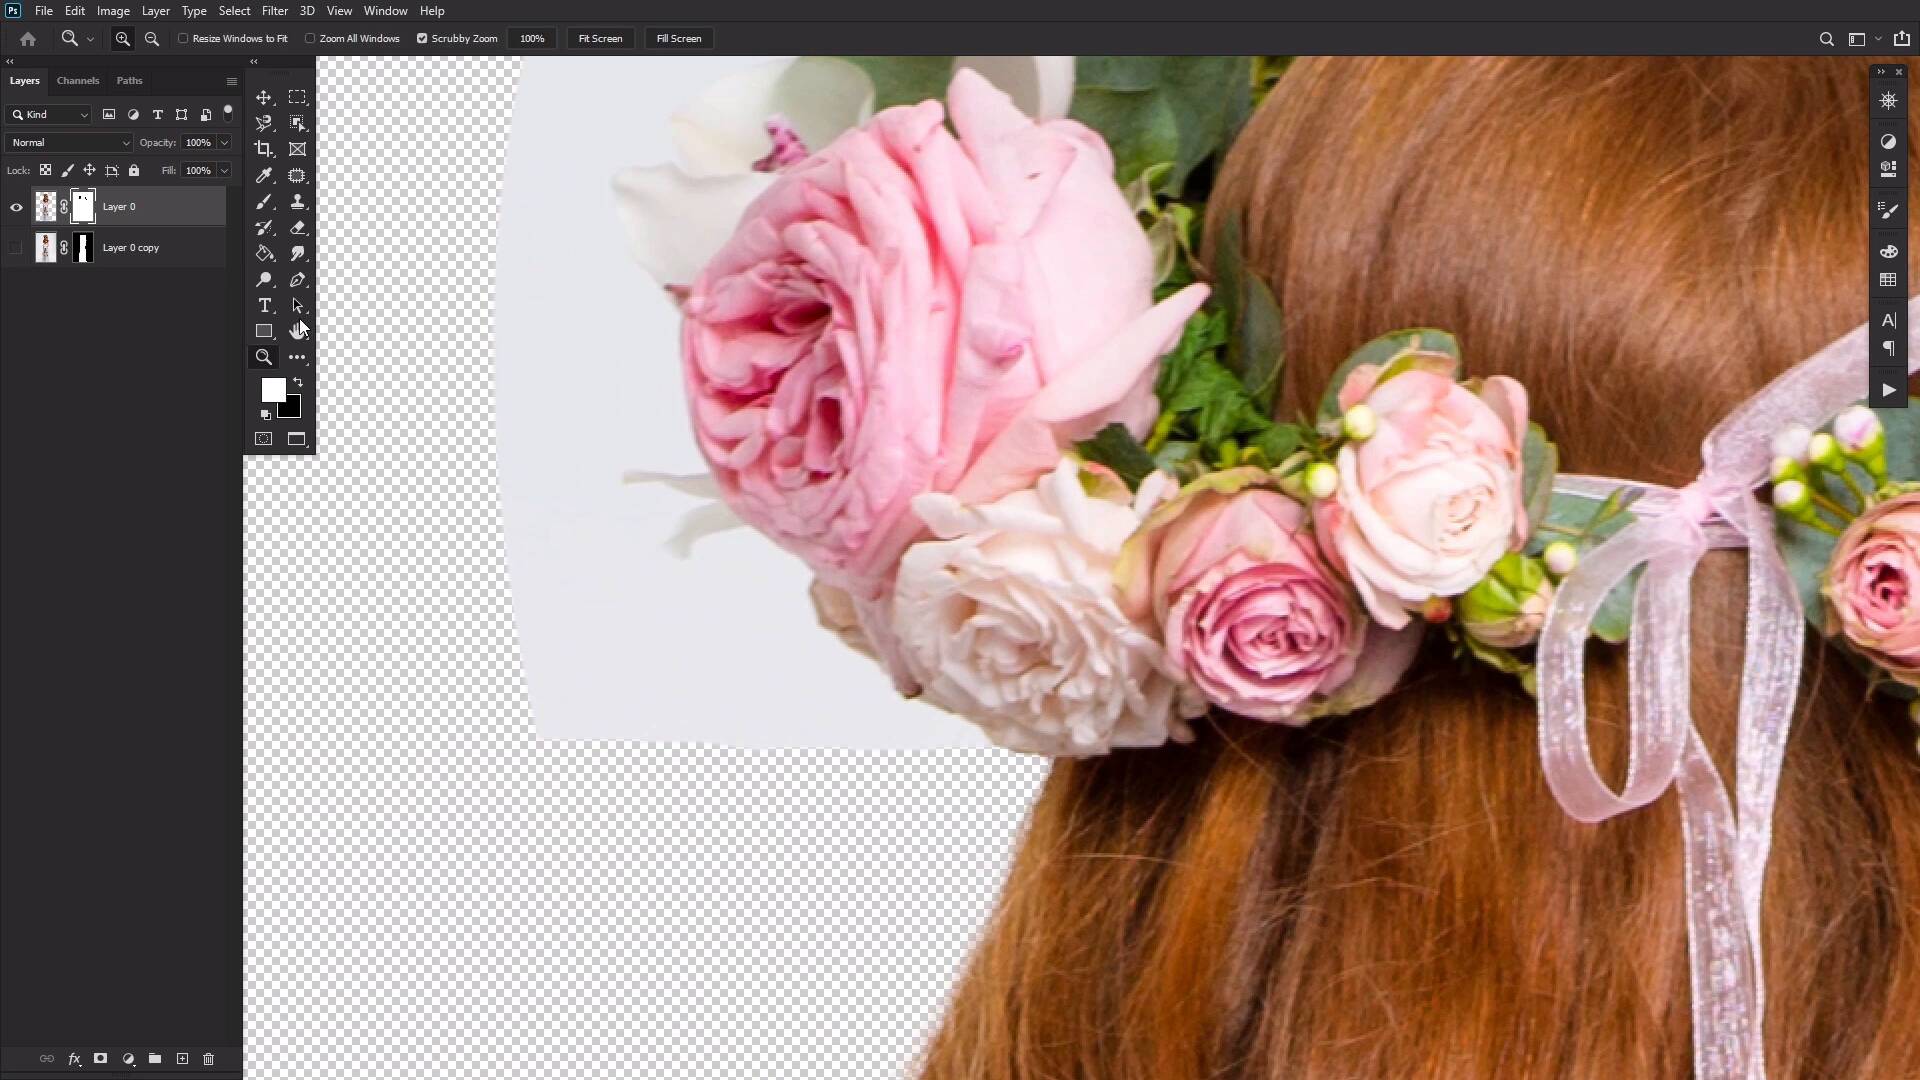
- Overview
- Transcript
3.3 How to Select Hair in Photoshop
In this lesson, we will take a quick look at Photoshop hair selection, looking at how to extract hair using the Selection Tool and the Refine Mask Tool.
Related Links
- Photos on Envato Elements
- Woman in Wreath Standing and Hiding Bouquet
1.Introduction
1.1Introduction00:55
1.2Setting Up Photoshop and Choosing the Right Resources05:25
2.Creating a Landscape
2.1Sky Replacement in Photoshop03:13
2.2Adding Stars and a Planet to the Sky04:19
3.Compositing a Subject
3.1Image Compositing in Photoshop06:28
3.2How to Cut Out an Image in Photoshop Using the Pen Tool03:04
3.3How to Select Hair in Photoshop03:05
3.4How to Use the Object Selection Tool in Photoshop03:12
3.5How to Blend in Photoshop Using Layer Modes 03:01
3.6Lighting Effects in Photoshop10:52
4.Adding Details
4.1Painting Simple Details 05:35
4.2Painting With Adjustment Layers03:01
4.3Creating Depth05:06
5.Color Correction in Photoshop
5.1Color Grading in Photoshop04:01
6.Conclusion
6.1Conclusion01:12
3.3 How to Select Hair in Photoshop
Welcome back to Introduction to Photo Manipulation in Adobe Photoshop. In this video, we'll learn how to extract a subject's hair. Extracting hair is probably both my favorite and least favorite thing to do. Luckily, however, our model today has very little hair to extract and the process won't be all that much different than when we extracted our hilly green landscape. Let's start by creating a quick selection and mask of our subject's hair using the magnetic lasso tool, just as we did earlier with our greenery. Let's go ahead and ignore the flowers here. Now let's double-click the mask and hit Select N Mask opening up at the Refine Edge. Make sure the Smart Radius is checked, the Refine Edge brush is active, and the radius is set to three pixels. Now drag your brush across the edges of the hair. If you find you have a hard time seeing it, you can go change the view in the upper right-hand corner here. Once happy, go ahead and click OK. Finally, let's deal with these flowers using the Pen tool. Feel free to clip out any petals or leaves that you think are a bit wonky-looking. And once you're done, you can right-click Fill path and then right-click Delete path. And, with this, another favorite trick of mine is to use the Smudge tool set to around 25 strength and nudge in the mask just slightly. This will not only give you a much more organic looking edge, but it will help fix any white edges that are peeking through that you might have missed while creating your path. Usually edges like this tend to hide behind the Pen Tool path, so they are very, very, very easy to miss and sometimes can be incredibly frustrating. [LAUGH] Go ahead and drag and drop our subject on to their new landscape using the move and transform tools to size them down. Now as much as I love the Pen Tool, it's not always the right choice for the job. Coming up, let's look at what tools work best where and put the object selection tool to work in Introduction to Photo Manipulation in Adobe Photoshop.


