
 Lessons: 7Length: 36 minutes
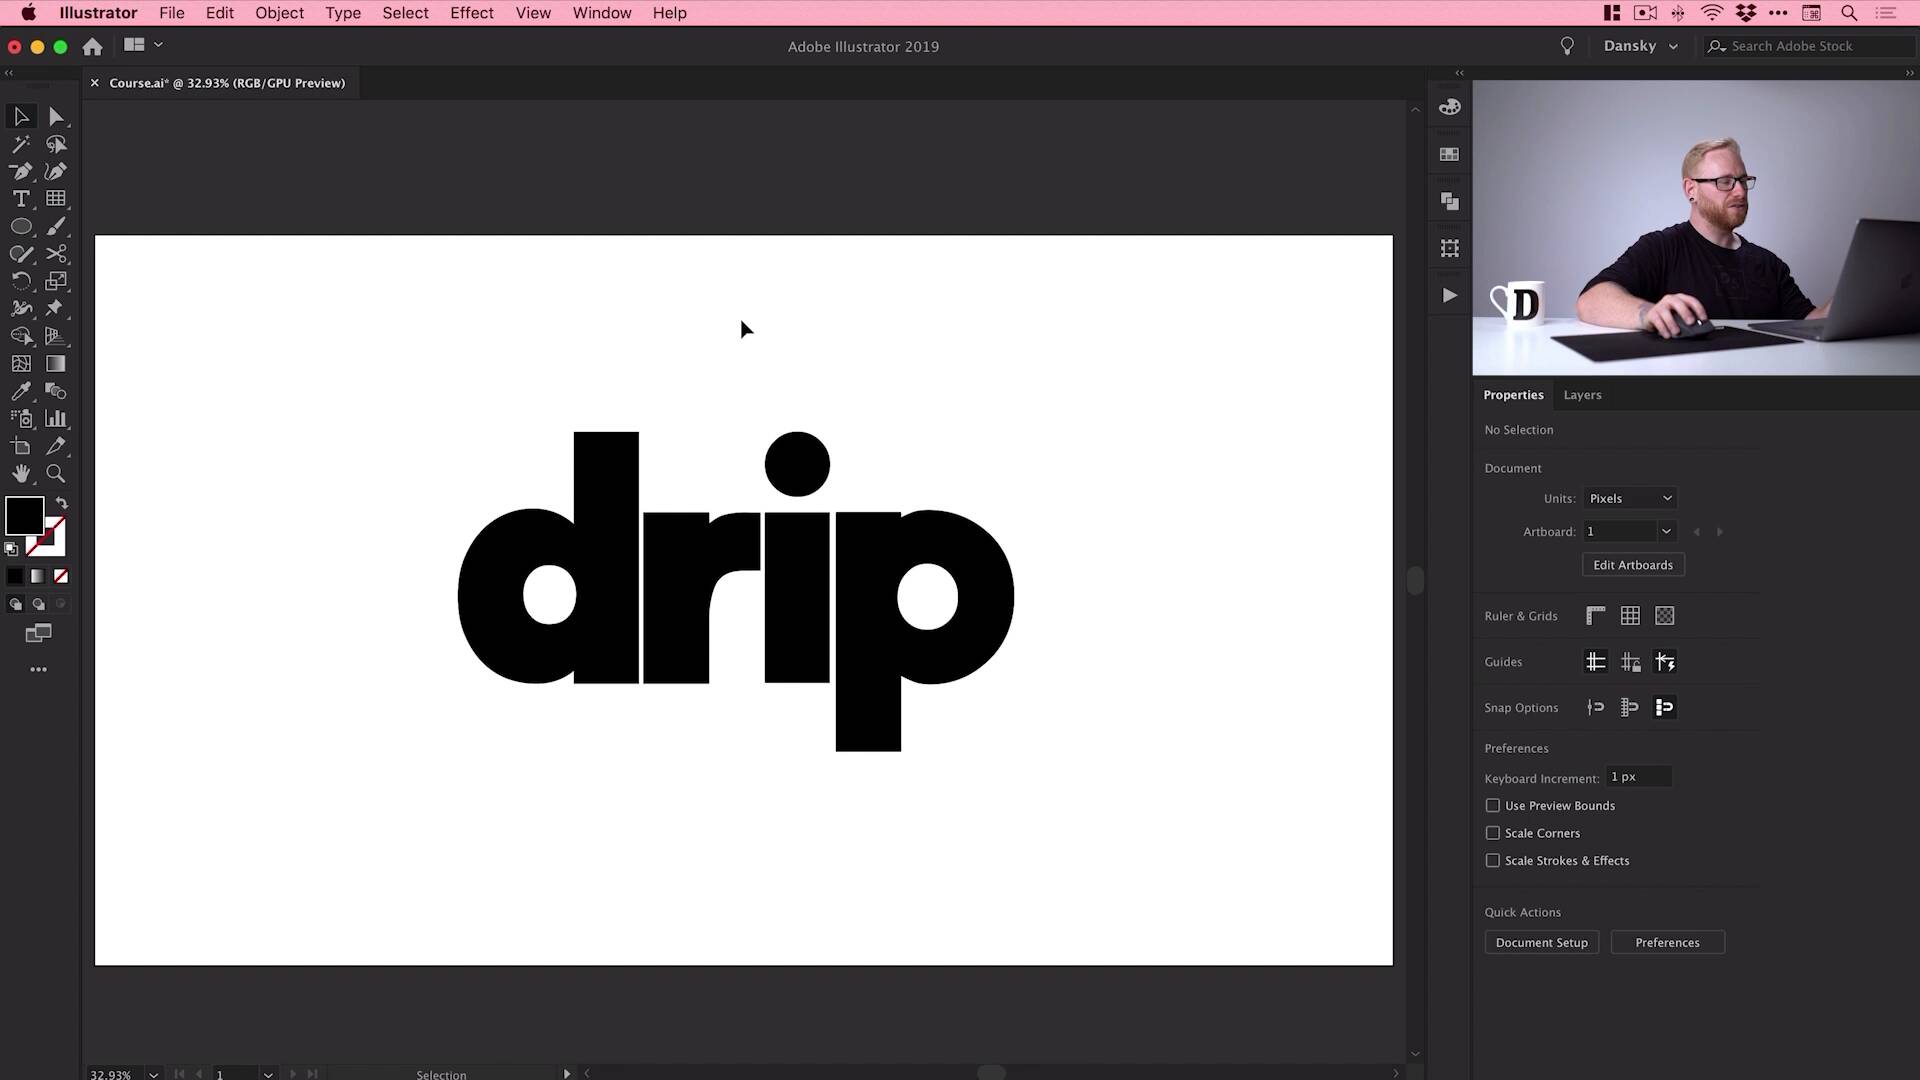
- Overview
- Transcript
2.3 How to Make Isometric Text
Having prepared our grid, it’s now time to learn how to make isometric text and objects. You'll learn an easy way to make isometric text in this video.
1.Introduction
1.1Welcome to the Course00:45
2.Designing the Isometric Text Effect
2.1Setting Up Our Project02:19
2.2How to Make an Isometric Grid in Illustrator04:31
2.3How to Make Isometric Text02:41
2.4Adding Layers and Colour08:36
2.5How to Add Shadow to Text in Illustrator09:53
2.6Illustrator Freeform Gradients07:01
2.3 How to Make Isometric Text
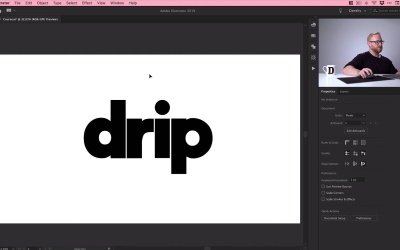
Hey there, welcome back to the course. In this lesson, we're gonna add our text and make it isometric. So we'll jump back into Illustrator now. You can see this is where we left off, we have our text layer selected here. So first things first, let's grab that Type tool, click anywhere on the artboard, and we'll type some text. I'm using the word drip, I just thought the word drip looked pretty cool in this font. But you can, of course, use any font and any word that you like. So from the character panel over here, in the Property Inspector, I'm just going to type Indigo. Do a search for that font I downloaded from Envato Elements, and I'm gonna scale it down, holding Shift. If I don't hold Shift, it will do this and skew out of shape, that's not what we want. And I'll pop that in the middle there. And for the next step, it's important to make sure that you're happy with your font properties. Your font size, any letter spacing, all that stuff. Because the next step, we're gonna convert this to outlines, so Illustrator won't register this as editable text anymore. So just make sure you're happy with your text before going on to this next step. So we'll go up to Type, down to Create Outlines. And if I jump into Outline Mode, that's Cmd or Ctrl+Y on the keyboard, you'll see essentially a style-less wireframe of our document. So we can see that these are just shapes now. [MUSIC] So what we can do with this now is, we can actually select the text. And again, we can repeat that process for creating the isometric grid. So we'll go over here to the Transform panel, change the height to 86.602%, press Return. And then click on the More Options icon, and we'll shear that by -30, [MUSIC] And then we'll rotate by 30, and there we go, we have our isometric text. And what we can do is open up our Layers panel. And if you are using the isometric grid, you could maybe scale this down a little bit. And you can see here that everything lines up, so that's all good. It's trying to snap to lots of random things. So if we go up to View, we've got Snap to Pixel turned on. So I'm just gonna make sure that I go to View again, and we'll turn on Snap to Point. Because when we come to the next lesson, adding color and things, and creating shadows a bit further on, it's gonna make life much easier with Snap to Point turned on. So, we'll turn that one on, we actually won't need our grid for the remainder of the course, but it's there if you would need it. So we can turn that off, and there we go, so that wraps up the end of the lesson. In the next one, we're gonna take a look at adding some color and the layer effect to our text.


