

A zine is a smaller-format magazine template. An Adobe InDesign zine template is the perfect place to share your creativity and showcase your talents, like your poems or stories, in a fun and quirky way.
However, if you don't know how to create a zine template in InDesign, worry not. If you're keen on learning about making a zine InDesign template, here's a tutorial to help you out.


Jump to content in this section:
If you love video tutorials, then you can't miss this new video by Ashlee Harrell from the Envato Tuts+ YouTube channel! Learn how to create a zine by following this tutorial:

Looking for more magazine templates? You can find more stylish InDesign magazine templates on Envato Elements.

 27 New Magazine Templates for 2024 (PSD & InDesign Templates)


 25+ Best Stylish Adobe InDesign Magazine Templates (New for 2024)
What You’ll Need to Learn How to Make a Zine in InDesign
Here's what we'll be using in the process of making a zine template in InDesign. You’ll also need to download the following fonts and backgrounds to use in your Adobe InDesign zine template:
The photos* used in the Adobe InDesign zine template as pictured here are:
- Young man in plaid shirt
- Old wooden houses in Norway
- Woman posing outdoors 1
- Woman posing outdoors 2
- Wooden fishing boats
* Feel free to swap in your own images to create a unique design for your zine template in InDesign.
Install the fonts on your computer, and you’re ready to start putting together your Adobe InDesign zine template.
1. How to Set Up a Document for Making a Zine Template
Step 1
The first step in learning how to make a zine in InDesign is to simply set up a document for it.
Open InDesign and go to File > New > Document. Choose Print from the options at the top of the window, and set the Page Size to A5. Increase the number of Pages to 12, and keep Facing Pages checked.
Set the Top and Bottom Margins of the pages to 19 mm, the Bottom to 21 mm, and the Inside to a more generous 25 mm. Add a Bleed of 5 mm to all edges of the pages, except for the Inside edge, which you should keep at 0 mm.


Then click Create.
Step 2
Expand the Layers panel (Window > Layers) and double-click on Layer 1, renaming it Marble.
Create three more new layers in this order: Frames, Photos, and finally Text at the top of the pile.


Step 3
The first two pages of the zine layout in inDesign won’t feature page numbers (with the first page being the front cover), and we can make the first right-facing page (currently Page 3) the first numbered page.
To do this, go to the Layers panel (Window > Layers) and on the Page 3 icon, Right-Click > Numbering & Section Options.


Check Start Page Numbering at, and keep this as 1. Then click OK.


A warning message will flag up about duplicating page numbers. We’re going to remedy this in the next step, so just click OK.


Step 4
On the original Page 1 icon (the very first page of the document), Right-Click > Numbering & Section Options.


As before, check Start Page Numbering at, and keep this as 1.
But this time, from the Style menu under the Page Numbering options below, choose lowercase Roman numerals. Then click OK.


Now the first two pages of the document will be listed as ‘i’ and ‘ii’, with Page 1 now starting on the third page of the document.


Step 5
Double-click on the A-Master icon at the top of the Pages panel to bring up the master spread on screen.


Lock all the layers except the top layer, Text.


Step 6
Use the Type Tool (T) to create a small text frame across the bottom of the left-hand page of the master. Set your type cursor into the text frame and head up to Type on the top main menu and Insert Special Character > Markers > Current Page Number.
Highlight the text or select the text frame and, from either the top Controls panel or the Character and Paragraph panels (Window > Type & Tables > Character / Paragraph), set the Font to Riveruta, Size 12 pt, and Align Center.


Select the text frame and Edit > Copy, Edit > Paste it, moving the copy over to the right-hand page of the master.


Step 7
Right-Click on the [None] master icon at the top of the Pages panel and choose Apply Master to Pages.


Type ‘i, ii’ into the To Pages text box, and click OK.


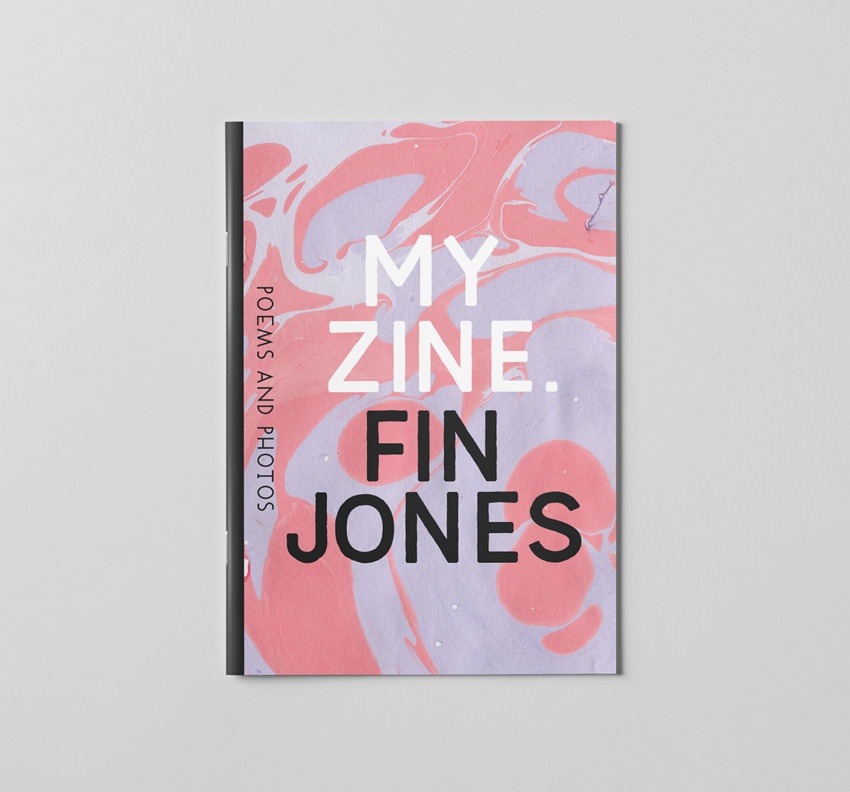
2. How to Create a Front Cover for Your Zine Template
Next up, we'll move into creating a front cover in this tutorial for how to create a zine template.
Step 1
Click on the Page i icon in the Pages panel to bring up the first page of your document on screen.
Lock the Text layer and unlock the bottom layer, Marble.


Step 2
Use the Rectangle Frame Tool (F) to create an image frame across the whole page, extending the edges up to the bleed edge on the top, right and bottom sides.


Go to File > Place, and navigate to the pack of marble ink backgrounds you downloaded earlier. Choose one of the images and Open it.


Step 3
Lock the Marble layer and unlock the Frames layer above.
Switch to the Rectangle Tool (M) and create a tall ‘spine’ shape across the left edge of the cover, setting the Fill to [Black].


Step 4
Lock the Frames layer and unlock the Type layer.
Use the Type Tool (T) to create a series of text frames across the page, typing in the title and author in your zine layout in InDesign. Set the Font to Lumber, Size 108 pt, and Align Center.


Adjust the Font Color of the zine title to [Paper].


Step 5
Create a smaller text frame, typing in a subtitle and setting the Font to Riveruta, Size 25 pt and Align Center.


On the text frame, Right-Click > Transform > Rotate 90 Degrees CW.


Position the frame along the left edge of the page, close to the black spine.


3. How to Add Text and Marble to the Pages of Your Zine
We're still moving in this tutorial on how to make a zine in InDesign.
Step 1
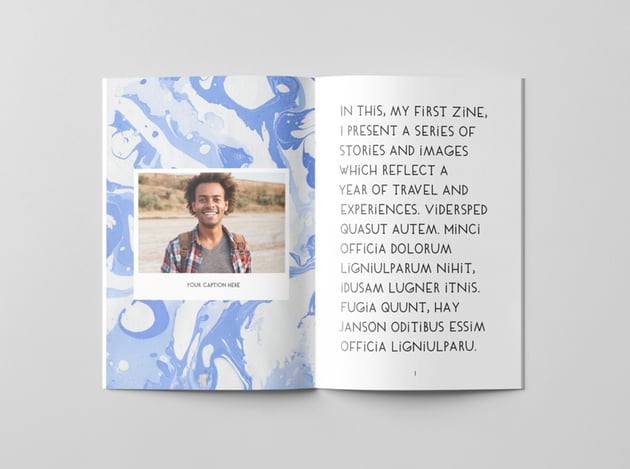
Scroll down to the first facing spread of your document.


Working on the Text layer use the Type Tool (T) to create a large text frame across Page 1, using the margins as a guide for sizing the frame.
Here you can type in introductory text, or alternatively go to Type > Fill with Placeholder Text to drop in filler text for now.
Set the Font to Riveruta, Size 27 pt, Leading (line-spacing) to 37 pt and set the text to Align towards Spine.


Step 2
On the Marble layer, create an image frame across the left-hand page using the Rectangle Frame Tool (F) and File > Place a different marble background into the frame.


Step 3
On the next spread down, Pages 2 and 3, add a different marble background across the whole spread.


Do the same for Pages 4 and 5.


Step 4
Select the marble image on Pages 4 and 5 and Edit > Copy it.
Scroll down to the next spread, Pages 6 and 7, and Edit > Paste in Place.
Pull back the left and right edges of the image frame so that the marble just sits in the central gutter of the spread.


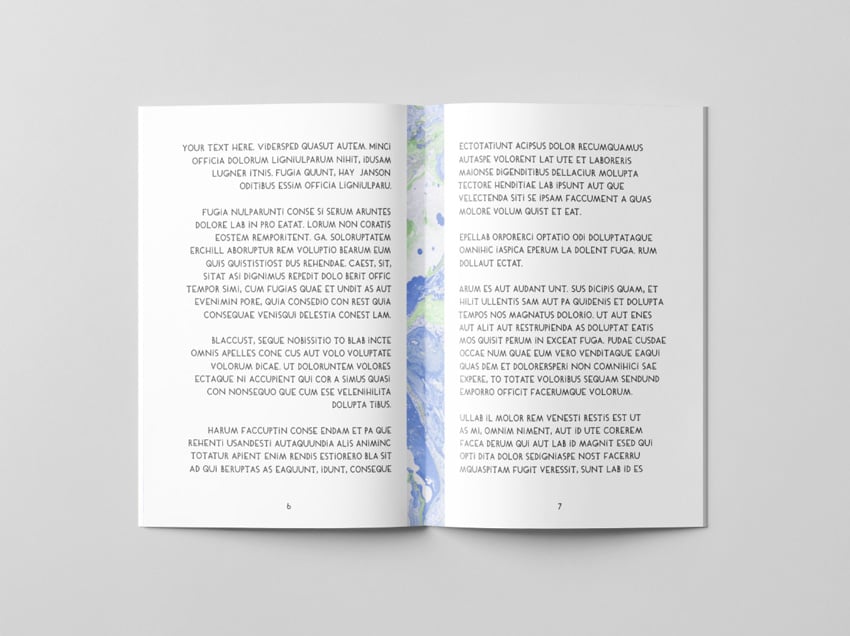
Step 5
Create a new text frame on Page 6. Here you can type in or Edit > Paste body text from a Word document.
Set the Font to Riveruta, Size 13 pt, Leading 18 pt, and Align towards Spine.


Click on the small square symbol at the bottom-right of the text frame to pick up the text and click on the right-hand page (Page 7) to drop this into a new threaded text frame.


Repeat the process, picking up text from the Page 7 text frame and threading this into a new text frame on the next page down, Page 8.


Add a marble image across the facing page, Page 9.


Step 6
Edit > Copy the marble image and black spine from the front cover and Edit > Paste this onto the final page of the document.
Right-Click > Transform > Flip Horizontal to flip it into a mirrored position.


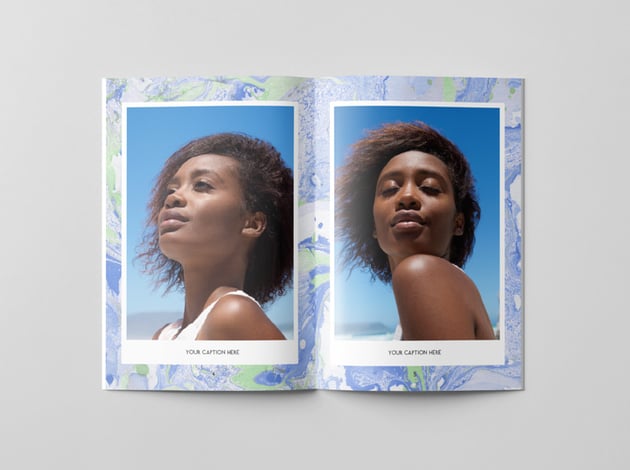
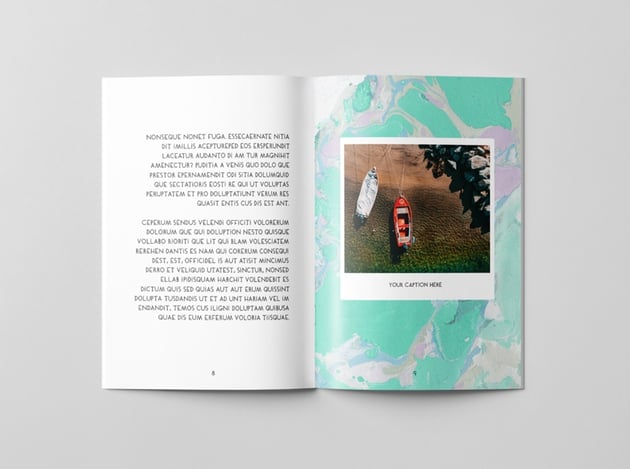
4. How to Add Polaroid-Style Images to Your Zine Template
No magazine would be complete without the right images. Let's learn how to add them in this post about how to create a zine.
Step 1
Scroll up to Page ii in your zine template, and unlock the Frames layer.
Use the Rectangle Tool (M) to create a shape in the center of the page, setting the Fill to [Paper].


Use the Rectangle Frame Tool (F) to create an image frame over the top of this, allowing a small amount of white space below. File > Place, and drop in a photo of your choice.


Add a caption below the image on the Text layer, set in Riveruta, Size 11 pt.


Step 2
You can use this first ‘polaroid’ as a template for populating the rest of your zine with images.
Select and Copy the white frame, photo and caption from the Frames, Photos and Text layers, and Paste onto other pages where you have a marble background.


5. How to Export Your Zine for Printing
We're basically done learning how to make a zine in InDesign. When your zine is finished, you can export it to a PDF format ready for printing.
Step 1
Go to File > Export. Choose Adobe PDF (Print) from the Format menu at the bottom of the window, name your PDF file, and click Save.
In the Export Adobe PDF window that opens, choose [Press Quality] from the Preset menu at the top. Make sure that Pages is selected under the Export As options.


Step 2
Click on Marks and Bleeds in the window’s left-hand menu.
Check both All Printer’s Marks and Use Document Bleed Settings, before clicking Export.


Awesome work! You can send this PDF straight off to be printed.


You're Done Making a Zine Magazine Cover
In this tutorial on how to create a zine template, we’ve covered a wide range of print design techniques for making a zine layout in InDesign that's stylish and effective. You now know how to:
- Create page numbers, sectioning, and layers in your InDesign document.
- Give your zine a consistent and stylish look using backgrounds and fonts.
- Add cool polaroid-style images to your zine template.
- Export your zine to create a PDF you can have professionally printed.
Looking for a time-saving solution for creating your own unique magazine design? Make sure to check out the huge range of easy-to-adapt magazine templates over on Envato Elements.
Discover more magazine design tutorials to keep developing your print design and typography skills:


 What Is a Magazine?


 How to Make a Magazine Cover Design (Anatomy of a Magazine Cover)


 How to Create a Simple Magazine Template in Adobe InDesign


 10 Tips for Designing High-Impact Magazines

 How to Create Your Own Vogue Magazine Cover


 How to Create a Rolling Stone-Inspired Magazine Cover

 How to Create a Stylish Magazine Layout in Affinity Publisher

 How to Create Your Own GQ Magazine Cover
 By
By


