
Have you taken a photo that would be perfect if it weren't for the distracting wrinkles on the backdrop? Learning how to smooth a background in Photoshop will help you salvage it.
Keep reading to learn how to remove creases from a backdrop in Adobe Photoshop.
Step 1
Take the Magic Wand Tool (W) and click Select Subject in the upper bar.


Step 2
Do you think the selection is not accurate enough, especially in the area of the curly hair? Go to the upper bar and click Select and Mask to adjust the hair selection.
Experiment with the brushes available on the left, and the slider on the right, to make sure everything's been properly selected. When you're done, set Output to Selection and click OK.


Step 3
Press Control-J to duplicate the selection to a new layer. Now hold the Control key and click the thumbnail of the duplicate to bring the selection back.


Step 4
Go back to the Background layer and go to Select > Modify > Expand. Add a couple of pixels to make sure the selection doesn't contain any pixel of the model.


Step 5
Press Q and paint around the hair with white to remove them completely from the selection. Then press Q again to go out of Quick Mask Mode.


Step 6
Hide the duplicate and go to Edit > Fill. Set it to Content-Aware. This should remove the model from the photo, leaving only the wrinkled backdrop.
The effect doesn't need to be perfect—we just need to make sure that the background contains only its own colors.


Step 7
Right-click the Background layer and select Convert to Smart Object. Then show the duplicate again and go to Filter > Blur > Gaussian Blur.
Increase the Radius until the folds disappear, but don't go too far—we don't want to remove the subtle gradients of the background by accident. Making the background too soft may also result in a glow effect, so see if you can keep a bit of the detail of the original backdrop.


Step 8
Go to Filter > Noise > Add Noise. Adjust the Amount to fit the level of noise in the unedited part of the photo. A completely smooth photo background may look weird if the rest of the photo is not equally smooth!


Good job!
Now you know how to smooth a background in Photoshop to make the backdrop completely perfect.


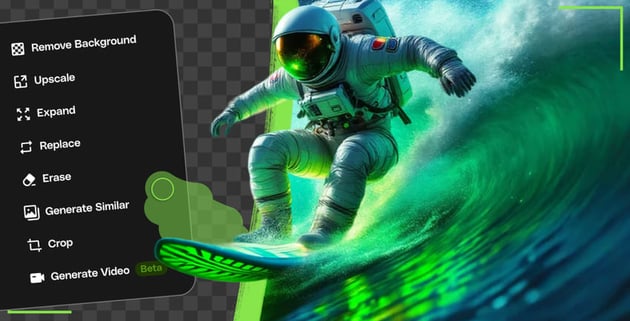
If you'd like to save some time, try Envato's ImageEdit. It's an easy-to-use tool offering seamless AI background editing.
You don't need to buy credits, create new accounts, or install anything. ImageEdit and the rest of Envato's Gen AI tools are all included in your subscription with unlimited use. (Excluding Enterprise plans).


And if you'd like to get unlimited downloads of millions of assets for your upcoming projects, check out the Envato library. Find fonts, Photoshop templates, graphics, and more.
You now know which AI background editing tools you can use to stay on top of the AI trends, and where you can find top-notch creative assets. Explore our other tutorials to keep learning and improving your design skills:


 By
By


