
 Lessons: 12Length: 49 minutes
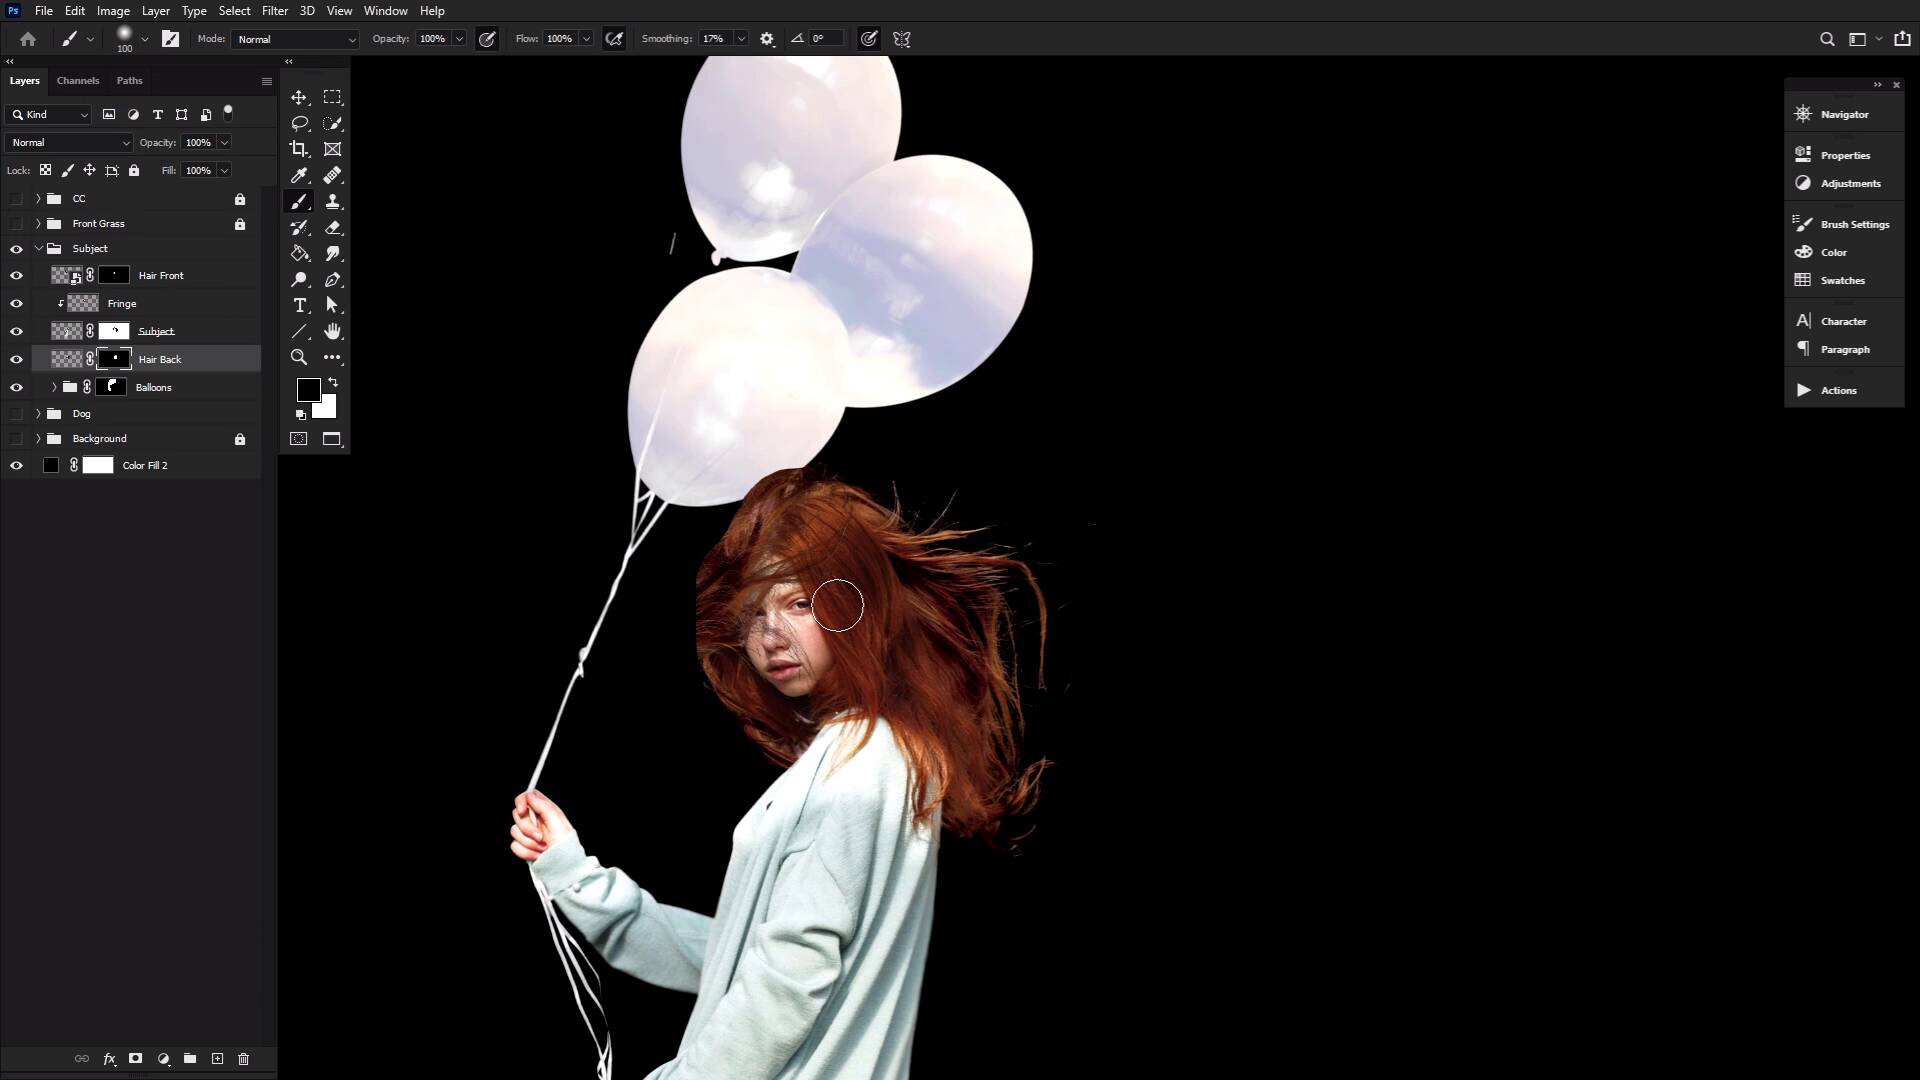
- Overview
- Transcript
4.1 Combining Hair in Photoshop
In this lesson, we will be looking at how to mix, match, and combine hair to make it longer or flowier. We will be looking at how to create a windswept look using long, straight hair.
Related Links
- Wavy Red Hair 1 on Envato Elements
- Wavy Red Hair 2 on Envato Elements
- Portrait of a Young Redheaded Woman in Dress on Envato Elements
1.Introduction
1.1Introduction01:25
2.How to Cut Out Hair in Photoshop
2.1How to Cut Out Hair in Photoshop Using Layer Modes and Channels05:25
2.2How to Cut Out Hair in Photoshop Using Channels05:34
2.3How to Cut Out Hair in Photoshop Using Refine Edge04:34
3.Creating Hair Brushes in Photoshop
3.1How to Paint Hair in Photoshop Without a Tablet03:32
3.2How to Create a Pressure-Sensitive Hair Brush in Photoshop03:00
3.3How to Refine and Finish Hair Masks05:12
4.Adding Hair Details & Further Refinements
4.1Combining Hair in Photoshop02:57
4.2Lighting Hair, Shading Hair, & Painting Flyaways08:53
4.3How to Change Hair Color in Photoshop03:23
4.4Adding Movement & Reshaping Hair03:18
5.Conclusion
5.1Conclusion01:50
4.1 Combining Hair in Photoshop
Welcome back to the Ultimate Guide to Hair in Photoshop. With our haircut out, we can look at how you can make hair fuller, longer, or as we can see here, more flowy and almost erratic. First you will want to have some extra hair extracted. I do want to point out while I am placing red hair onto an already redheaded subject, this was more of a coincidence. Even with them being the same general color, I still had to do some color correcting. So don't stress about finding the same hair color but instead focus on the shape and flow, and texture, and length [LAUGH] of the hair, all those details should come way before color. We are going to grab a section of hair that will be placed over our subject's face, making what I will refer to as the front section of hair. Then we'll be using this whole models head here, to create the back section of our subjects hair. Don't worry about getting the selections perfect yet, just focus on the placement of hair. Place it in a way that makes the most sense for you and your subject, and really see how the hair will combine with the original subjects hair. Once you are happy with the placement, use a semi-hard round brush to create edges. Use soft, round brushes to blend in any larger edges on the original subjects' hair. And then use the hair brushes we created earlier, to add strands of hair to any odd areas that seem too smooth or chopped off. Just keep going back and forth working your way from larger areas, to really zooming into those tiny little strands of hair. You will want to perfect and really get into and please, please, please, please, use layer masks. Always use layer masks so you can easily take away and then bring back, and then take away again. So this process takes a lot of back and forth in general, but hence layer masks. If you need to adjust the angle of your front section, resize the back hair, shrink the front hair, go back and paint more hair strands to kind of go with the flow of the newly positioned hair, and then resize and adjust some more. You will want to spend a good good chunk of time on this, as once you start your lighting, you're not going to want to fiddle around with the placement anymore. And with that, we are indeed moving on to the lighting, coming up next, in the Ultimate Guide to Hair, in Photoshop.


