

26 letters for 26 Adobe Photoshop tips and tricks! Today, we are covering the ABCs of Photoshop. We are going from A to Z, looking at shortcuts, settings, and quick Photoshop ideas. If you want a rundown of every Photoshop tool, check out The A to Z of Adobe Photoshop.
Follow along with this one over on our Envato Tuts+ YouTube channel:
What You Will Learn
- 26 Photoshop tips and tricks
- How to use Photoshop actions
- How to Create Photoshop brushes
- How to install Photoshop brushes
- How to install Photoshop fonts
Jump and explore the best Photoshop tips and tricks:
- A is for Action
- B is for Photoshop Brushes
- C is for Curves
- D is for Distort
- E is for Eyedropper
- F is for Flow Rate
- G is for Groups
- H is for High Pass
- I is for Iris Blur
- J is for Jitter
- K is for the Frame Tool
- L is for Layer Modes
- M is for Marquee
- N is for Noise
- O is for Opacity
- P is for Pen Tool
- Q is for Quick Selection
- R is for Refine Edge
- S is for Smart Objects
- T is for Type Tool
- U is for Shapes
- V is for Control-V (Paste)
- W is for Warp
- X is for Color Swap
- Y is for History Brush
- Z is for Control-Z, aka Undo
A is for Action
Here goes our first of many tips for Adobe Photoshop. A is for the actions that can automate anything from simple processes like saving and exporting images to creating instant works of art in under five minutes.
Download an action onto your computer, Load Actions into the Action panel, hit Play, and then watch them go!


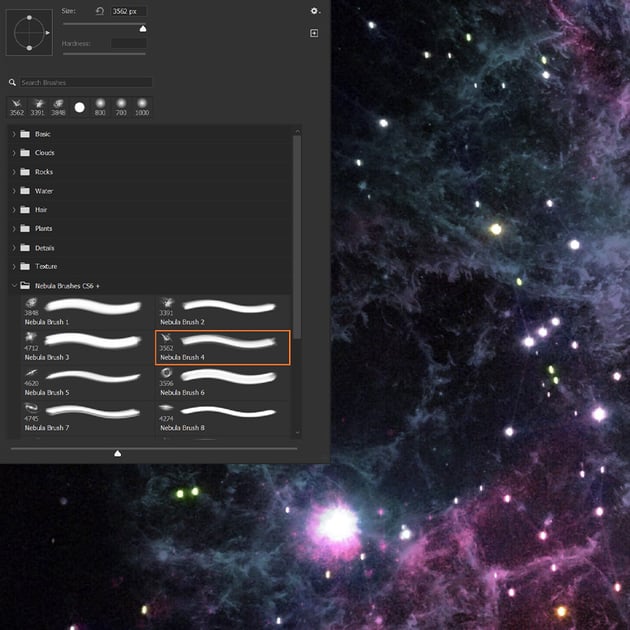
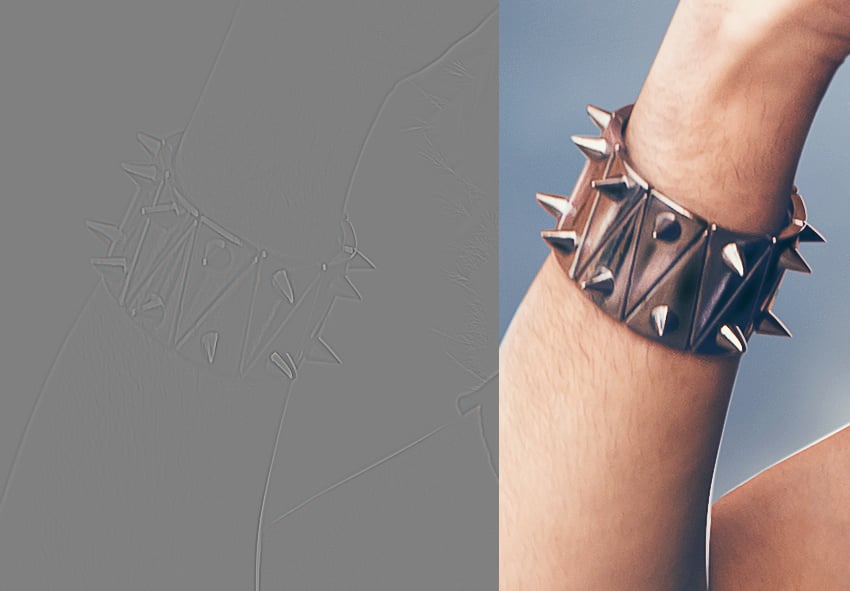
B is for Photoshop Brushes
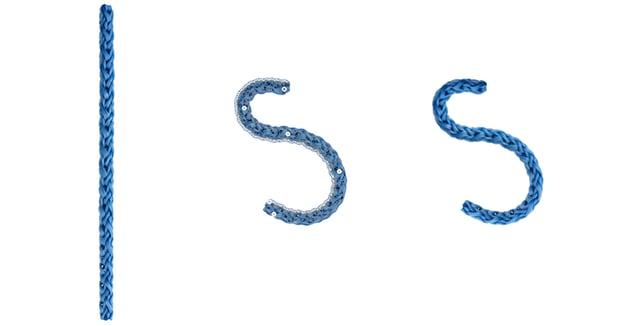
B is for Photoshop brushes. There are many brush tips for Photoshop that you can try. Turn almost anything into a brush by turning the image grayscale and then going to Edit > Define Brush Preset.
Or download and Import Brushes using the Brush panel. There are literally thousands of brushes that already exist—a basic and always useful Photoshop hack. Can you really ever have too many nebula Photoshop brushes?


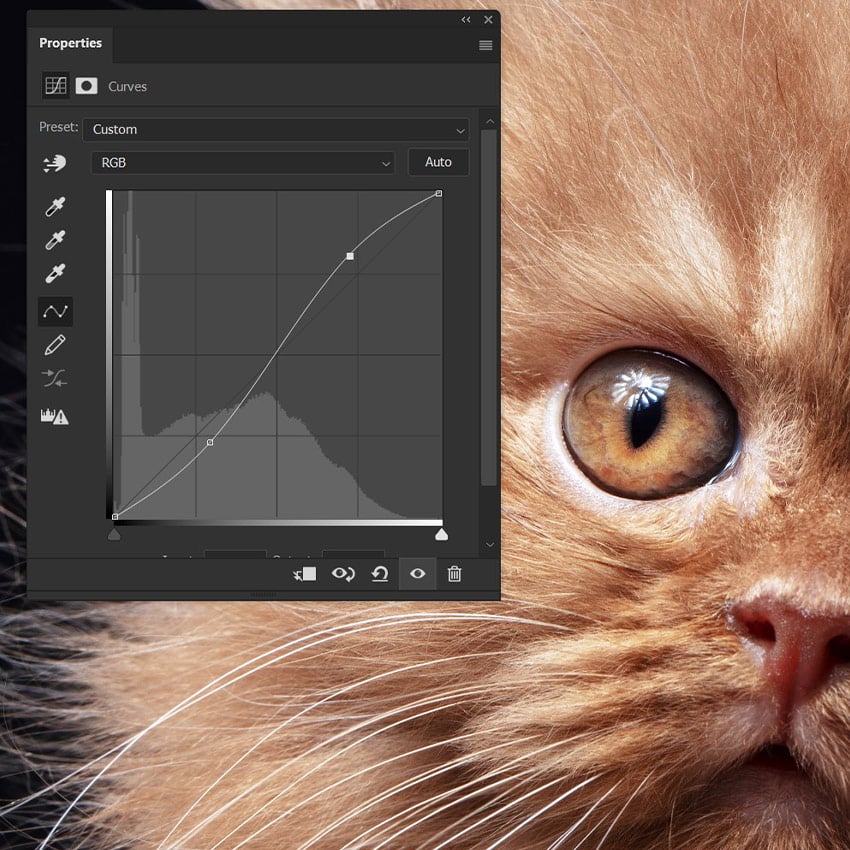
C is for Curves
C is for Curves. Need to add some quick contrast to your image? Add the S curve to your bag of quick Photoshop effects.
Create a Curves adjustment layer. Now, create an S shape on the curve line using just two anchor points. Instant contrast—with flexibility!


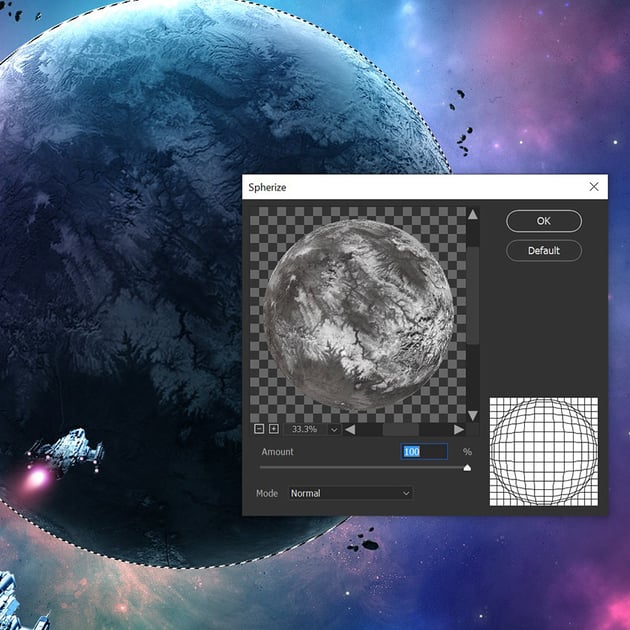
D is for Distort
D is for Filter > Distort. If you're looking for creative tips in Adobe Photoshop, here's one.
Create whole planets by finding a planet-like texture, using the Elliptical Marquee Tool to make a circle, going to Filter > Distort > Spherize, setting it to 100, and then adding a Layer Mask to the texture.
You are now the proud owner of your very own planet.


E is for Eyedropper
E is for the Eyedropper Tool, perfect to pair with your Photoshop brushes.
Did you know you can eyedrop a color from anywhere on your screen by selecting the Eyedropper Tool and then dragging it to the area whose color you want to select? It's one of the basic Photoshop tips.
Yes, this even includes areas outside Photoshop.


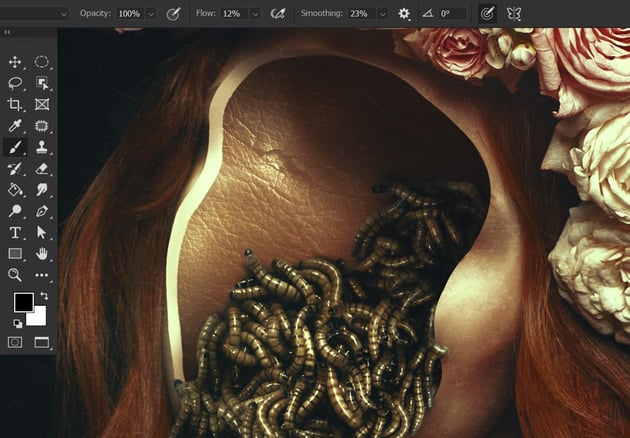
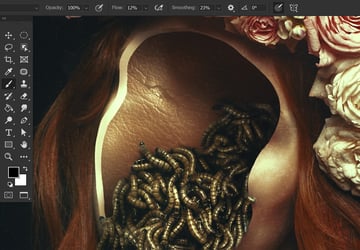
F is for Flow Rate
F is for Flow Rate. Ever wonder how people get beautifully blended colors or lighting in their Photoshop tutorials? It’s by building those colors up slowly using Flow Rate.
Don't miss this Photoshop hack: lower the Flow Rate of the brush, and then paint in a shadow. Each pass of the brush will lay down more and more paint—making it perfect to use with both a pen tablet and a mouse.


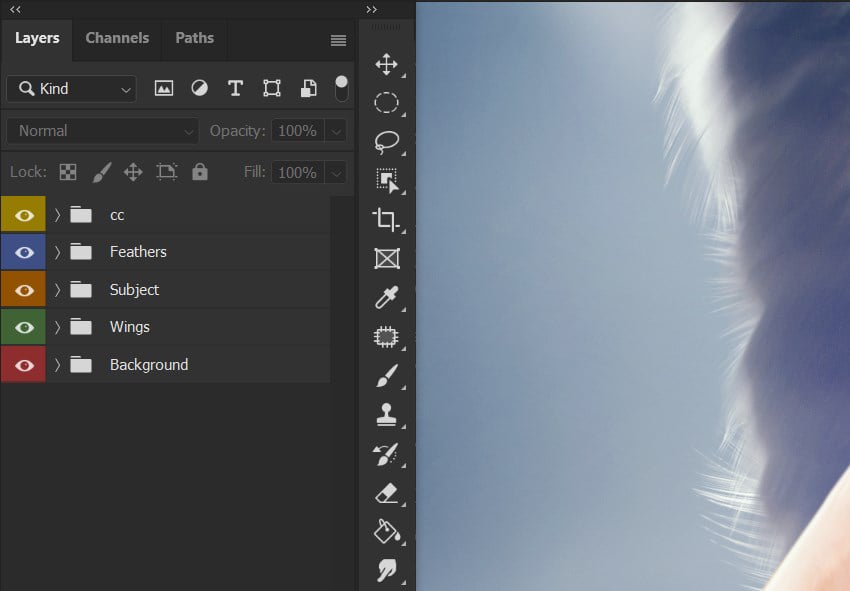
G is for Groups
G is for Groups. Groups may not be at the top of most lists of Adobe Photoshop tips and tricks, but they are the best way to keep your layers clean and tidy.
Don’t forget to color-code them by Right-Clicking the group, going all the way down to the bottom, and then choosing a color.


H is for High Pass
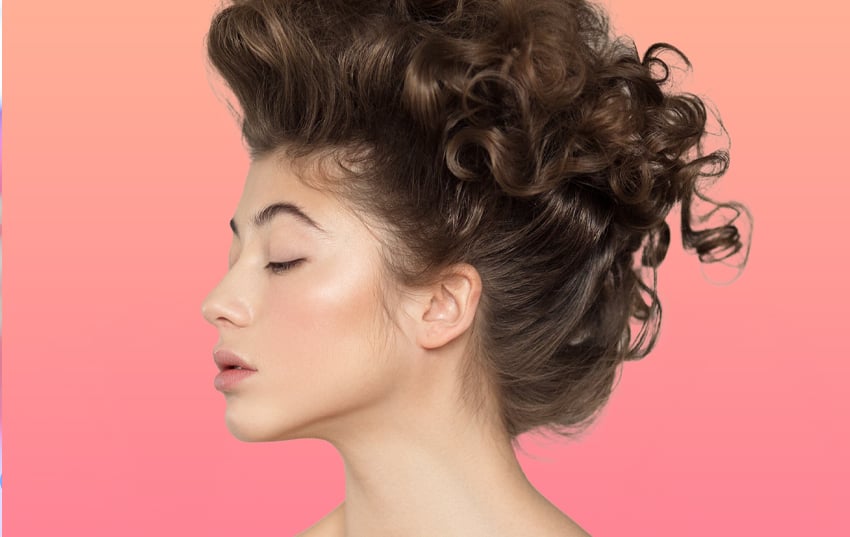
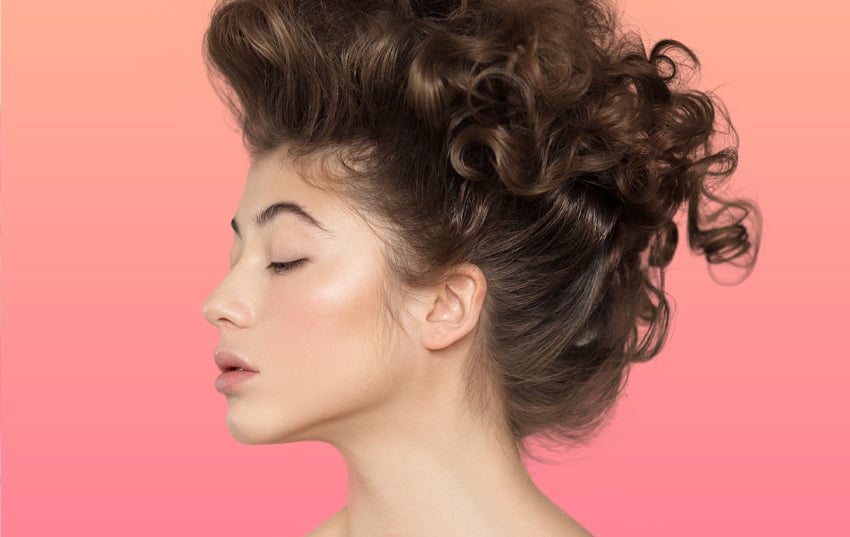
H is for Filter > Other > High Pass. Use the High Pass filter to perfectly sharpen your images before posting them online. Bring out the detail with zero fear of over-sharpening or artifacting.
Flatten all of your layers, size your image down as needed, duplicate the flattened image, set that image to Overlay, go to Filter > Other > High Pass, and finally set the Radius to 3 or 4 pixels.


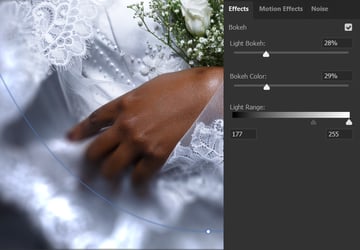
I is for Iris Blur
I is for Filter > Blur Gallery > Iris Blur.
Iris blur adds instant depth to a photo. But did you know you can add light-based bokeh as well? If you didn't, you've been missing one of the top tips for Adobe Photoshop.
Go to the Effects tab and choose your Light Bokeh percent, Bokeh Color, and finally Light Range. The darker the photo, the more you will want to pull the slider to the left.


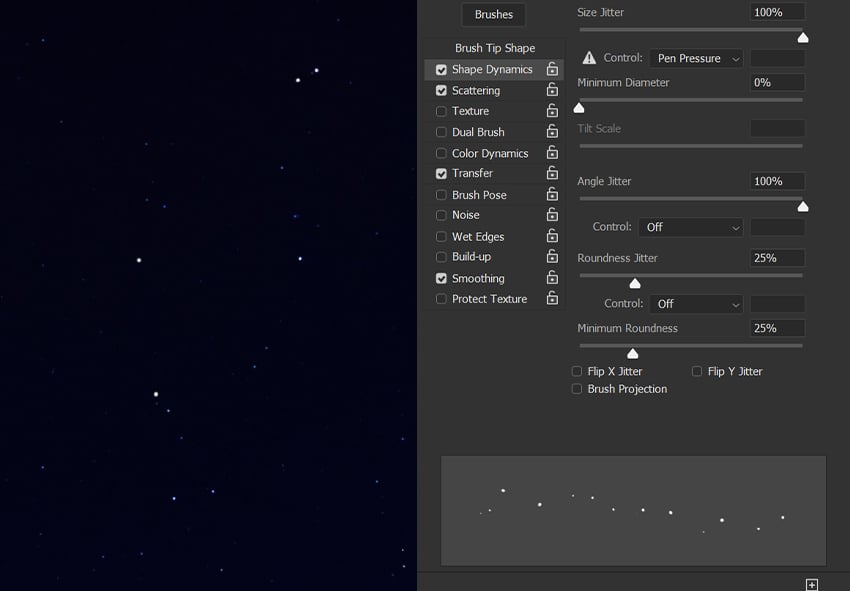
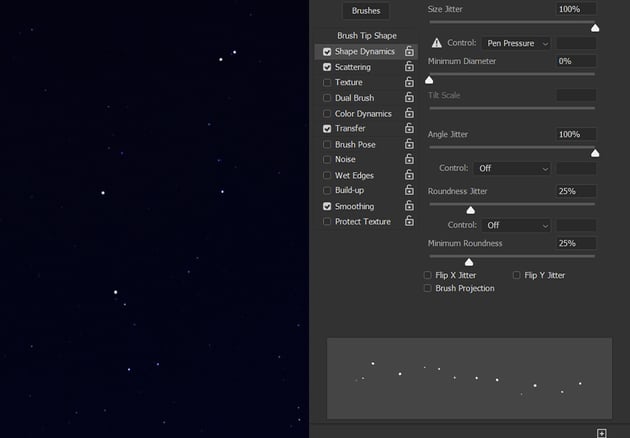
J is for Jitter
J is for Jitter. Need a quick star brush? This is yet another of the key brush tips for Photoshop.
Select a default hard round brush, open up Brush Settings, and increase the Size and Angle Jitter to 100%.
Next, set the Roundness Jitter to 25% and finally increase the Scatter to 100%. Paint in your stars.
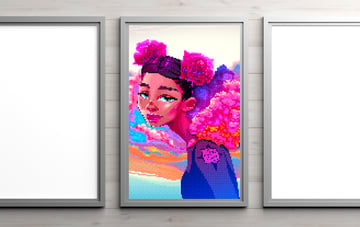
K is for the Frame Tool
K is for the Frame Tool, or it's a shortcut at least! Easily mask images using the Frame Tool (K) Photoshop hack. Create a frame, drop in an image, and then freely move around your image.
Double-click the framed image to open it, similar to a Smart Object. This is a great alternative to clipping masks if all you need is something quick and simple. This is definitely one of the tips in Adobe Photoshop that you can't miss.


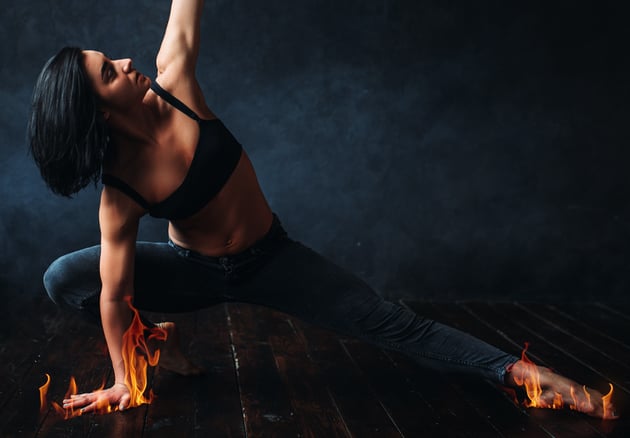
L is for Layer Modes
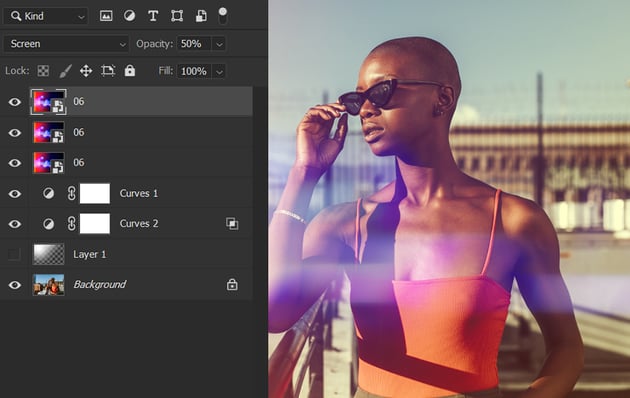
L is for the Layer Modes that are an artist’s best friend. We already saw how they can sharpen an image when paired with our letter H, high pass. But we can also heat things up by adding quick fire to any photo, no extraction needed.
To apply this Photoshop hack, all you need is a photo of a flame on a black background with a Layer Mode set to Screen.


M is for Marquee
M is for the Marquee tool, with one of our basic Photoshop tips. Create perfect rectangles, squares, circles, and ovals with the Marquee tools.
You don’t have to get the shape right the first time, though—you can always hold Shift to add to your selection and Alt to remove from your selection.


N is for Noise
N is for noise. And while a lot of the time you may be desperate to get rid of it, adding a touch of noise to stock images and Photoshop textures will help add a realistic wash of grain as well as getting rid of annoying color banding.
Create a layer filled with black, set that layer to Screen, and add a small amount of Filter > Noise > Add Noise. Then, place the layer between any layers that are causing the color banding.


O is for Opacity
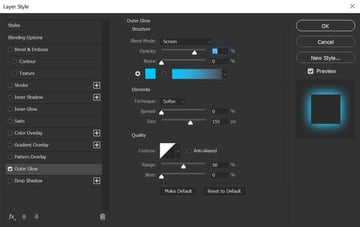
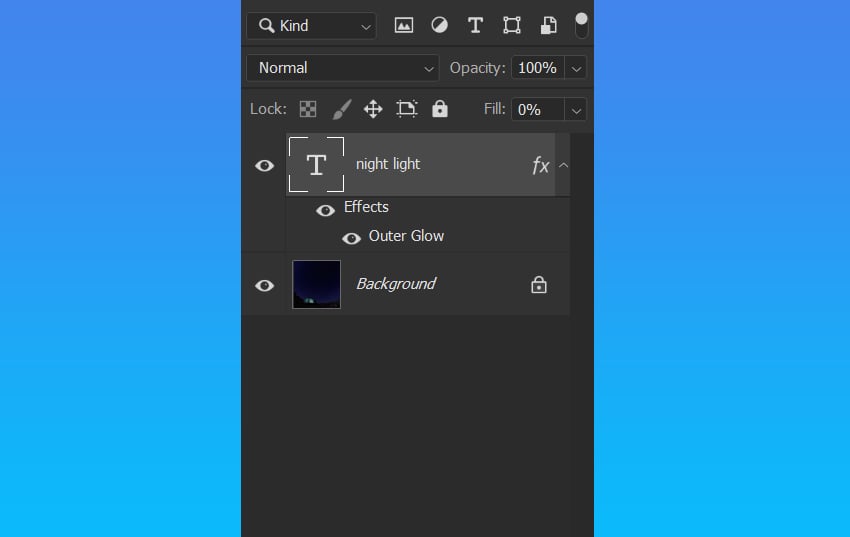
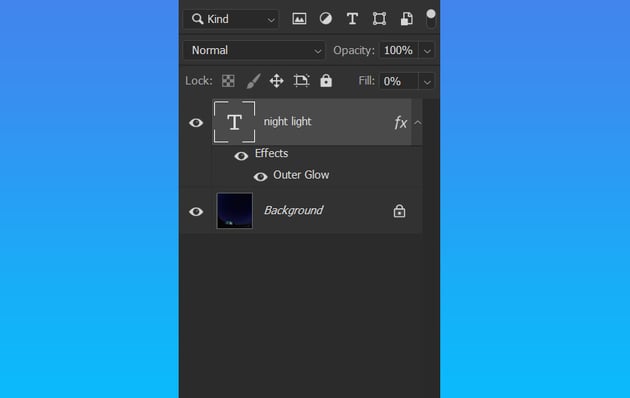
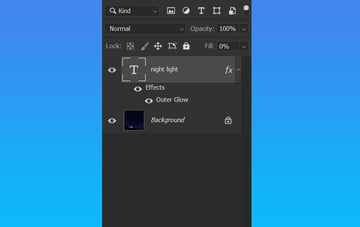
O is for Opacity and Fill. Ever wondered about the difference between Opacity and Fill?
Opacity will affect the whole layer and everything on it, whereas Fill won’t affect any Layer Effects applied to the layer. Below we have some text with an Outer Glow, but a fill of 0% so you only see the glow. Both tools are helpful for applying many basic Photoshop tips.


P is for Pen Tool
P is for the Pen Tool. If you love it, you love it. If you hate it, it’s because you haven’t learned how to love it yet!
You may think the Pen Tool is just for solid shapes, but I love using it to make ultra-accurate layer masks. This is at the top of our best Photoshop tips. Set the Pen Tool to Path, make a path around a subject, add a Layer Mask to that subject, and then Right-Click > Fill Path.


 How to Use Adobe Photoshop's Curvature Pen Tool


 Photoshop in 60 Seconds: Getting a Grip on the Pen Tool

Q is for Quick Selection
Q is for the Quick Selection tool you use when you are too lazy to use the Pen Tool. Or maybe that’s just me?
Either way, the Quick Selection houses a little thing called Subject Select, Photoshop’s most powerful AI selection tool yet.
Give it a try: just click and get an accurate selection of almost any subject on a plain background, hair and all!


R is for Refine Edge
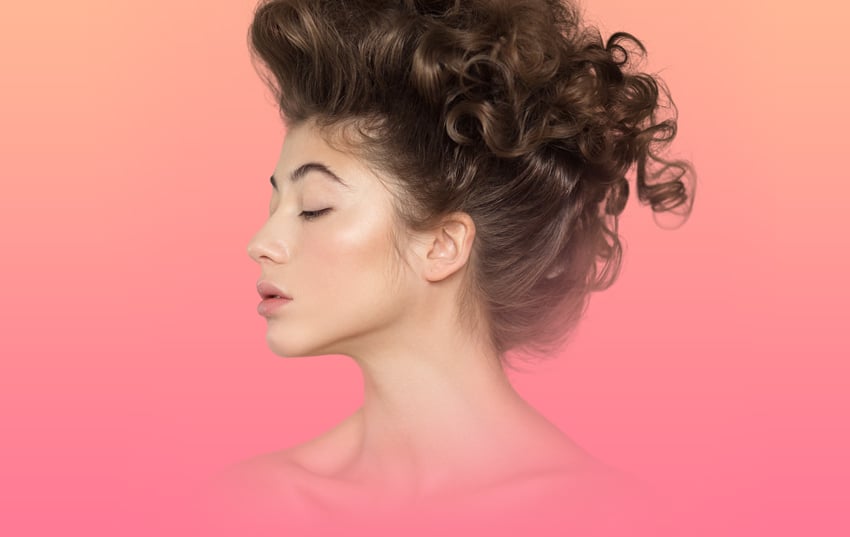
R is for Refine Edge, the tool that will save your selection if Subject Select doesn’t go as well as planned.
Mask your selection, and add a Layer Mask. Double-Click the Layer Mask and then choose Select and Mask.
Check Smart Radius, setting the Radius to about 3px, select the Refine Edge Brush, and then drag the brush across the edge of your subject.
Watch your mask go from OK to great using cool brush tips for Photoshop like this one.

S is for Smart Objects
S is for Smart Objects, the tool that will keep you from ever having to commit to any filter, adjustment, or layer size. It's probably the most common tool when it comes to Adobe Photoshop tips and tricks.
Smart Objects are also great for double layer masks. Create your first Layer Mask, then Right-Click > Convert to Smart Object, and add a fresh new Layer Mask to your smart object.
Access the original layer mask by double-clicking the Smart Object layer. Never worry about ruining a layer mask again.


T is for Type Tool
T is for the Type Tool. Not only is downloading custom fonts basically a global pastime for most artists, but you can also add instant arches to text using the Warp Text icon in the upper Tool Options bar.
Choose a classic Arch or get weird with the built-in Fish option.


 How to Warp Text in Adobe Photoshop


 The Different Types of Fonts: When to Use Each Font Type and When Not

U is for Shapes
U is for the Shapes tool. Hit U to quickly access your shapes. This is one of the most useful tips for Adobe Photoshop.
Create easy custom shapes right in your own document by creating a design using multiple different shapes, like circles, and then select each shape layer and Right-Click > Merge Shapes.
They will be combined into one shape that you can then add consistent Layer Styles to. Great for things like gradients, drop shadows, or glows.


V is for Control-V (Paste)
V is for Control-V. As one of the basic Photoshop tips, if you know your shortcuts, you know that means Paste!
A quick way to increase the intensity of any Layer Mode is to select the layer, Control-C to copy, and then Control-V to paste. Repeat until the glow is as bright as you want it to be.


W is for Warp
W is for Warp. And while there are many ways to warp an image in Photoshop, my personal favorite is the Puppet Warp.
Go to Edit > Puppet Warp on any extracted image. Click to place pins where you want to make your bends. And then just click and drag. The pins act as anchor points, holding the bend unless moved.


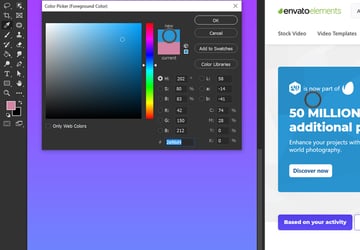
X is for Color Swap
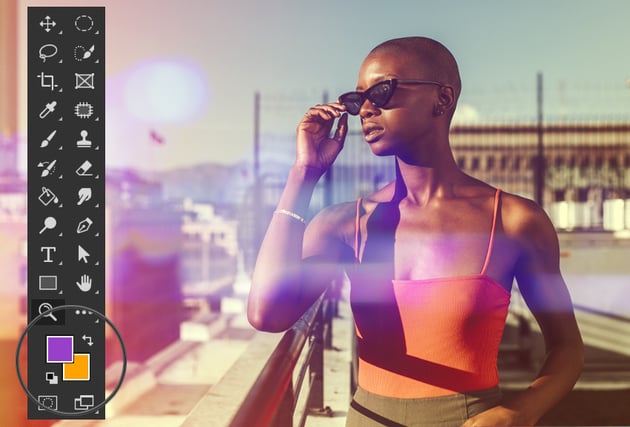
X is for color swap. That's because it’s the shortcut for swapping your Foreground and Background brush colors.
Hit X to quickly switch between your two colors. This is incredibly helpful when switching between white and black while masking.


Y is for History Brush
Y is for the History Brush tool. Need to undo, but only in one particular area? Then hit Y for quick access to the History Brush tool.
You can even change the brush tip shape and size, just like you would with the normal Brush tool. These brush tips for Photoshop are great when you don't want to mess with adjustment layers.


Z is for Control-Z, aka Undo
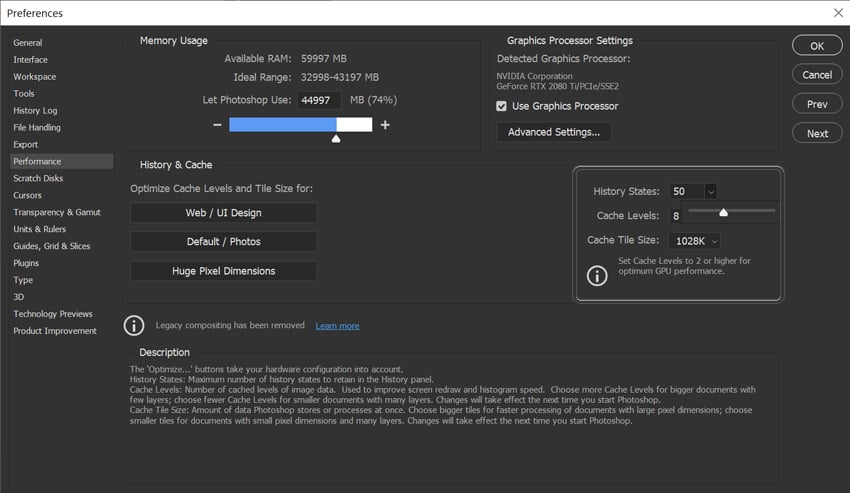
Finally, Z is for Control-Z. While Photoshop seems to think 25 undo states is enough, you can always go into Edit > Preferences > Performance to give yourself more, going as high as 1,000 History States.


That's It!
And that was the ABCs of Photoshop. 26 different Adobe Photoshop tips and tricks!
But if that wasn’t enough and you’re looking for even more of the best Photoshop tips, why not check out some of the other excellent tutorials below:

 The A to Z of Adobe Photoshop


 30 Tips & Tricks All Photoshop Users Should Know

 How to Create an Ink Brush in Photoshop

 How to Create a Realistic Chrome Text Effect in Adobe Photoshop


 How to Mirror an Image in Photoshop


 How to Make a Crystal Effect in Photoshop

 100+ Great Photoshop Tutorials for Clever Beginners


 How to Install Brushes in Photoshop

 By
By


