Recreating Pixar's Wall-e in High Poly Using Maya 2012: Part 4
Laszlo Mandi
•
1 min read
This post is part of a series called Recreating Pixar's Wall-e.


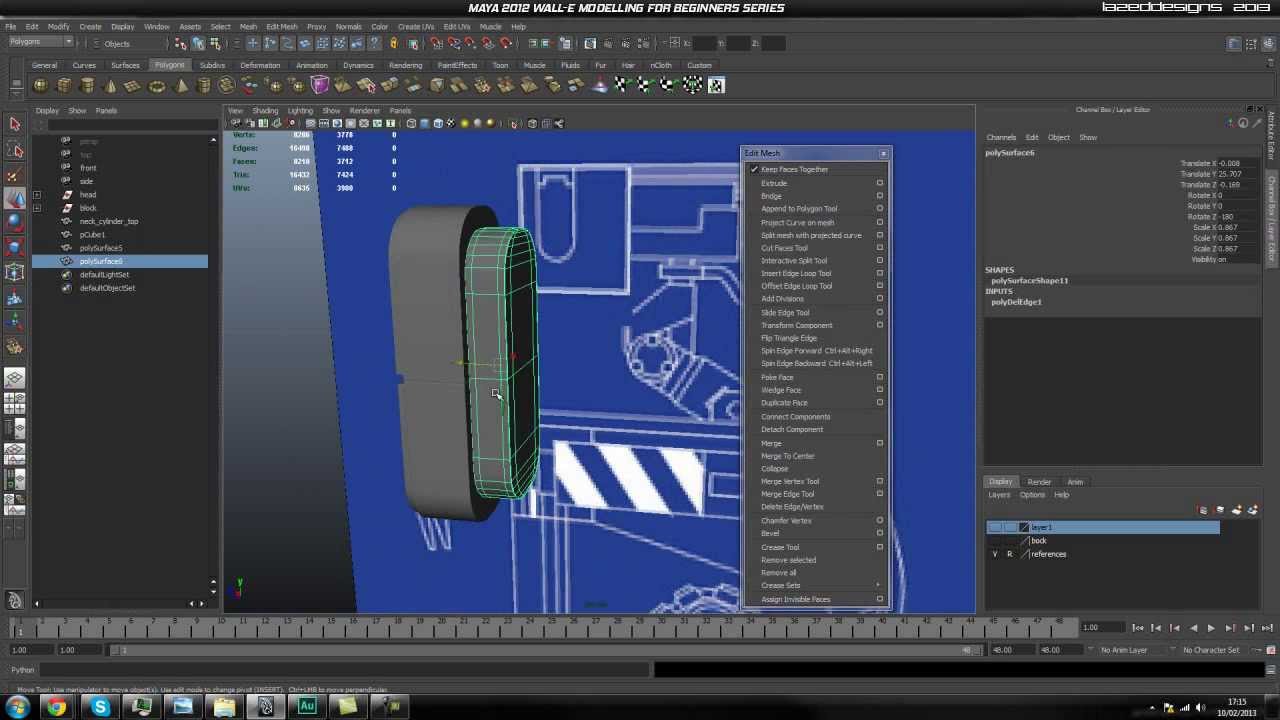
Today we’re continuing our in-depth modeling series for Autodesk Maya, where you’re learning how to faithfully recreate one of Pixar’s most lovable characters, Wall-e. In part 4, you'll continue constructing the remaining parts of Wall-e's head, before moving onto blocking out and refining the elements that make up the neck portion of the model.
Part 4: Video 1
Part 4: Video 2
Part 4: Video 3
Use the link below to download this tutorial for offline viewing.
Download Video


