Recreating Pixar's Wall-e in High Poly Using Maya 2012: Part 3
Laszlo Mandi
•
1 min read
This post is part of a series called Recreating Pixar's Wall-e.


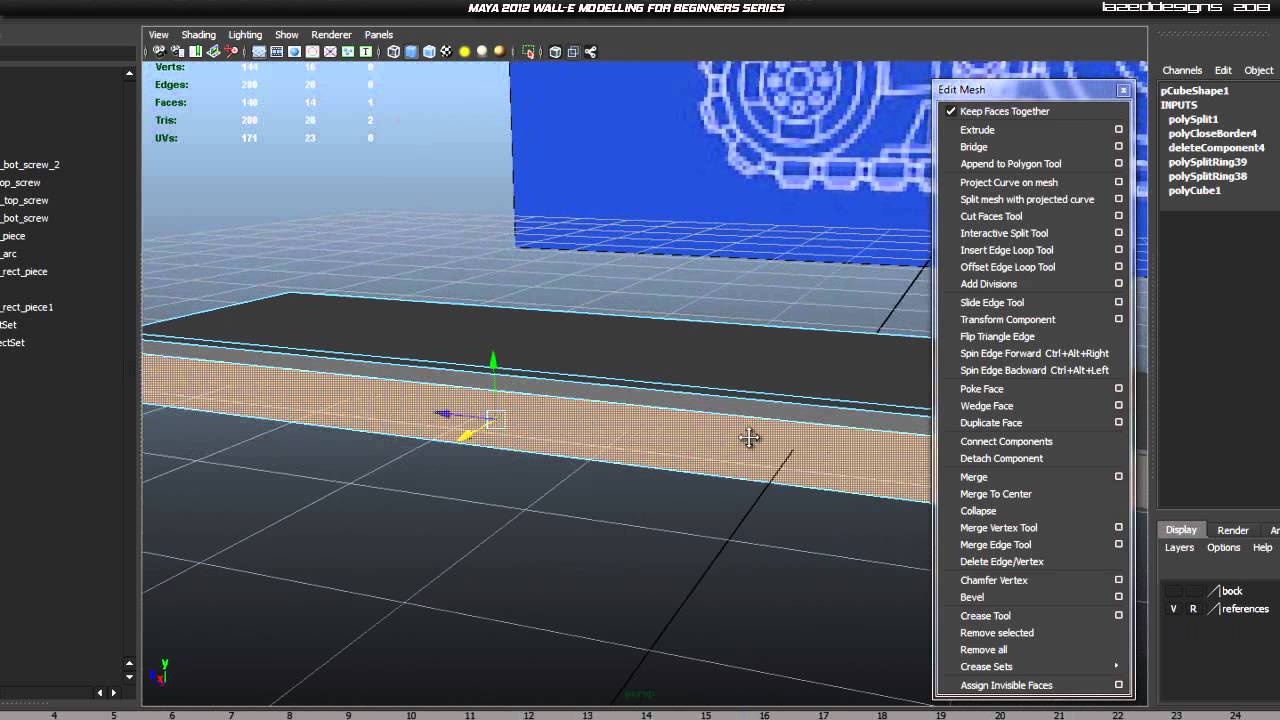
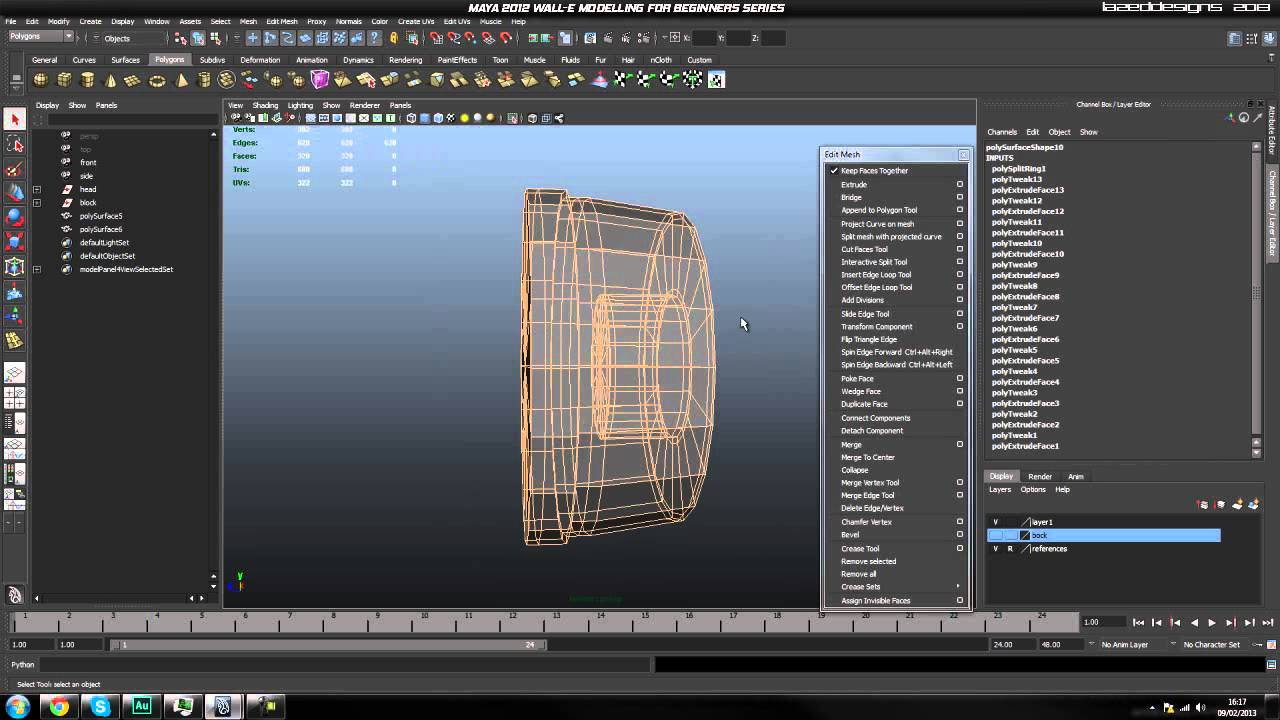
Today we’re continuing our in-depth modeling series for Autodesk Maya where we’ll learn how to faithfully recreate one of Pixar’s most lovable characters, Wall-e. In today's lesson we'll continue building additional components for the head, detail the eyebrows so they can easily be animated later and begin work on the neck section by adding the first plug and cable. Click through to continue!
Part 3-1:
Part 3-2:
Part 3-3:
Use the link below to download this tutorial for offline viewing.
Download Video


