


This tutorial will show you how to use a couple of layer styles to create glass text effects in Photoshop. Then, I'll show you how to use the selection tool and masks to turn your text into broken glass. Let's get started!
If you need fonts for this broken glass font tutorial, you can always turn to Envato Elements. Here you'll find amazing font files with unlimited downloads that will help you enhance your work. Find thousands of creative assets for a small monthly fee.
What You'll Learn
- How to Create a Background
- How to Create the Text
- How to Apply a Layer Style to the Original Text Layer
- How to Apply a Layer Style to the First Copy Text Layer
- How to Apply a Layer Style to the Second Copy Text Layer
- How to Mask a Selection
- How to Create Simple Shattered Pieces
- How to Copy and Paste Layer Styles
- How to Create a Spotlight Effect
- 5 Amazing Text Effects for Photoshop (From Envato Elements)
Tutorial Assets
The following assets were used during the production of this tutorial:
- Ronnia Bold for our broken glass font
- Sorensen Leather - Campo-burgundy-20824 by SorensenLeather
1. How to Create a Background
Step 1
Create a new 100 x 667 px document. Then place the Sorensen Leather - Campo-burgundy-20824 image on top of the Background layer, rename its layer to BG Texture, and resize it as you like.


Step 2
Click the Create new fill or adjustment layer icon at the bottom of the Layers panel, and choose Levels.


Step 3
Change the Gamma value to 1.10 and the Highlights to 180.


Step 4
Add a Gradient layer on top of all layers.
Create a Transparent to Fill Color gradient fill, using the colors #d6d6d6 to the left and #a6a6a6 to the right.
Change the Style to Radial and the Scale to 250, and check the Dither box.


Step 5
Change the Gradient layer's Blend Mode to Color Burn.


2. How to Create the Text
Step 1
Create the text in All Caps using the font Ronnia Bold. Set the Color to White, and the Size to 150 pt.


Step 2
Change the text layer's Fill value to 0, and duplicate it twice.


3. How to Apply a Layer Style to the Original Text Layer
Double-click the original text layer to apply the following layer style:
Step 1
Add a Drop Shadow with these settings:
- Blend Mode: Vivid Light
-
Color:
#f2dede - Opacity: 10%
- Uncheck the Use Global Light box
- Angle: -19
- Distance: 11
- Size: 20


Step 2
Click the + sign at the right of the Drop Shadow tab, to add another Drop Shadow effect with these settings:
- Blend Mode: Color Burn
-
Color:
#837777 - Opacity: 30%
- Uncheck the Use Global Light box
- Angle: 107
- Distance: 12
- Spread: 2
- Size: 10


This will create the drop shadow and highlight part of the effect.


4. How to Apply a Layer Style to the First Copy Text Layer
Double-click the first copy text layer to apply the following layer style:
Step 1
Add a Bevel and Emboss with these settings:
- Size: 3
- Shadow Mode: Overlay
-
Color:
#e4eeee


Step 2
Add a Contour with these settings:
- Contour: Cove - Deep
- Check the Anti-aliased box.
- Range: 100%


Step 3
Add an Inner Shadow with these settings:
- Blend Mode: Screen
-
Color:
#e2e2e2 - Opacity: 10%
- Uncheck the Use Global Light box
- Angle: 90
- Distance: 2
- Size: 13


Step 4
Add an Inner Glow with these settings:
- Blend Mode: Overlay
- Opacity: 30%
-
Color:
#f1ecec - Technique: Precise
- Size: 3
- Check the Anti-aliased box
- Range: 35


Step 5
Add a Gradient Overlay with these settings:
- Check the Dither box
- Blend Mode: Soft Light
- Opacity: 50%
- Style: Reflected
- Angle: 105
- Scale: 150%
- Check the Reverse box
- Click the Gradient box to create the gradient fill


Step 6
To create the gradient, you’ll need to click below the gradient bar to add Color Stops, and when you click each Color Stop, you can change its Color and Location values. Here are the Color Stop values used from left to right:
Color - Location
-
#252321- 0% -
#656565- 22% -
#eeeeee- 44% -
#585858- 69% -
#eeeeee- 70% -
#606060- 83% -
#252321- 100%


Step 7
Change the first copy layer's Fill value to 0.


5. How to Apply a Layer Style to the Second Copy Text Layer
Double-click the second copy text layer to apply the following layer style:
Step 1
Add a Bevel and Emboss with these settings:
- Size: 5
- Check the Anti-aliased box
- Shadow Mode: Overlay
-
Color:
#d0e8e9


Step 2
Add a Contour with these settings:
- Check the Anti-aliased box.
- Range: 70%


This will style the last part of the effect.


6. How to Mask a Selection
Step 1
Pick the Polygonal Lasso Tool, and click the Add to selection icon in the Options bar.
What you need to do next is create sharp shapes over some parts of the text, to mimic the appearance of broken areas.


Step 2
When you're done creating the selection, hold the Option key and click the Add layer mask icon at the bottom of the Layers panel.


Step 3
Hold the Option key again, and drag the mask to each of the copy text layers.


7. How to Create Simple Shattered Pieces
Step 1
With the Polygonal Lasso Tool again, create some more sharp selections of smaller scattered shapes around the text, to create the shattered pieces.
Once you're done with that, create a new layer on top of all layers, call it Pieces, and fill the pieces' selection with White.
Press Command-D to get rid of the selection.


Step 2
Duplicate the Pieces layer twice.


8. How to Copy and Paste Layer Styles
Step 1
Right-click the original text layer, and choose Copy Layer Style. Then right-click the Pieces layer, and choose Paste Layer Style.
Repeat that for the first copy and the second copy text and Pieces layers.


Step 2
Right-click the fx icon to the right of the Pieces layer, and choose Scale Effect.


Step 3
Set the Scale value to 50%. Repeat that for the Pieces copy layers.


Step 4
Double-click the Pieces layer, and change the Drop Shadow effect's Size value back to 10.


This will make sure that the shadow has the same size for all the parts of the text.


9. How to Create a Spotlight Effect
Step 1
Use the Elliptical Marquee Tool to create an ellipse around the text.


Step 2
Create a new layer on top of the Gradient layer and call it Light.
Fill the selection with the color #d6d6d6.


Step 3
Go to Filter > Blur > Gaussian Blur, and set the Radius to 50 or any other value you prefer.


Step 4
Change the Light layer's Blend Mode to Vivid Light, and its Opacity to 10% or any other value you like.


Congratulations, You're Done!
In this tutorial, we created some pretty cool text effects in Photoshop! We made a simple background using a leather texture and a gradient fill layer for the vignette effect. Then, we created three text layers and styled them to create the glass effect.
After that, we used the Polygonal Lasso Tool to create the broken areas and shattered pieces, and we styled the pieces to fit within the effect. Finally, we added some lighting behind the text, using an elliptical selection and a blur filter.


5 Amazing Text Effects for Photoshop (From Envato Elements)
If you're looking for fonts with a glass effect for Photoshop, you've come to the right place. We have five amazing options that will help you when following our tutorial on how to create a broken glass effect in Photoshop.
Envato Elements has thousands of design assets for all your creative needs, including Photoshop text effects, graphics, illustrations, backgrounds, stock videos, and so much more.
1. Modern Chrome Font Effect (ATN, GRD, PAT, PSD)

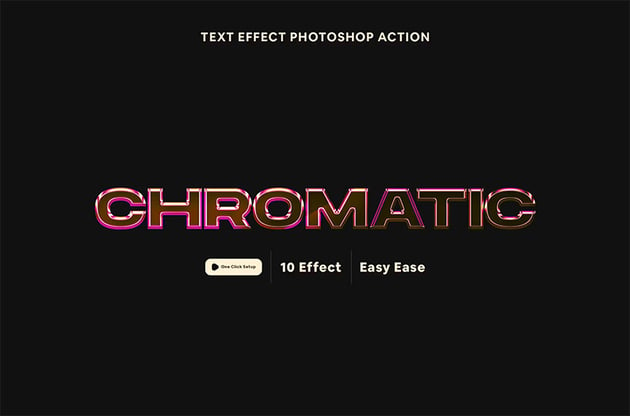
Photoshop text effects like this one are hard to find. Download this chrome text effect and enjoy its ten different styles that you can use for a variety of purposes. Take your designs to the next level with just a few clicks.
2. Photoshop Glass Effect Font (PSD)


Here's a modern take on glass text effects for Photoshop. It features an edgy design that pairs well with sans serif fonts, resulting in stunning final art. Download it now and get a guide on how to use it in case you get lost.
3. Metallic Effect for Photoshop (PSD)

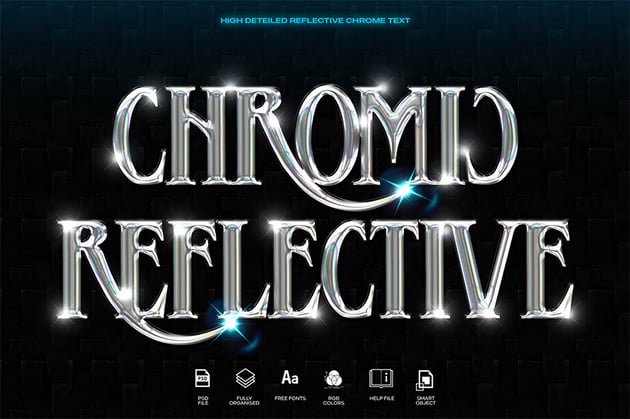

Metallic effects in Photoshop are quite common, but when applied to fonts, the results can be truly astonishing. When you download this metallic and chrome font, you'll get access to lots of features, including well-organized files, a complementary font, smart objects, and a helpful user guide. Give this chrome text effect a try.
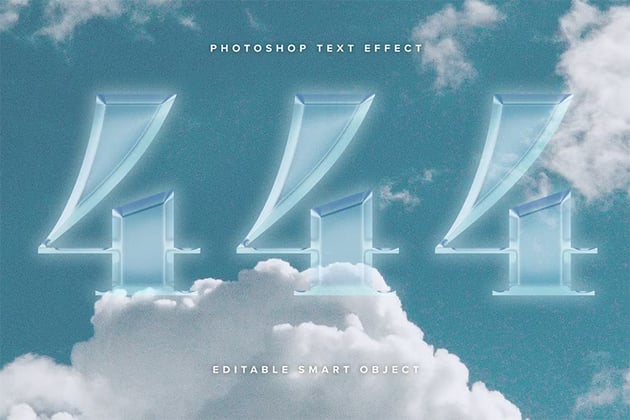
4. Editable Photoshop Glass Effect (PSD)


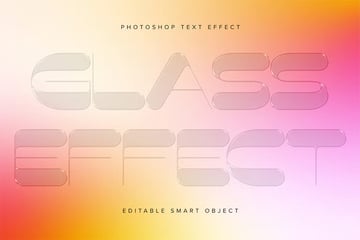
We love Photoshop effects with glass designs because of their versatility. You can leave the transparent effect and place your text on top of a gradient background, similar to the example above. Alternatively, you can remove the transparency Photoshop effect, and it will also look great.
5. Glossy Effect for Photoshop (PSD)
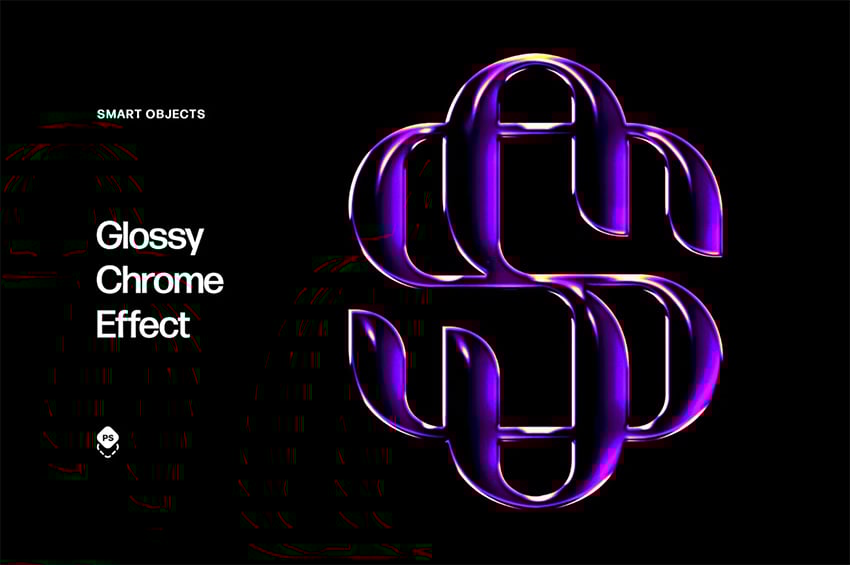

Our final option is this versatile glossy effect in Photoshop. It includes a smart object, so you can use any font and get this cool effect. The file also comes with four different color options and a grainy texture.
Discover More Tutorials on Envato Tuts+
Did you enjoy our broken glass font effect? If so, we have a lot more in store for you on Envato Tuts+. Explore our articles and tutorials created to elevate your skills and enhance your growth as a creator. Check them out:

 How to Create a Styled Mixer Brush Text Effect in Adobe Photoshop


 How to Create a Warped Text Effect in Adobe Photoshop

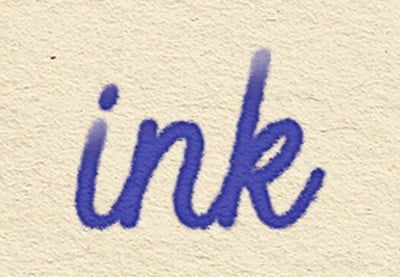
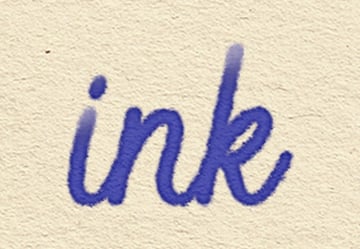 How to Create a Fountain Pen Ink Text Effect in Photoshop


 How to Create a Newspaper Ransom Note Text Effect in Adobe Photoshop

 How to Create a Retro 'Saved by the Bell' Text Effect in Photoshop

 How to Make a Psychedelic Text Effect in Illustrator

 How to Add Text in Photoshop


 40 Creative Photoshop Text Effects With Vibrant Styles


 How to Make a Drop Shadow in Photoshop

 How to Create a Glazed Cookie Text Effect in Adobe Photoshop

 By
By


