


This tutorial will show you how to use Photoshop's brush settings, layer styles, and adjustment layers to create a fun, bright "glazed cookies" text effect. Let's get started!
Jump to content in this section:
- How to Create a Gradient Background and Text Layers
- How to Create and Save a Stroke Brush Tip
- How to Create and Stroke a Work Path
- How to Style a Layer Group
- How to Add a Texture Image
- How to Contract a Selection
- How to Create a Smooth Glaze Style
- How to Create a Textured Glaze Style
- How to Create More Letters
- How to Create a Sprinkles Brush Tip
- How to Create a Sprinkles Style
- How to Add Sprinkles
- How to Add Global Adjustments
- Congratulations! You're Done!
Tutorial Assets
The following assets were used during the production of this tutorial:
- Sniglet font
- Biscuits by PublicDomainPictures
- Cement texture by kues1
You can find great alternatives to these assets on Envato Elements: download as many as you need for a single monthly fee!
1. How to Create a Gradient Background and Text Layers
Step 1
Create a new 1000 x 800px document, and click the Create new fill or adjustment layer icon at the bottom of the Layers panel to add a Gradient layer.
Create the gradient fill using the Colors #e8d2d6 to the left and #ddbcc0 to the right, and change the Angle to 107.


Step 2
Create the text in All Caps using the font Sniglet, and set the Size to 250 pt.
You can create the whole word at once, or, if you want a more dynamic result, create each letter on a separate layer.
If you are creating the letters separately, make sure to place each one's layer in a group with the letter's name.


2. How to Create and Save a Stroke Brush Tip
Step 1
Pick the Brush Tool and open the Brush panel. Choose a hard round tip and use these settings:
Brush Tip Shape


Shape Dynamics


Step 2
Click the Create new brush icon in the bottom right corner of the panel, change the Name to Cookie Stroke, and click OK.


3. How to Create and Stroke a Work Path
Step 1
Right-click the text layer and choose Create Work Path.


Step 2
Create a new layer on top of the text layer, name it Stroke, make sure that the Brush Tool is still active, and hit the Return key to stroke the path.
Pick the Direct Selection Tool (A), and hit the Return key again to get rid of the work path.


Step 3
Put both the text and Stroke layers in a group and name it Text and Stroke.


4. How to Style a Layer Group
Double-click the Text and Stroke group to apply the following layer style:
Step 1
Add a Bevel and Emboss with these settings:
- Size: 7
- Check the Anti-aliased box
-
Highlight Mode:
-
Color:
#b08965
-
Color:
-
Shadow Mode:
-
Color:
#d3a35e - Opacity: 35%
-
Color:


Step 2
Add a Contour with these settings:
- Contour: Half Round
- Check the Anti-aliased box.


Step 3
Add a Drop Shadow with these settings:
-
Color:
#762b3d - Opacity: 38%
- Distance: 3
- Size: 5


Step 4
Add another Drop Shadow effect instance with these settings:
-
Color:
#7d3848 - Opacity: 50%
- Distance: 15
- Size: 25


This will style the main cookie shape.


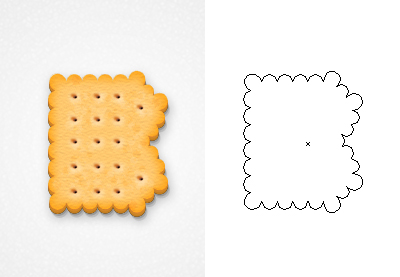
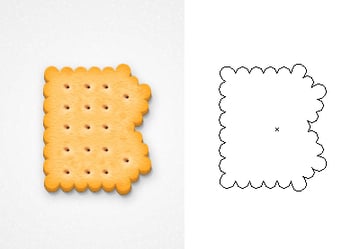
5. How to Add a Texture Image
Step 1
Open the Biscuits image, and pick the Elliptical Marquee Tool to select one of the cookies in the image. You can select only the part you want to use as well.
Go to Edit > Copy to copy the selected part.


Step 2
Go back to the original document and go to Edit > Paste to paste the copied biscuit texture.
Place the pasted layer inside the letter's group on top of the Text and Stroke group. Then, right-click the biscuit texture layer, and choose Create Clipping Mask.
Press Command-T to enter Free Transform Mode, and resize and rotate the texture until you like how it looks.
Hit Return to commit the changes.


6. How to Contract a Selection
Step 1
Command-click the text layer's thumbnail to create a selection.


Step 2
Go to Select > Modify > Contract, and change the Contract By value to 5.


Step 3
Create a new layer at the top of the letter's group and name it Glaze 01.
Fill the selection with White, and press Command-D to deselect.


Step 4
Duplicate the Glaze 01 layer and name the copy Glaze 02, and change the copy's Fill value to 0.


Step 5
Place both glaze layers in a group and name it Glaze.


7. How to Create a Smooth Glaze Style
Double-click the Glaze 01 layer to apply the following layer style:
Step 1
Add a Bevel and Emboss with these settings:
- Size: 9
- Soften: 9
- Check the Anti-aliased box
-
Highlight Mode: Soft Light
-
Color:
#b08965
-
Color:
-
Shadow Mode:
-
Color:
#b69c5e - Opacity: 35%
-
Color:


Step 2
Add a Contour with these settings:
- Contour: Half Round
- Check the Anti-aliased box.


Step 3
Add a Texture with these settings:
- Pattern: Clouds
- Depth: 25%


Step 4
Add an Inner Shadow with these settings:
-
Color:
#d3d1c8 - Opacity: 35%
- Distance: 3
- Size: 7


Step 5
Add a Color Overlay with these settings:
-
Color:
#f1efde


Step 6
Add a Drop Shadow with these settings:
- Blend Mode: Linear Burn
-
Color:
#2c1c0b - Opacity: 15%
- Distance: 3
- Size: 3


This will create a soft glaze style.


8. How to Create a Textured Glaze Style
Double-click the Glaze 02 layer to apply the following layer style:
Step 1
Add a Bevel and Emboss with these settings:
- Size: 7
- Soften: 7
- Uncheck the Use Global Light box
- Angle: 85
- Altitude: 26
- Check the Anti-aliased box
-
Highlight Mode: Vivid Light
-
Color:
#ffffff
-
Color:
-
Shadow Mode: Linear Burn
-
Color:
#b1997c - Opacity: 28%
-
Color:


Step 2
Add a Contour with these settings:
- Contour: Half Round
- Check the Anti-aliased box.


Step 3
Add a Texture with these settings:
- Pattern: Satin
- Depth: 26%


This will create a more textured glaze.


9. How to Create More Letters
Repeat the same steps to create any more letters you need.
Use the Free Transform Mode to rotate the letters and place them however you like.
You don't need to re-apply all the layer styles for each layer. Instead, you can right-click the styled layer, choose Copy Layer Style, right-click the new layer you want to apply the same layer style to, and choose Paste Layer Style.
Once you're done, place all the letter groups in another group and name it Text.


10. How to Create a Sprinkles Brush Tip
Now let's create another useful and realistic cookie brush in Photoshop. Pick the Brush Tool and open the Brush panel.
Choose a hard round tip and use these settings:
Brush Tip Shape


Shape Dynamics


Scattering


11. How to Create a Sprinkles Style
Step 1
Create a new layer on top of the Text group, and place it in a group with the name Sprinkles.


Double-click the new layer to apply the following layer style:
Step 2
Add a Bevel and Emboss with these settings:
- Size: 6
- Uncheck the Use Global Light box
- Angle: 98
- Altitude: 53
- Check the Anti-aliased box
-
Highlight Mode: Vivid Light
- Opacity: 5%
- Shadow Mode: Color Burn


Step 3
Add a Contour with these settings:
- Contour: Rounded Steps
- Check the Anti-aliased box.
- Range: 59%


Step 4
Add a Color Overlay with these settings:
-
Color:
#f88dc7
This is where you can choose the color of the sprinkles on the styled layer, so you can choose any color you like.


Step 5
Add a Drop Shadow with these settings:
-
Color:
#2a2826 - Opacity: 20%
- Distance: 2
- Size: 3


12. How to Add Sprinkles
Step 1
Rename the styled layer to the color you chose for the Color Overlay effect, and copy its layer style.
Click-drag slightly over the letters to add the sprinkles. You can change the tip of the cookie brush in Photoshop by Spacing and Scattering values as needed to create an effect you like.


Step 2
Create new layers, name each one with the color you want its sprinkles to be, and paste the layer style to it.
All you need to do to change the sprinkles' color is double-click the sprinkles layer, and choose a new Color value for the Color Overlay effect.


Step 3
You can add as many sprinkle layers and colors as you like to fill the text with.


13. How to Add Global Adjustments
Step 1
Once you're done adding the sprinkles, put the Text and Sprinkles groups in another new group and name it Cookies.


Step 2
Add a Levels adjustments layer and clip it to the Cookies group.
Then, change the Highlights value to 6, the Gamma to 0.90, and the Shadows to 248.


Step 3
Add a Vibrance adjustments layer and clip it to the Cookies group, and change the Vibrance value to 20.


Step 4
Add a Brightness/Contrast adjustments layer and clip it to the Cookies group, and change the Contrast value to 15.


Step 5
Place the Cement texture image on top of the Gradient fill layer, resize it to fit within the document, and rename its layer to Texture Overlay.
Change the Texture Overlay layer's Blend Mode to Linear Burn and its Opacity to 50%.


Congratulations! You're Done!
In this tutorial, we created a gradient background and text layers. Then, we created a simple cookie brush Photoshop tip, used it to stroke the text, and styled the text and stroke layers to create the main cookie shape.
After that, we created and styled glaze layers, and created a sprinkles brush tip that we added on top of the glazed cookies and styled with different colors. Finally, we used a couple of adjustment layers to add global adjustments to the effect.


5 Awesome Cookie Photoshop Text Effects on Envato Elements
We just learned how to make a text brush in Photoshop. But what if you need to save time? Luckily, you don't need to start from scratch every single time.
Envato Elements offers a wide range of premium options designed by the pros. Here are five of the best cookie Photoshop text effects from the Envato library:
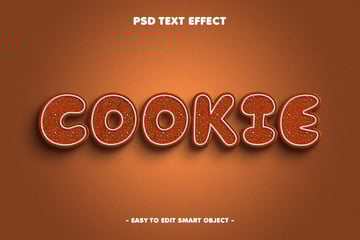
1. Cookie Text Effect (PSD)

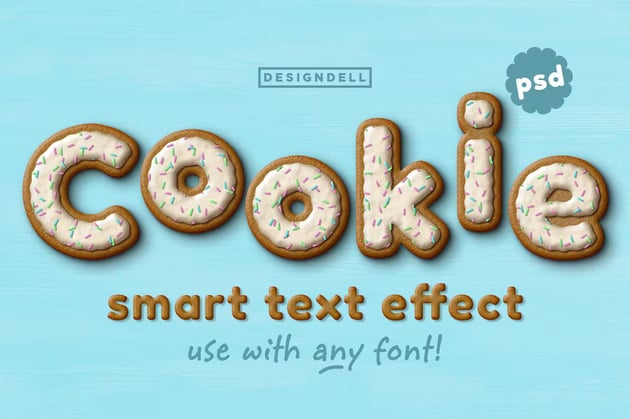
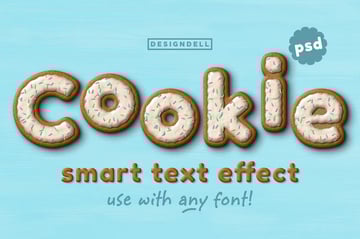
Try not to take a bite with this delicious cookie text effect. It's a high-quality file with smart layers. Apply it to any font and make edits as needed!
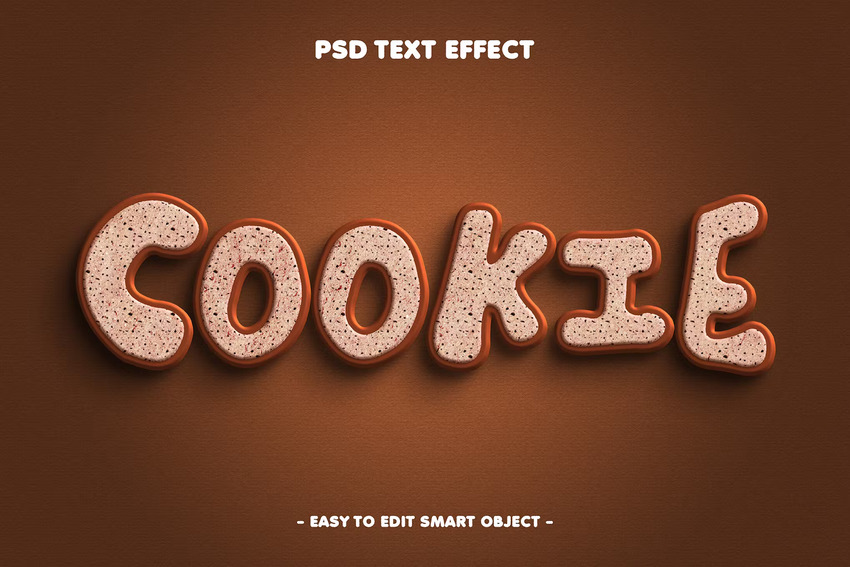
2. Cookie Editable PSD Text Effect (PSD)
Here's a simple yet yummy text effect for your Photoshop projects. The file is available in RGB color mode. You can edit the text, the sunburst appearance, and the background color.
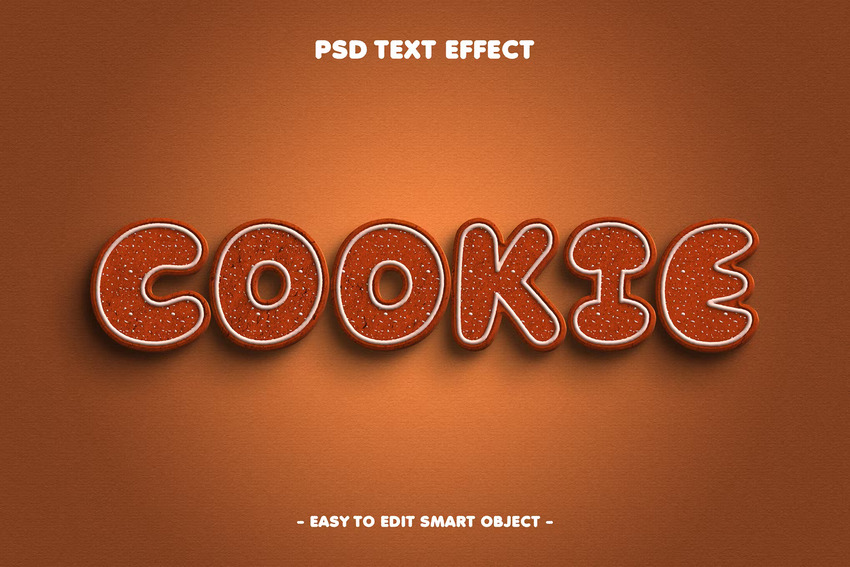
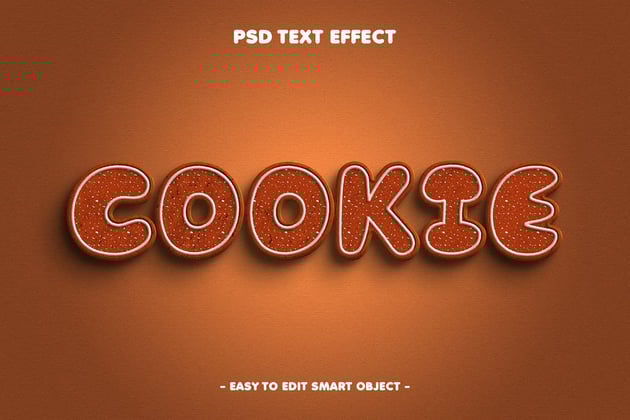
3. Chocolate Cookie 3D Layer Style Text Effect (PSD)
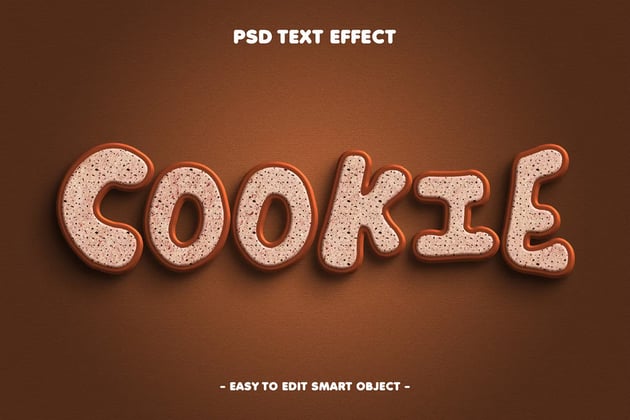

Make your text look as if it's fresh out of the oven with this cool cookie text effect. It's a 3D design with a realistic look. Easily make edits with well-organized layers and folders.
4. Chocolate Bite Editable PSD Text Effect (PSD)
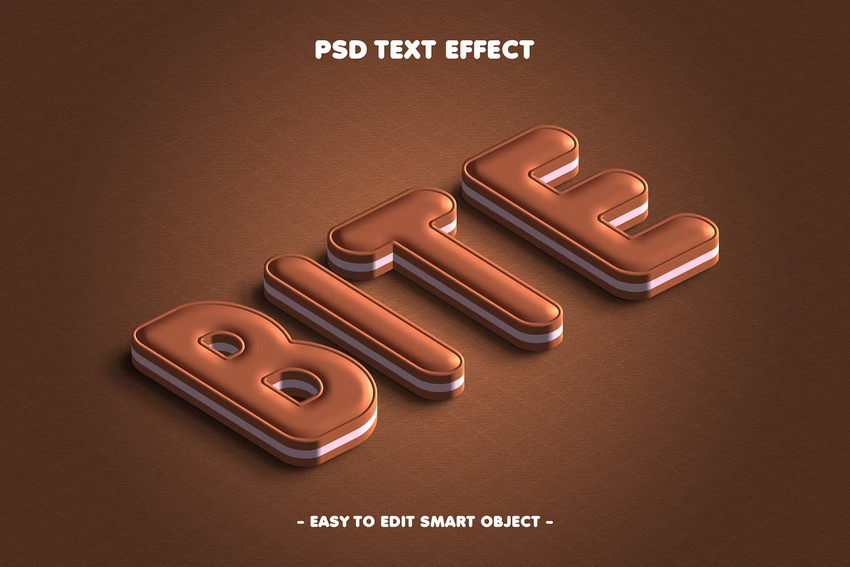
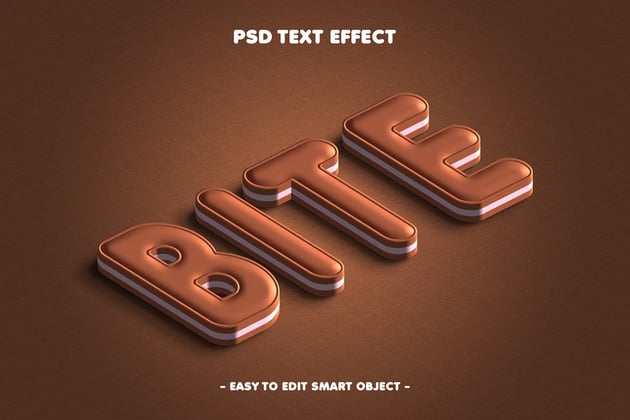
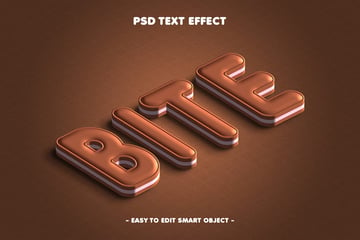
If you're looking for a chocolate cookie-like design, try this one out. It's a smart object that's super easy to edit. Easily customize it with the help of the included user guide.
5. Choco Editable PSD Text Effect (PSD)

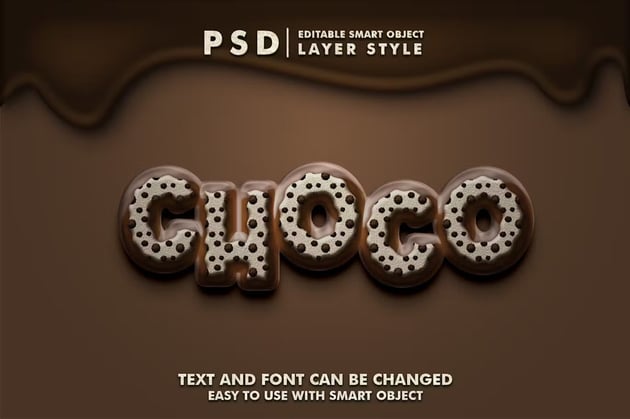
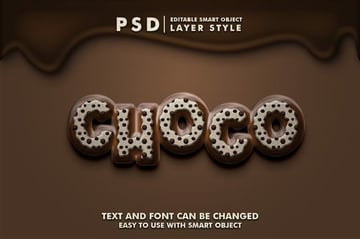
Are you a fan of cookies 'n cream? Then you have to get this high-resolution cookie text effect! You can change both the text and the font. The edits are easy to make thanks to organized layers in a smart object file.
Learn More
Now you know how to make a text brush in Photoshop with a cookie theme. What's next? Here are some great tutorials that you don't want to miss.

 How to Create a Delicious Jelly Bean Text Effect in Photoshop


 How to Create a Cherry Pie Text Effect in Adobe Illustrator

 How to Create a Realistic Biscuit Style With Only One Shape in Adobe Illustrator

 How to Create a 3D Text Effect Action in Photoshop


 How to Create a Honey Text Effect in Photoshop


 Create a One-Layer Retro Text Effect in Adobe Photoshop
 By
By


