Illustrator in 60 Seconds: The Snap to Pixel Option


Welcome to our Illustrator in 60 Seconds series, in which you can learn an Illustrator skill, feature, or technique in just a minute!
Illustrator in 60 Seconds: Snap to Pixel
Ever wondered why sometimes you're shapes don't look as crisp as they should?
Well, if that's the case, you should definitely check out this video that talks about the Snap to Pixel option, which will help you understand how to use this Illustrator feature to create pixel-perfect artwork.

How to Use the Snap to Pixel Option in Adobe Illustrator
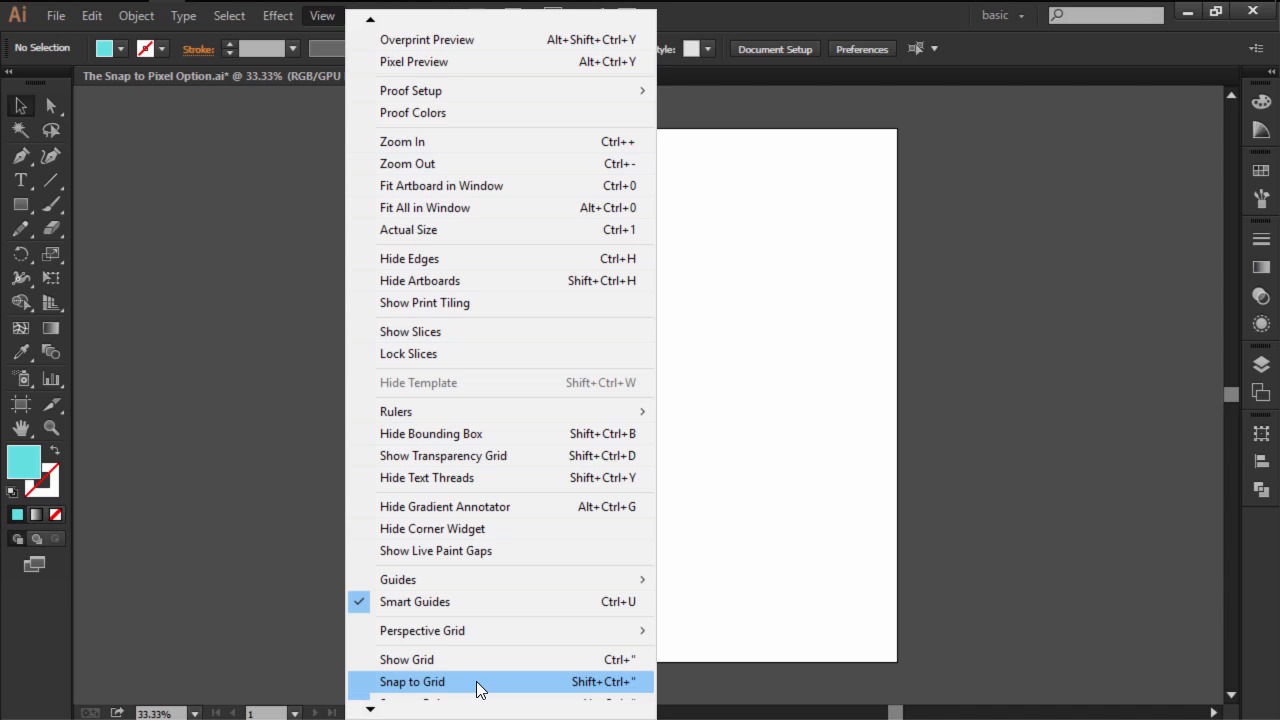
The Snap to Pixel option only becomes available when you turn on the Pixel Preview Mode, which allows you to see the actual underlying pixel grid.


Go to the View menu, and see that the snapping option has changed from Grid to Pixel, which means that we can now enable it.


Instruct each shape to adhere to the pixel grid by making sure they occupy four pixels. You can create shapes and they will always magically snap to the nearest pixel, giving you full control over your process.


Want to see this in action? Check out the video above to see this lesson at work!
A Bit More Detail
Want to learn more about Adobe Illustrator's vast tools and settings? Check out these tutorials below:


 The A to Z of Adobe Illustrator

 Mary Winkler20 Jan 2014

 Layers vs. Artboards: Comparing the Methods for Exporting Icon Packs

 Andrei Stefan07 Oct 2015

 How to Scale Icons Correctly in Adobe Illustrator

 Andrei Stefan09 Dec 2015

 Quick Tip: Advantages of Using the Clipping Mask Over the Pathfinder Panel

 Andrei Stefan16 Sep 2015
60 Seconds?!
This is part of a series of quick video tutorials on Envato Tuts+ in which we introduce a range of subjects, all in 60 seconds—just enough to whet your appetite. Let us know in the comments what you thought of this video and what else you'd like to see explained in 60 seconds!


