Illustrator in 60 Seconds: Create Textures Using the Grain Effect


Welcome to our Illustrator in 60 Seconds series, in which you can learn an Illustrator skill, feature, or technique in just a minute!
Illustrator in 60 Seconds: Create a Grain Effect
Textures are one of those graphic elements that can take your design to the next level. Even though there are tons of packs out there, I strongly believe that everyone should be able to create their own using the Grain Texture Effect from within Illustrator. So, if you're new to the process, take a couple of moments and go through this quick video which will show you the basics you need in order to get started.

Creating a Grain Texture Effect in Adobe Illustrator
Create a New Document. Using the Rectangle Tool, create a square and position it to the center of the board.


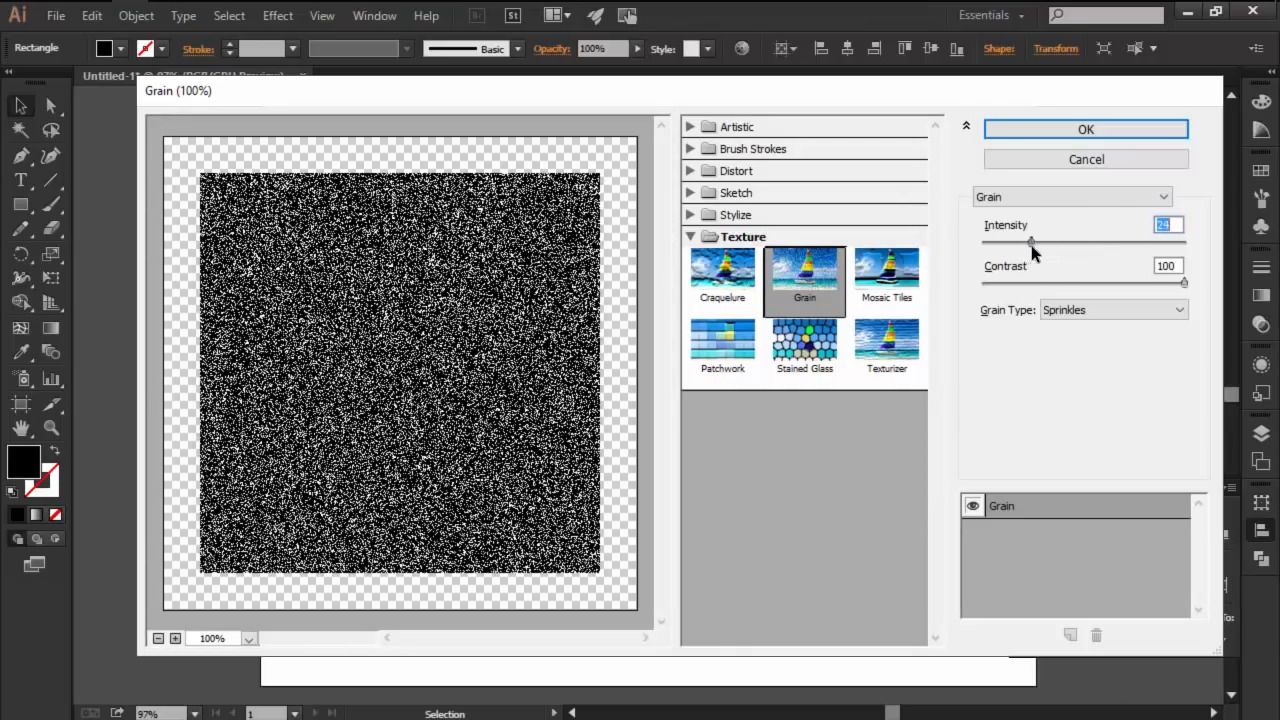
Then go to Effect > Texture > Grain. A little window will pop up giving you some options to play with.


The first one is Intensity, which allows you to control the amount of grain or white noise that is added to the final texture.


Next, is Contrast, which lets you control the overall contrast of your texture. And finally we have Grain Type, which gives you the option to choose between ten different grains. Which, of course, will produce different results.


Once you're pleased with the look of the texture, hit OK in order to apply the effect. You can now apply it to a new project by Pasting it over the illustration then adjusting the Blend Mode and Opacity.


Want to see this in action? Check out the video above to see this lesson at work!
A Bit More Detail
Want to learn more about Adobe Illustrator's vast tools and settings? Check out these tutorials below:


 The A to Z of Adobe Illustrator

 Mary Winkler20 Jan 2014

 Quick Tip: Advantages of Using the Clipping Mask Over the Pathfinder Panel

 Andrei Stefan16 Sep 2015

 Layers vs. Artboards: Comparing the Methods for Exporting Icon Packs

 Andrei Stefan07 Oct 2015

 How to Create Pixel-Perfect Artwork Using Adobe Illustrator

 Andrei Stefan19 May 2015
60 Seconds?!
This is part of a series of quick video tutorials on Envato Tuts+ in which we introduce a range of subjects, all in 60 seconds—just enough to whet your appetite. Let us know in the comments what you thought of this video and what else you'd like to see explained in 60 seconds!


