


Vectoring hair to create a realistic hair illustration can be a time-consuming process and is sometimes difficult to master in a short space of time. A few years back, I wanted to help solve this issue by creating a set of Adobe Illustrator hair brushes.
In this tutorial, I'm going to show you how to create one set of brushes (four individual brushes) and then how to create a free-flowing, detailed hairstyle with them. You can easily adapt this process to create hairstyles and a new hair brush in Illustrator.
Follow along with us over on our Envato Tuts+ YouTube channel to learn how to use Adobe Illustrator to vector hair:

What You'll Learn
- How to create Adobe Illustrator hair brushes
- How to make brush strokes with a hair brush
- How to use a hair brush in Illustrator
- How to vector hair in Illustrator
- How to create a realistic hair illustration
- Tips for drawing hair in Illustrator
1. How to Create a Tapered Art Brush
Let's start by creating a basic tapered hair brush in Illustrator. This is the base shape for this set of brushes but also a handy brush for drawing individual hairs.
Step 1
Using the Ellipse Tool (L), click once on your canvas, and in the popup, set the Width to 30 px and the Height to 2 px. Click on OK. Make sure your ellipse is filled with black.


Step 2
Using the Direct Selection Tool (A), select the rightmost point on the shape. Then click on the Convert selected anchor points to corner button to turn the curve into a point. This will give you one tapered point.
Repeat this with the leftmost point. This will complete your tapered shape.


Step 3
With the shape selected, in the Brushes panel click on the button Create New Brush. Select Art Brush from the popup, and you'll be presented with the Art Brush Options window.
The key setting you'll need to change is the Colorization Method to Tints. As your shape is black, it means it will take on the 100% saturation of the colour you select. Therefore, whatever your stroke colour will be, your brush will take on this colour.
I've named this brush Tapered Brush, and then I click on OK.


2. How to Create a Hairline Brush
The hairline of any portrait is often neglected and often missing in vector portraits. This is mainly because it's time-consuming and difficult to perfect. However, by creating a scatter brush, you can create a near-realistic hairline effect. So instead of drawing one stroke per hair, you're only creating one stroke for the entire hairline!
Step 1
You should still have your tapered shape. So for now, Copy and Paste it and hide the original.
Select your duplicate and go to Object > Transform > Rotate. Let's rotate the shape by 90 degrees and click on OK.


Step 2
With the shape still selected, in the Brushes panel, click on Create New Brush and then select Scatter Brush.
The settings I want you to change are:
- The Spacing to 5%. This is so the brush will overlap on itself.
- The Scatter to Random and then 25%/0%. This is so the brush alters its placement above and below where the line is placed.
- The Rotation relative to: Path as I want the brush to stay perpendicular to the direction of the path you're drawing.
- Finally, good old Colorization Method to Tints.
Then click on OK.


3. How to Create a Hair Shine Brush
The hair shine brush can be used for multiple things, depending on how you tailor the brush. This specific version will help you create a textured shine on the hair. When layered at different Opacities, it can give a realistic touch to a silhouette design.
Step 1
You should still have your vertical tapered shape. Copy and Paste this and, using the Selection Tool (V), move it to the side of the first. Repeat this until you've got five to eight shapes as shown below.


Step 2
With the shapes selected, let's create a New Art Brush. The main settings to pay attention to are:
- Direction is vertical (up/down or down/up doesn't matter with this one).
- Colorization Method: Tints.
Click on OK once you're done.


4. How to Create a Hair Piece Brush
This particular brush is useful for drawing multiple clumps of strands in one stroke. This is a great time-saving brush and can be useful for long or short styles of hair.
Step 1
First, remove your vertical tapered shape, and let's go back to the original horizontal shape.
Using the Rectangle Tool (M), draw over half of the shape. With Smart Guides (Control-U) enabled, you'll be able to find the midpoint of the tapered shape more easily.
Select both shapes, and with the Pathfinder panel, select Minus Front. You'll be left with half of the tapered shape.


Step 2
Let's start by Copying the tapered shape. Using the Direct Selection Tool (A), click on the rightmost point and drag it out.
Paste in Front (Control-F), and then drag out the rightmost point again but this time pulling it to the side.
Paste in Front, drag out the rightmost point again, and place it in a new location. Continue doing this until you've got a fanned-out collection of tapered shapes, with the two vertical points at the left remaining in place.


Step 3
Select all of the fanned-out, tapered points, and create a New Art Brush. The settings to pay attention to are the Direction to be left to right (so your starting point is the root of the clump of hair) and the Colorization Method to Tints. Then click on OK.


5. How to Use Vector Hair Brushes
Let's look at the four Adobe Illustrator hair brushes you've created. These are all the same Stroke Weight, apart from the clump of hair, which is 3 pt. They've been applied to a straight horizontal line.


For this exercise, I'm going to be using a blank head shape which is included in the Easy Hair Brushes pack so you can practise. However, you can apply these to any head base you wish.


Step 1
This hairstyle is going to be in silhouette, with some added shine in greyscale. With the Pen Tool (P), draw a line which traces along the hairline. Don't bring this completely to the bottom of the sideburns on a feminine face. You can, however, do this on a more masculine face to create trendy, 70s-style sideburns.


Step 2
Using the tapered brush and the Paintbrush Tool (B), add some hairs to merge the sideburns into the hairline.


Step 3
With the Pen Tool (P), draw an arched shape with a black fill for the mass of hair which covers the rest of the head. This completed hairstyle is an overall great base to practice further hairstyles on. So if you're not keen on the free-flowing style that's coming, you can go back to this point and start again.


Step 4
Create a New Layer behind your portrait to add hair with the Hair Piece Brush with the Paintbrush Tool. The smaller the Stroke Weight, the more detailed the hair strokes will be. You'll achieve the right brush strokes with a hair brush that has the right settings.


My advice is to start with a larger stroke (such as 8 pt) to create the main structure of the hair, and then come down gradually to 1 pt to add finer strands for a more realistic look.


Step 5
With the original Tapered Brush, you can add smaller individual hairs which flow away from clumps of hair. This helps to break any patterns you may have created with the Hair Piece Brush.
It's also great to have individual hairs overlapping onto the face or shoulder as that adds effortless detail.


Step 6
With the Hair Shine Brush, draw long and short strokes within the mass of hair set to Blending Mode Normal, Opacity 10%, and with a white stroke.


Make the strokes overlap to create more intense shine effects in the hair.


Step 7
Finally, work with the tapered brush by adding white strokes to add further realistic shines. Set these to Opacity 20% to stand out. And there it is: you created realistic hair in Adobe Illustrator!


Awesome Work, You're Done!
Drawing hair in Illustrator has never been easier. You'd be surprised how quickly you can create hairstyles with these vector hair brushes and how realistic you can make them. With practice, it will take you minutes rather than hours.
By creating several different brushes to fit different hair lengths, textures, and styles, you can create many different looks. It's a great way to draw hair in Adobe Illustrator.


5 Amazing Brushes for Illustrator From Envato Elements
You can draw the perfect brush strokes with a hair brush created by the pros. But there's so much more you can achieve beyond drawing hair in Illustrator. There are brushes for every purpose.
Look at the following premium brushes from Envato Elements to draw hair in Adobe Illustrator—or anything else you want:
1. Essential Artistic (AI)
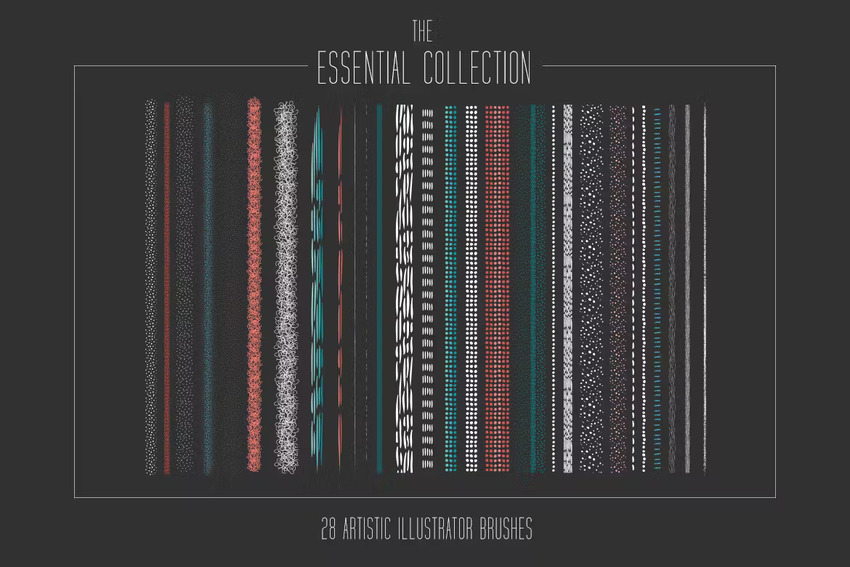
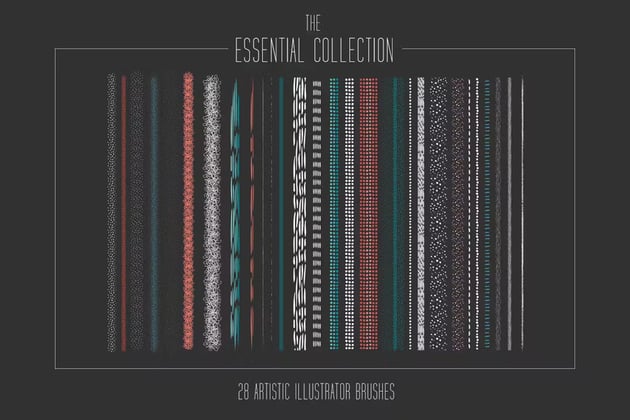
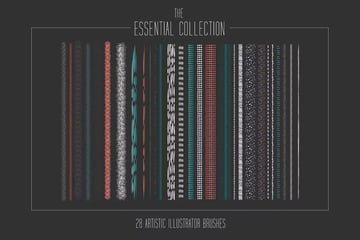
This fantastic set features 28 pro brushes to create all kinds of textures in Illustrator. Use them for your next hair illustration or to create many more designs.
2. Vector Grain Brushes (AI)

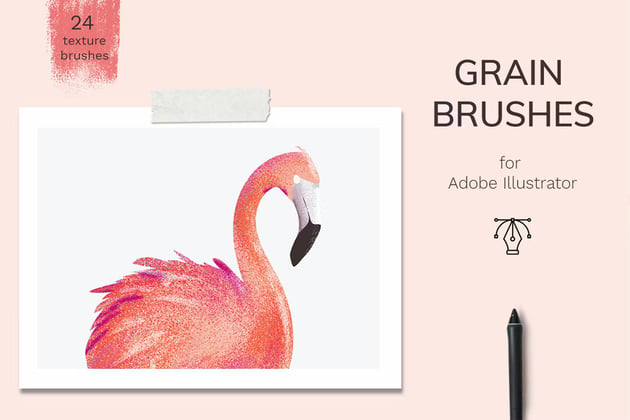
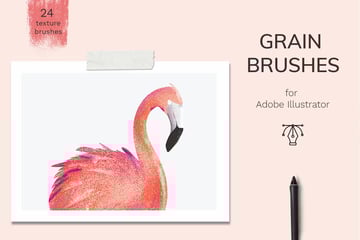
You don't necessarily have to use Adobe Illustrator hair brushes to create a hairy texture. These brushes are proof of that! With this pack, you'll get 24 beautiful vector grain and texture brushes for Adobe Illustrator.
3. Stipple Brushes (AI)

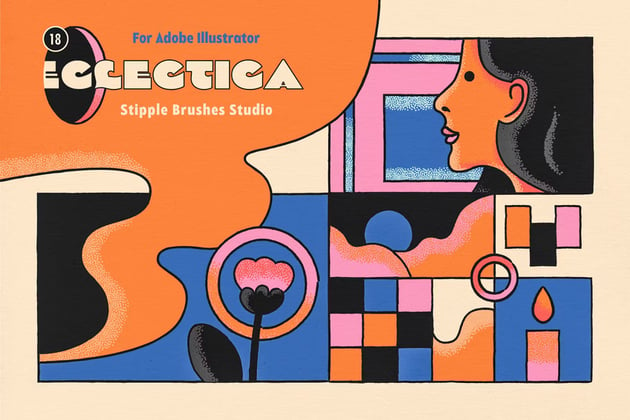

What about a pack of 18 retro, high-quality brushes? Take one and try it as a hair brush in Illustrator. Take another to draw skin textures, clothes, backgrounds, and so much more. There are nine stroke brushes and nine stipple brushes in total. The possibilities are endless!
4. Stipple Brush Set (ABR, AI, EPS)


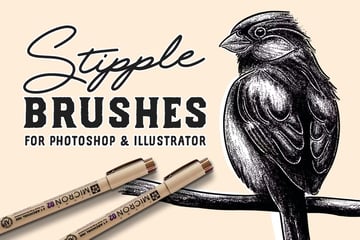
This download comes with no less than 62 brushes: 32 for Photoshop and 30 for Illustrator. You can use them to draw landscapes, portraits, a hair illustration, or anything you can imagine.
5. Cut Edge Brushes (AI)


You may want to vector hair or make a completely different design. What about a brush that allows you to do all of that? This pack includes not one, but 52 of them.
Want to Learn More?
We've gone through the steps of how to create your very own Adobe Illustrator hair brushes, how to vector hair, how to make brush strokes with a hair brush, and everything in between. But drawing hair in Illustrator isn't all you can do with brushes.
Let's keep diving into the use of brushes, and why not try some of the amazing premium tools from Envato Elements?

 Adobe Illustrator for Beginners


 How to Make a Watercolor Brush in Adobe Illustrator


 How to Make a Brush in Illustrator

 Create a Set of Art Brushes to Make a Linocut-Style Illustration

 How to Create a Stipple Brush In Illustrator (+5 Top Stippling Brushes)

 How to Create a Chinese Ink Brush in Illustrator


 By
By


