


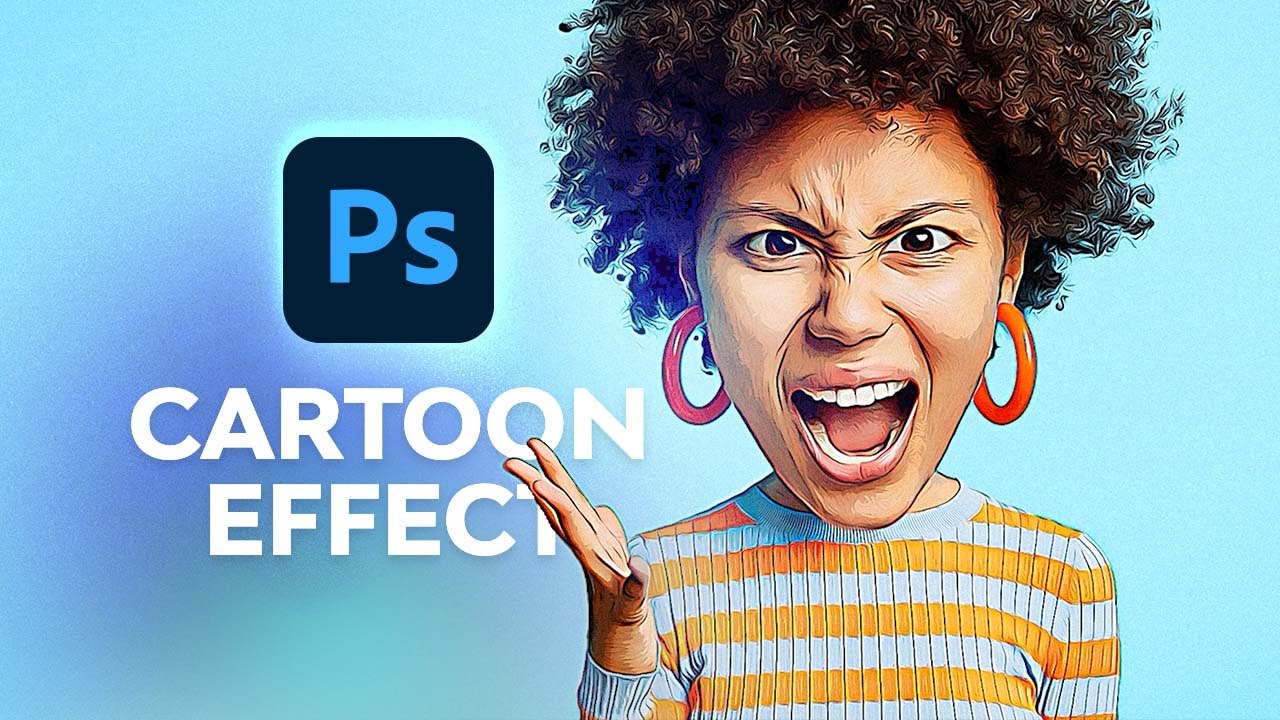
This could be the best Photoshop cartoon effect you'll make this year, so if you want to learn the step-by-step process, keep reading!
If a video Photoshop cartoon filter video tutorial is more appealing to you than a written tutorial, click the play button below to learn how to cartoonize a photo in Photoshop on the Envato Tuts+ YouTube channel:
As a quick starting point, if you want to achieve the photo to cartoon Photoshop effect with a one-click cartoon effect Photoshop action, you could try an asset like 4 in 1 Cartoon & Vector Art Photoshop Actions. I'll also show you how you can quickly load and run this action, and we'll explore more cool cartoon Photoshop actions as well.
Jump to content in this section:
- How to Resize the Image for a Faster Workflow
- How to Cut Out the Subject From the Background
- How to Create a New Background
- How to Make Her Head Much Bigger!
- How to Resize the Subject's Eyes, Nose, and Chin
- How to Create the Cartoon Effect by Adding Photoshop Smart Filters
- How to Obtain a Very Similar Cartoon Effect in Photoshop With One Click
- 5 Top Cartoon Action Photoshop Kits From Envato Elements
What You'll Learn in This Photoshop Cartoon Effect Tutorial
- How to cut out the subject from the background
- How to make the subject's head much bigger
- How to make size adjustments for the eyes, nose, and chin
- How to use a variety of special effects already built into Photoshop to create the final caricature look
- How to use caricature actions to achieve a similar effect with one click
What You'll Need
1. How to Resize the Image for a Faster Workflow
Let's start this cartoon effect Photoshop tutorial. Go to Image > Image Size, make sure the chain is active, and enter 2500 px in Width. The image will be resized proportionally. Press OK.


2. How to Cut Out the Subject From the Background
Step 1
Choose the Quick Selection Tool and then Select Subject. Photoshop's machine learning will try to make an appropriate selection.


Step 2
Refine the selection with the Quick Selection Tool still active. Brush over the areas that were not selected automatically. Use a hard brush and adjust its size accordingly for this step. This will create a clean outline for our Photoshop cartoon effect.


Step 3
Grab the Lasso Tool. You can add to the selection by holding Shift and take away from the selection by holding Alt. Repeat these for more places that still need refinements.


Step 4
Enter Select and Mask and make sure the View Mode is set to Overlay. Choose the Refine Edge Brush, adjust it to a medium size, and make sure it's very soft.


Step 5
Brush on the margins of the hair on the lighter areas. This will gradually remove the background. Then enter -10 in the Shift Edge box to contract the selection. From Output, choose Layer Mask and press OK.


3. How to Create a New Background
Next, we need a fresh color background. Create a new Solid Color adjustment layer and pick a shade of blue (#9de9ff) that closely matches the one in the original image.


You might be asking why you removed the subject from the background and then added a new background that is nearly the same color. That's because you'll be making some significant modifications to the subject in the coming steps, and you don't want to affect the background. This light blue also works as a complementary color to the orange in her blouse, as well as the skin tones. This contrast will accentuate the cartoon filter Photoshop effect.
4. How to Make Her Head Much Bigger!
Alright, here’s our next fun mission! To achieve a better Photoshop cartoon effect, we want to make her head much bigger than it is now. For this, we need to put the head on a separate layer.
Step 1
Click once on the subject’s layer mask while holding Control to load up the selection, and then choose the Polygonal Lasso Tool. Start deselecting areas by holding down Alt, following the chin line step by step in small segments.


At the end of this step, you should have a selection of the head only.


Step 2
Press Control-J to make a duplicate of the head on a new layer, which you can optionally rename “Head”.


Step 3
Select the Move Tool and make her head bigger by scaling it up using one of the corners. If you hold down Alt, the head will be resized proportionally. This is the cartoon effect in Photoshop we're looking for!


Step 4
If you zoom in and see parts of the image below the head, all you need to do is to select the layer mask of the subject layer and hide those parts very easily with a black brush, just like in the video tutorial.


You should now have a custom background, the subject's body, and a large head, all on different layers.


5. How to Resize the Subject's Eyes, Nose, and Chin
Step 1
If you want to learn how to cartoonize a photo in Photoshop, you'll need to modify your subject's facial features. Select all three layers while holding Shift, and then Right-Click > Convert to Smart Object. This will allow you to add different smart Photoshop cartoon filters on the same layer and readjust them non-destructively.
Step 2
Go to Filter > Liquify and enter the following values:
- Eye Size, Eye Height, Eye Width: 100 (left and right)
- Eye Distance: -20
- Nose Height: 100
- Forehead: -10
- Chin Height: 25


If you entered all the values correctly, you should end up with the result shown in these before and after images.


6. How to Create the Cartoon Effect by Adding Photoshop Smart Filters
Step 1
Now, we'll use filters to create a cool cartoon Photoshop look. Make a duplicate of the existing Smart Object Layer and hide it for the moment. We will work with it later.


Step 2
Go to Filter > Sharpen > Smart Sharpen and use the following values:
- Amount: 300
- Radius: 3
- Reduce Noise: 0
- Choose Gaussian Blur from the Remove drop-down list
- Press OK.


Step 3
Go to Filter > Stylize > Oil Paint and insert these numbers:
- Stylization: 4
- Cleanliness: 4
- Scale: 0.1
- Bristle Detail: 0
- Lighting: disabled


Step 4
Choose Filter > Filter Gallery, and from the list of effects, click on Poster Edges, entering these values:
- Edge Thickness: 0
- Intensity: 0
- Posterization: 2
- Click OK


Step 5
It's really starting to look like a cartoon, but there's more to do, so next let's add a Surface Blur from the Filter > Blur Menu. Set the Radius to 12 pixels and the Threshold to 15 pixels. This Photoshop cartoon effect makes the skin parts look much smoother and cleaner. Press OK.


Step 6
Let's add some sharpness and increase some highlights by going to Filter > Sharpen > Unsharp Mask. Set the Amount to 130, the Radius to 7, and the Threshold to 20.
Step 7
Unhide the second Smart Object layer and select the Overlay blending mode for this layer. Then, lower the Opacity of the layer to 55%.


Step 8
Go to Filter > Filter Gallery, and choose Poster Edges again, this time entering:
- Edge Thickness: 4
- Edge Intensity: 3
- Posterization: 4
- Press OK
These will emphasize some details in the portrait.
Step 9
From Filter > Stylize choose the Oil Paint Filter. Enter these values:
- Stylization: 10
- Cleanliness: 4
- Scale: 0.1
- Bristle Detail: 0
- Lighting: disabled
- Press OK


Step 10
Press Control-J to make a duplicate of the second Smart Object layer, change its blending mode to Pin Light, and adjust the Opacity to 40% for a subtler result.


Step 11
Double-click the Filter Gallery Smart Filter that's already added on this layer, and change the values to:
- Edge Thickness: 5
- Intensity: 7
- Posterization: 6
- Click OK
Repeat the same procedure for the Oil Paint Filter and change the values to:
- Stylization: 5
- Cleanliness: 3
- Scale: 0.1
- Bristle Detail: 0
- Lighting: disabled
- Press OK
By using these Photoshop cartoon effects, we were able to give our subject more defined edges. We incorporated a variety of filters, but the most essential thing is that you should play with your own image and modify the parameters as you wish.
Step 12
Let's level up this cartoon effect even more by using a simple technique! Make sure you select the very top layer and press Control-Shift-Alt-E to create a Stamp Visible Layer. This shortcut is very useful when you want to merge all the layers in the document on a brand new layer. Right-click on the new layer and convert it into a Smart Object.
From the Filter menu, choose the Camera Raw Filter option.


You will need to adjust some values in the following panels: Basic, Detail, and Effects. Just follow the image below for the right numbers.


You should have an image that looks fairly similar to the one below after adding additional Texture, Sharpness, a little Grain for an artistic touch, and Vignetting.


7. How to Obtain a Very Similar Cartoon Effect in Photoshop With One Click
I mentioned a 4 in 1 cartoon action Photoshop pack at the beginning of this article. Let's load the actions into Photoshop. It's just as easy as it sounds—trust me!
- Save the action to any folder you like.
- Open up the Actions panel in Photoshop by going to Window > Actions.
- Load the cartoon actions file from the folder you saved it in.
- Select the action you want to apply.
- Press the Play button and let it run.
The steps I mentioned are shown in the image below.


Here's an example achieved by using one of the four actions from this cartoon action Photoshop pack.


Congrats for Your Patience! You're Done!
This is how to cartoonize a photo in Photoshop. The rest of the phases are built on inputting values and duplicating layers, while learning how to turn a photo into a cartoon in Photoshop by making all the right moves. Of course, you should have a lot of fun with this effect on top of everything!
5 Top Cartoon Action Photoshop Kits From Envato Elements
Here are a few more cartoon Photoshop actions that deserve your attention. They can be imported in Photoshop just like I explained above.
Cartoonic: Cartoon Effect Photoshop Action (ATN)


This cartoon action in Photoshop will give your photographs a cartoonish look and feel. The Photoshop cartoon filters are quite versatile and may be used on a wide variety of photographs, including fashion, lifestyle, blogging, and even moody product shots.
Photo to Cartoon Photoshop Effect (ATN)


This professional cartoon action Photoshop kit is designed to give a professional cartoon painting effect to your photographs. Photoshop's powerful tools are used to produce this realistic smudge painting effect. Turn an image into a cartoon in Photoshop with just a few clicks.
Cartoon Painting Effect Photoshop Action (ATN)


With a single click, you can turn an image into a cartoon in Photoshop. Give your photograph a stunning makeover. Using this Photoshop cartoon effect, you can quickly and easily alter your images.
Comic Book Cartoon Photoshop Effect (PSD)


In a matter of seconds, you can create the realistic appearance of a comedic cartoon Photoshop effect. This simple-to-use Photoshop cartoon effect takes advantage of smart object replacement in an Adobe Photoshop PSD file.
Cartoonize: Cartoon Action Photoshop (ATN)


Photographers and graphic designers may find this cartoon action Photoshop add-on to be a good fit in their workflow. Using this one-click action, you can convert a photo to a cartoon in Photoshop while also earning some extra time.
Looking to learn more? Don't forget to check out Envato Tuts+ and the Envato Blog for more Photoshop resources! Like this article on Getting Started with Adobe Photoshop: Top 15 Photoshop Tutorials for Beginners and the selection below:

 30 Top Comic Text & Cartoon Effects With Photoshop Actions


 How to Create a Cartoon Text Effect in Adobe Photoshop


 How to Make a Crystal Effect in Photoshop


 25+ Best New Photoshop Actions & Photo Effects for 2024

 How to Create a Pixel Stretch in Photoshop


 How to Make a Risograph Texture Effect

 22 Best Photo to Pencil Drawing Effect Actions for Photoshop

 30 Cool Photoshop Photo Effects to Add Style & Wow

 50+ Insane Comic-Book Style Photoshop Effects and Cartoon Filters


 How to Make a Pastel Color Palette in Photoshop
 By
By


