


The stylish summer flyer template below is the perfect way to promote club nights, music gigs, or festivals. Quick and easy to create using InDesign and Photoshop, it’s also simple to adapt the text to your own content too. Continue scrolling to find excellent summer flyer ideas for your events!
Looking for more easy-to-edit flyers for clubs? These premium summer flyer templates on Envato Elements come in a vast range of customizable styles. You can rest assured you're working with professionally designed and high-quality templates. You'll amaze your target audience and lure them to your summer club with their top-notch template examples.
Whether you're searching for summer flyer templates, summer festival flyer templates, summer party flyer templates, or any other cool digital asset, you'll find it on Envato Elements.


Not only that, but you can get even more amazing digital assets when you subscribe to Envato Elements! Thousands of extraordinary items for your creative projects for one low monthly fee!
Ready to party? Awesome! Let’s dive in to learn how to design a flyer in InDesign. And if you prefer a video tutorial, then you can't miss the Envato Tuts+ YouTube channel. Take a look at this new video to learn how to design a summer flyer:

What You'll Learn in This Summer Festival Flyer Tutorial
- How to set up the InDesign flyer for clubs
- How to build up images in your InDesign flyer for summer
- How to format type on your summer festival flyer
- How to add a tropical touch to your flyer for summer
- How to export your flyer for print
What You’ll Need to Create Your Flyer for Summer
You’ll need Adobe InDesign to create the main layout of the flyer and Adobe Photoshop to edit the paint splash graphic.
You’ll also need to download the following fonts and images:
Install the font on your computer, and you’re ready to start learning how to design a flyer.
1. How to Set Up the InDesign Flyer for Clubs
Step 1
Open up InDesign and go to File > New > Document. Set the Width of the page to 8.5 in and Height to 11 in. Uncheck Facing Pages.
Add a 0.5 in Margin and a 0.25 in Bleed, before clicking Create.


Step 2
Expand the Layers panel (Window > Layers) and double-click on Layer 1. Rename it Background and click OK.
Create three more new layers in this order—Palm trees, Paint stroke, and finally Type at the top of the pile.


Then lock all layers except Background, which we’ll work on first.


Step 3
Expand the Swatches panel (Window > Color > Swatches) and choose New Color Swatch from the panel’s main menu.
Set the levels to C=23 M=16 Y=20 K=1, and click Add and Done.
Repeat the process to create two more new CMYK swatches:
- C=10 M=6 Y=10 K=0
- C=88 M=46 Y=26 K=10


Step 4
Choose New Gradient Swatch from the Swatches panel’s menu.


Name the swatch Background Gradient and set the Type to Radial.
Click on the left-hand stop on the Gradient Ramp and choose C=23 M=16 Y=20 K=1 from the Swatches menu. Choose the slightly paler swatch, C=10 M=6 Y=10 K=0, for the right-hand stop.
Then click Add and Done.


2. How to Build Up Images in Your InDesign Flyer for Summer
Step 1
Next up, you need to build up images in your InDesign flyer. Working on the Background layer, use the Rectangle Frame Tool (F) to create an image frame across the whole page, extending it up to the edge of the bleed.
File > Place, navigate to the aerial view photo, and Open, allowing it to fill the frame. (Note that the original image I used is no longer available, but you should be able to create a very similar effect with the alternative I've linked to.)
Double-click inside the frame to select the image directly. Then position and rotate the image so that the woman on the pink ring is in the position shown below.


Step 2
Use the Rectangle Tool (M) to create a shape over the top, across the whole page, and set the Fill Color of this to Background Gradient.


With the shape selected, go to Object > Effects > Transparency. Set the Mode to Screen and reduce the Opacity to 90%. Click OK.


Step 3
Open up the acrylic brush strokes image in Photoshop.


Identify the ‘7’ folder in the Layers panel, and select and delete all the other folders except this.


Step 4
Select the Crop Tool (C) and crop the canvas until it fits around the paint stroke sitting inside the ‘7’ folder.


Go to Image > Rotate Canvas > 90 Degrees CW.
Expand the ‘7’ folder and switch off the visibility of the CHANGE COLOUR layer.


Step 5
File > Place the aerial view photo, scaling it and rotating it into the position shown below.


From the Layers panel, set the photo layer to Multiply.


Then drag the photo layer down to sit above the ‘7’ layer, using Alt-Click to attach it to this layer.
Then head up to File > Save, and save the image as a Photoshop (PSD) image, ready for use in your InDesign flyer.


Step 6
Head back to your InDesign flyer document, and lock the Background layer. Unlock the Paint stroke layer.
Use the Rectangle Frame Tool (F) to create a tall rectangular frame over the page. File > Place, choose your edited Photoshop image, and Place, allowing it to fill the frame.
Rotate the image frame slightly to the left to mimic the angle shown below.


3. How to Format Type on Your Summer Festival Flyer
Step 1
We're almost done with this tutorial on how to design a flyer for summer. However, before you do, you should learn to format type.
Use the Type Tool (T) to create a small text frame to the left of the image of the woman.
Type in ‘P’ and from either the top Controls panel or the Character panel (Window > Type & Tables > Character), set the Font to Breymont Bold. Try to size the font so that it matches the height of the pink ring in the photo.
Set the Font Color to [Paper] from the Swatches panel.


Copy and Paste the text frame, moving it over to the right of the woman. Adjust the text to read ‘OL’.


Step 2
Create another text frame below ‘POOL’, typing in ‘PARTY’ and setting the Font to Breymont Bold, Size 60 pt.
Increase the Tracking (letter-spacing) to 920.


Add a second text frame below this, typing in the location of the event and setting the Font to Breymont Light, Size 20 pt, Tracking 400.


Highlight any letters which cross over the paint stroke image, and adjust the Font Color of these to [Paper], to help the text stand out.


Step 3
Add more text frames below this, detailing the acts playing at the event or other details, setting the Font to Breymont Bold.


As before, pull out any crossover text in a [Paper] Font Color.


Add a text frame across the bottom margin line, adding details about tickets or a website.


Step 4
Choose the Polygon Tool from the Tools panel (you’ll find this inside the Rectangle Tool’s drop-down menu), and click once anywhere on the page.
In the Polygon window that opens, set the Number of Sides to 3, and click OK.


Move the triangle you’ve created over to the top-right corner of the layout. From the Stroke panel (Window > Stroke) set the Weight to 6 pt, and adjust the Stroke Color to [Paper] from the Swatches panel.


Step 5
Add a text frame over the top of the triangle, typing in the date and setting the Font to Breymont Bold.
Add a second text frame below, and type in the month, setting the Font to Breymont Light.
Set the Font Color of both frames to C=88 M=46 Y=26 K=10.


4. How to Add a Tropical Touch to Your Flyer for Summer
Step 1
Lock the Type layer and unlock the Palm trees layer below.
Create an image frame using the Rectangle Frame Tool (F) behind the top-right side of the paint stroke image. File > Place, and navigate to the ‘36_Tropical_leaves_vector.eps’ image, scaling it so that just one leaf is visible in the frame.
Allow the leaf to peek out from behind the paint stroke.


Step 2
Copy and Paste the image frame, and move it over to the middle left side of the paint stroke, rotating the image slightly so that it fans out from behind the paint stroke.


Paste a couple more image frames and position them over on the right side again, creating a built-up fan effect.


5. How to Export Your Flyer for Print
Step 1
Your flyer artwork is finished, and ready for exporting to a print-ready format.
To do this, go to File > Export. Name the file ‘Pool Party Flyer’, and choose Adobe PDF (Print) from the Format drop-down menu. Click Save.


Step 2
In the Export Adobe PDF window that opens choose Press Quality from the Adobe PDF Preset menu at the top.


Click on Marks and Bleeds in the panel’s left-hand menu. Check both All Printer’s Marks and Use Document Bleed Settings.
Then click Export.


InDesign will generate a press-ready PDF you can send straight off to be professionally printed. Great job!
Conclusion: You've Finished a Flyer for Clubs!
It's been quite a journey to learn how to design a flyer. However, your flyer for summer is finished and printed, ready for distribution. Awesome work!
In this tutorial for a summer festival flyer, you’ve picked up some handy skills for applying to InDesign flyers and other print projects in the future. You now know how to:
- Create layouts for your Adobe InDesign flyers.
- Edit images in Photoshop to add cool graphics to your layouts.
- Format typography to a high standard.
- Export your artwork for professional printing.
And hopefully, you also picked up a bunch of summer flyer ideas!
Looking for more club flyer designs? These easy-to-edit templates on Envato Elements come in a huge range of styles and customizable designs.


5 Professionally Designed Premium Summer Flyers for Clubs From Envato Elements
Do you need an awesome summer flyer template design right this second? If you don't have the time or energy to follow the easy step-by-step tutorial above, don't despair! Here you'll find just five of the thousands of summer party flyers from Envato Elements!
All of these are professionally designed, high-quality options that you can edit easily and customize to perfection!
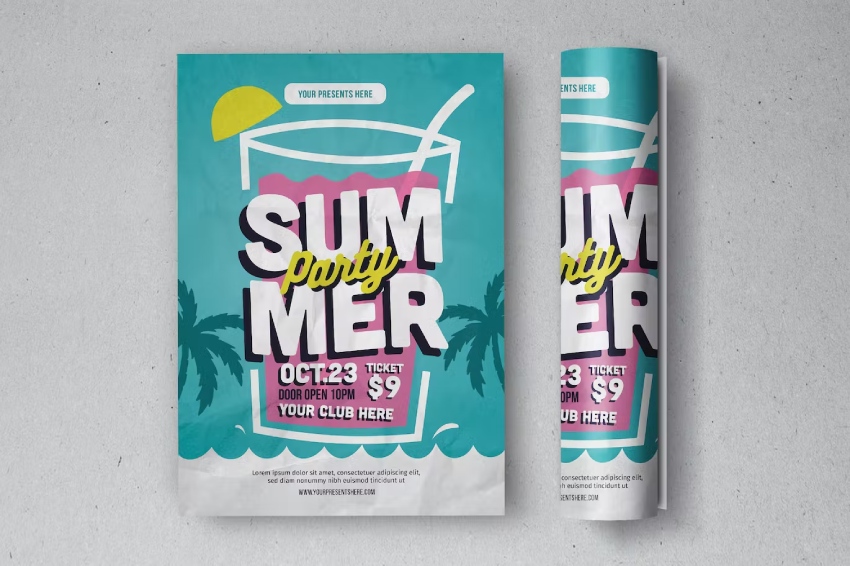
1. Summer Club Flyer (PSD)


Get eyes on your summer club with this out-of-the-ordinary summer party flyer template. It's completely customizable, meaning you'll be able to add your information and images easily. With this creative and elegant option, you'll catch the attention of any partygoers waiting for the grandest event of the season!
Download it now and get the party started with cool summer flyer ideas!
2. Summer Festival Flyer Template Design (AI, PSD)
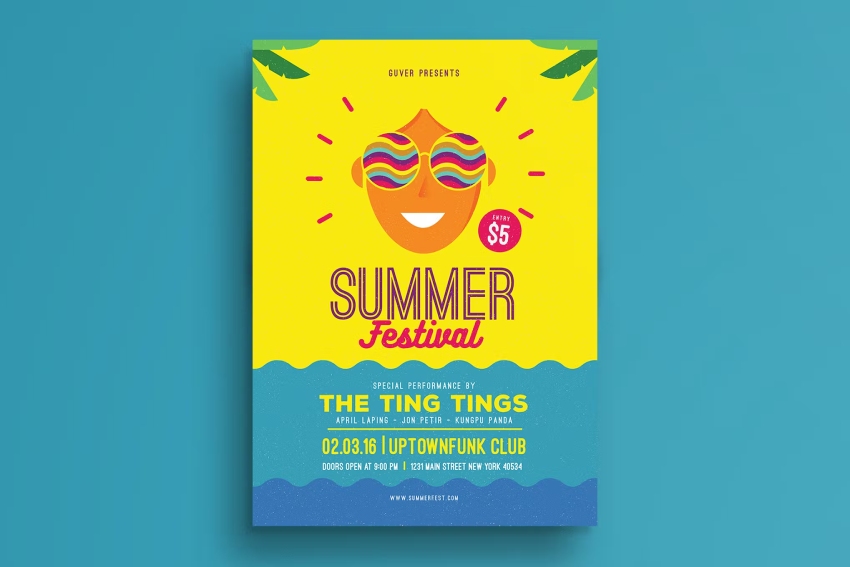
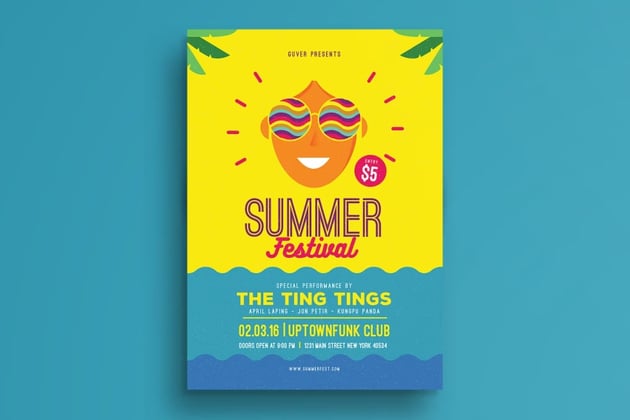
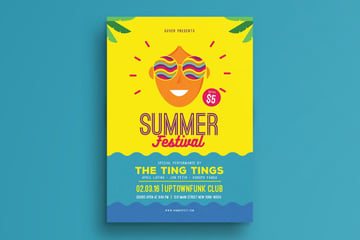
Do you want to ensure people will hear about and attend your summer party? Then you can't go wrong with this bright, cheerful, and fun summer party flyer. Whether you're advertising a pool party, summer festival, or other events, this flyer will get the word out.
Plus, you can customize this flyer for summer easily in Illustrator or Photoshop!
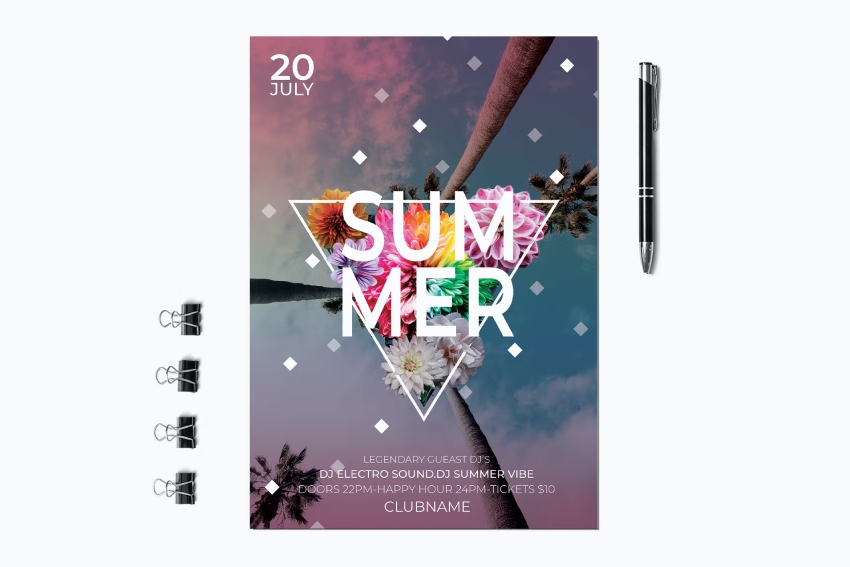
3. Summer Holiday: Top Flyer for Summer (AI)
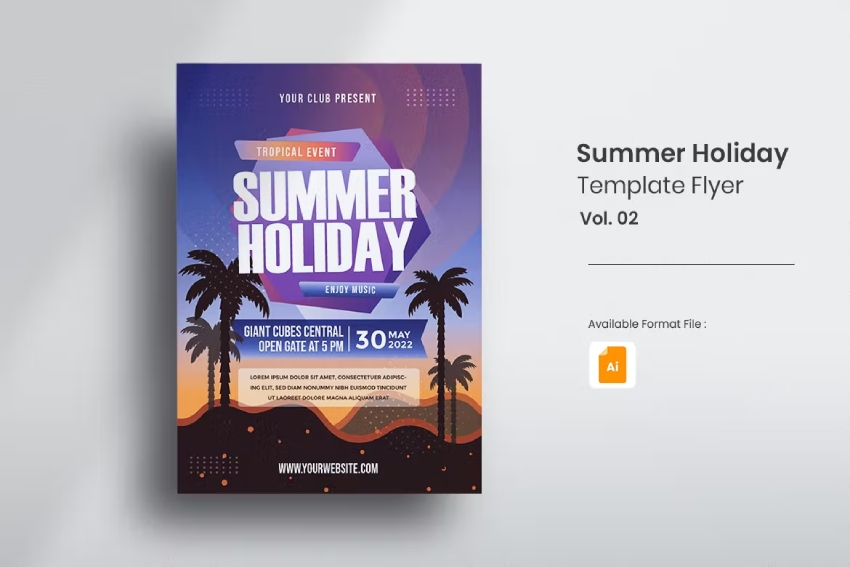
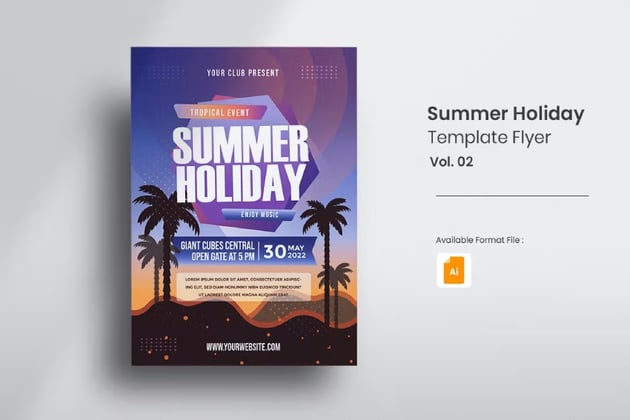
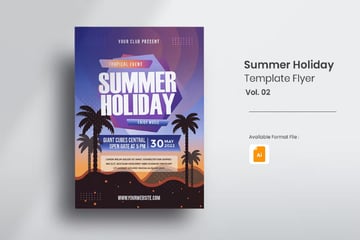
Night-time summer parties are the best. You get to enjoy the warm weather and beautiful sunset colors you'll only see at that time of the year. If you're having a night-time summer party, why not get a flyer that will match that energy? This Summer Holiday Flyer for Summer can convey the cool summer look and feel you're searching for.
Of course, you can edit this flyer to your liking and make it fit whatever event you're having.
4. Summer Party Flyer: Vintage Flyer Template Design (PSD)

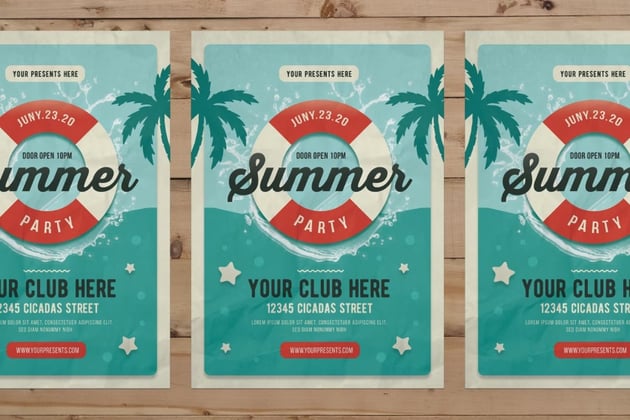
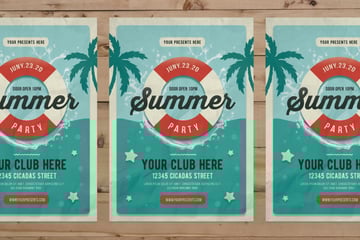
If you need an appealing flyer template for your summer event, The Summer Party Flyer is the answer to all your prayers. It has a vintage look, sure to draw your target audience in. It's super easy to use and allows a lot of wiggle room, so you can make it your own. Don't believe us? Take a look at its features:
- 1 PSD file
- well-organized layers
- 8.27" x 11,69"
- 100% vector
- fully editable
- CMYK 300 DPI
- print-ready
Moreover, you'll get a fantastic summer festival flyer!
5. Beautiful Summer Flyer Idea (AI, PSD)


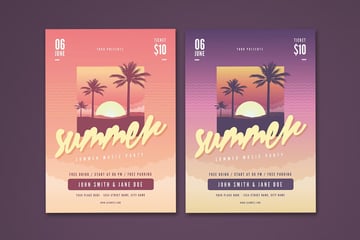
Take full advantage of the beautiful colors of the summer sunsets with this stunning flyer template. It's a surefire way to help people know about and want to go to your event. Enjoy editing it thanks to its organized layers and easy-to-use elements.
You don't need to learn how to design a flyer with this beauty. You can simple work on it with Photoshop or Illustrator to create a summer festival flyer.
Want to learn more about creating flyer templates? Check out this related content for more:

 Photoshop in 60 Seconds: How to Customize a Flyer Template


 How to Create a 90s Style Event Flyer in Adobe InDesign


 28 Cool New Party Flyer Templates for Photoshop & InDesign for 2022

 15 Design Tips to Make Professional Business Flyers in 2024 (With Great Designs)

 How to Change a Photo in a Flyer Template in Adobe Photoshop


 10 Top Tips for Creating Awesome Event Flyers

 How to Create a Flyer in Photoshop for Promos and Advertisements

Editorial Note: This post has been updated with contributions from Dacia Egurrola. Dacia is a staff writer with Envato Tuts+.
 By
By


