

In this tutorial you'll learn how to create an amazing, artistic effect inspired by the art style of the Grand Theft Auto video game, using Adobe Photoshop. Follow along with us over on our Envato Tuts+ YouTube channel:

The Grand Theft Auto 6 trailer is out now! Check it out to get inspired before diving into this tutorial.
What You'll Need
To recreate the GTA photo effect in this tutorial, you'll need the following photo:
Jump to content in this section:
1. Let's Get Started
Step 1
First, open the photo that you want to work with. To open your photo, go to File > Open, choose your photo, and click Open. Now, before we get started, just check a couple of things:
- Your photo should be in RGB Color mode, 8 Bits/Channel. To check this, go to Image > Mode.
- For best results, your Grand Theft Auto photo size should be 1500–3500 px wide/high. To check this, go to Image > Image Size.
- Your photo should be the Background layer. If it is not, go to Layer > New > Background from Layer.

Step 2
Now we are going to crop your GTA image to remove some of the space above the subject. Choose the Crop Tool (C), and transform the Crop Box as shown below:

2. How to Create the GTA Filter
Step 1
In this section, we are going to create a GTA image art style for our Grand Theft Auto photo. Go to Layer > New > Layer to create a new layer and name it Temp 1.

Step 2
Now press Control-Alt-Shift-E on your keyboard to make a screenshot, and then go to Image > Adjustments > Shadows/Highlights, and set Shadows to 10% and Highlights to 2% as shown below:

Step 3
Go to Layer > New > Layer to create a new layer and name it Temp 2.

Step 4
Now press Control-Alt-Shift-E on your keyboard to make a screenshot, and go to Filter > Sharpen > Sharpen. Then press Control-F on your keyboard to repeat this filter.

Step 5
Change the Blending Mode of this layer to Soft Light, and then go to Filter > Other > High Pass and set the Radius to 1.5 px as shown below:

Step 6
Now Control-click on the Temp 1 layer to get both layers selected at the same time and press Control-E on your keyboard to merge these two layers into one layer.

Step 7
Go to Filter > Stylize > Diffuse and set the Mode to Anisotropic.

Step 8
Now go to Edit > Transform > Rotate 90° Clockwise to rotate this layer 90° clockwise, and then press Control-F on your keyboard to repeat the previous filter.

Step 9
Go to Edit > Transform > Rotate 90° Clockwise to rotate this layer another 90° clockwise, and then press Control-F on your keyboard to repeat the previous filter again.

Step 10
Now go to Edit > Transform > Rotate 180° to rotate this layer 180° clockwise, and then go to Filter > Sharpen > Smart Sharpen and set the Amount to 250%, Radius to 1.5 px and Remove to Gaussian Blur as shown below:

Step 11
Go to Filter > Noise > Reduce Noise, and set the Strength to 5, Preserve Details to 0%, Reduce Color Noise to 54% and Sharpen Details to 0% as shown below:

Step 12
Now go to Layer > New > Layer to create a new layer and name it Temp 3.

Step 13
Press Control-Alt-Shift-E on your keyboard to make a screenshot, and then go to Filter > Filter Gallery > Artistic > Cutout, and set the Number of Levels to 4, Edge Simplicity to 0 and Edge Fidelity to 3 as shown below:

Step 14
Now set the Blending Mode of this layer to Soft Light and set the Opacity to 56%.

Step 15
Control-click on the Temp 2 layer to get both layers selected at the same time and press Control-E on your keyboard to merge them. Then name this new layer GTA Art Style.

3. How to Create a Stroke Around the Subject
Step 1
In this section, we are going to create a stroke around the subject. Select the Background layer, hide the GTA Art Style layer, choose the Quick Selection Tool (W), and select the background. Feel free to use the Shift and Alt buttons to add or remove some areas from the selection. Then press Control-Shift-I on your keyboard to invert the selection and get the selection around the subject.

Step 2
Now go to Select > Modify > Smooth and set the Sample Radius to 5 px. Then select and show the GTA Art Style layer, go to Layer > New > Layer to create a new layer, and name it Subject Stroke.

Step 3
Choose the Rectangular Marquee Tool (M), set the foreground color to #000000, Right-click anywhere inside the canvas, and choose Stroke. Set the Width to 5 px, Location to Outside, Mode to Normal and Opacity to 100% as shown below:

4. How to Make the Final Adjustments
Step 1
In this section, we are going to make final adjustments to the design. Press D on your keyboard to reset the swatches, go to Layer > New Adjustment Layer > Gradient Map to create a new gradient map adjustment layer, and name it Overall Contrast.

Step 2
Now change the Blending Mode of this layer to Soft Light and set the Opacity to 26%.

Step 3
Go to Layer > New Adjustment Layer > Levels to create a new levels adjustment layer and name it Overall Brightness.

Step 4
Now Double-click on this layer thumbnail and in the Properties panel use the settings below:

Step 5
Go to Layer > New Adjustment Layer > Hue/Saturation to create a new hue/saturation adjustment layer and name it Overall Saturation.

Step 6
Now Double-click on this layer thumbnail and in the Properties panel use the settings below:

Step 7
Go to Layer > New Adjustment Layer > Curves to create a new curves adjustment layer and name it Color Look.

Step 8
Now Double-click on this layer thumbnail and in the Properties panel use the settings below:

Step 9
Go to Layer > New Adjustment Layer > Brightness/Contrast to create a new brightness/contrast adjustment layer and name it Background Brightness.

Step 10
Now, while the layer mask of the Background Brightness layer is selected, choose the Brush Tool (B), set the foreground color to #000000, and brush over the subject.

Step 11
Double-click on this layer thumbnail and in the Properties panel enter the settings below:

You Made It!
Congratulations, you have succeeded! Here is the final result of your Grand Theft Auto photo:

5 Grand Theft Auto VI Actions From Envato Elements
If you'd like to create more Grand Theft Auto photo effects with just a single click, then check out these premium actions from the Envato Elements library.
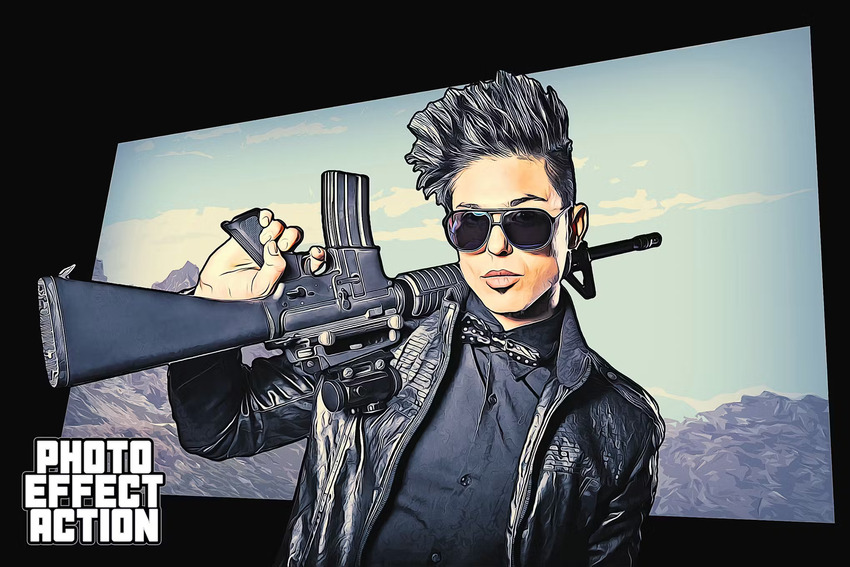
1. Grandiose Photoshop Action
The action works so you just fill in your subject with a color and play the action. Yes, it's really that simple! It'll do all the work for you, leaving you with fully layered results that you can further customize.
It comes with a detailed video tutorial that demonstrates how to use it and how to customize the results to get the most out of the effect.
2. Grandiose 3 Animated Photoshop Action
As the name suggests, this is a more recent version of the previous action. With slightly different results in the illustration style, this Grand Theft Auto filter will create 20 color looks that you can choose from. The download also includes 16 background shapes.
3. GTA Character Filter Photoshop Action
Design the ultimate GTA image using this Photoshop action. Celebrate the launch of the Grand Theft Auto VI game with the coolest artwork. This is more than just a GTA character filter: it features five frame and five collage templates, as well as 15 color presets.

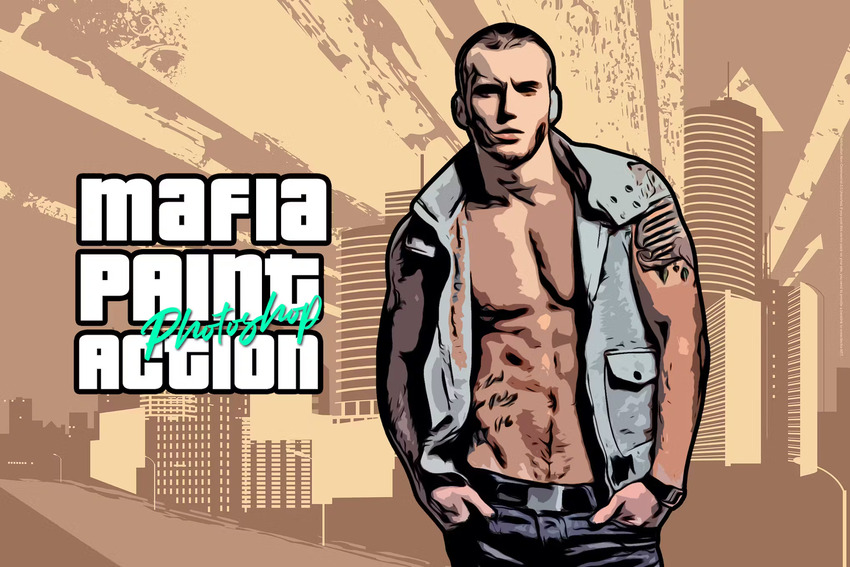
4. Mafia Painting Art GTA Filter Action
Use this GTA photo effect to turn you and your friends into characters straight from the Grand Theft Auto 6 trailer. With this Grand Theft Auto filter, you can play with the layers to have full creative control. Try it in Photoshop!
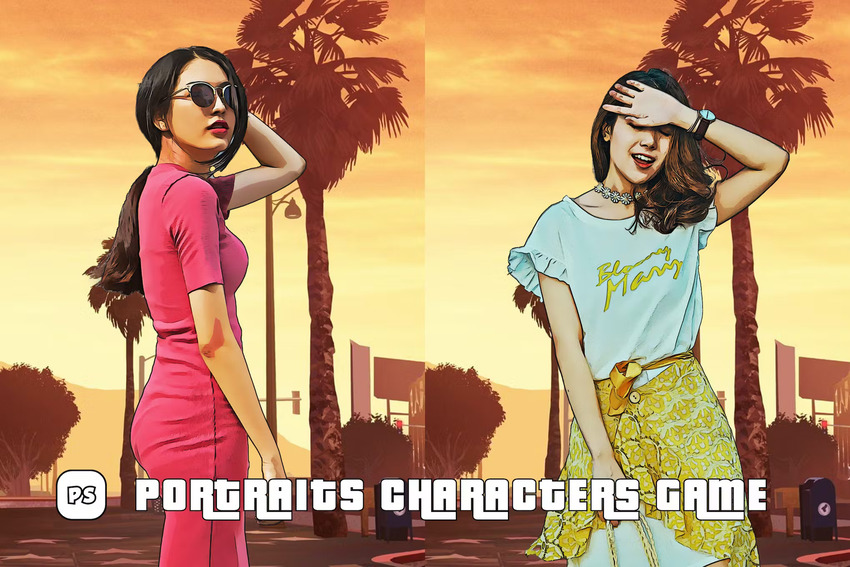
5. Portraits GTA Character Filter
Get ready for the Grand Theft Auto VI release by turning into the game's characters! This GTA photo effect doesn't only turn the subject into a cartoon. It also adds a dreamy California background with an orange sunset and palm trees, so it's an authentic Grand Theft Auto filter.
Conclusion
Now you know all the steps to create your own Grand Theft Auto photo effect. This is a skill that'll come in handy with the release of the Grand Theft Auto 6 trailer. You can also find some of the coolest add-ons available on Envato Elements.
If you want to learn more illustration and gaming-related design tips, take a look at these other tutorials from Envato Tuts+:
 How to Create a GTA Text Effect Action in Adobe Photoshop
 How to Make Grand Theft Auto Cover Art
 How to Create a Grand Theft Auto VI Action in Photoshop
 How to Design Your Own Gaming Clan Logo
 How to Make Cute Anime Twitch Panels
 How to Create an Illustration Photoshop Action (From Photo to Illustration)
 By
By


