

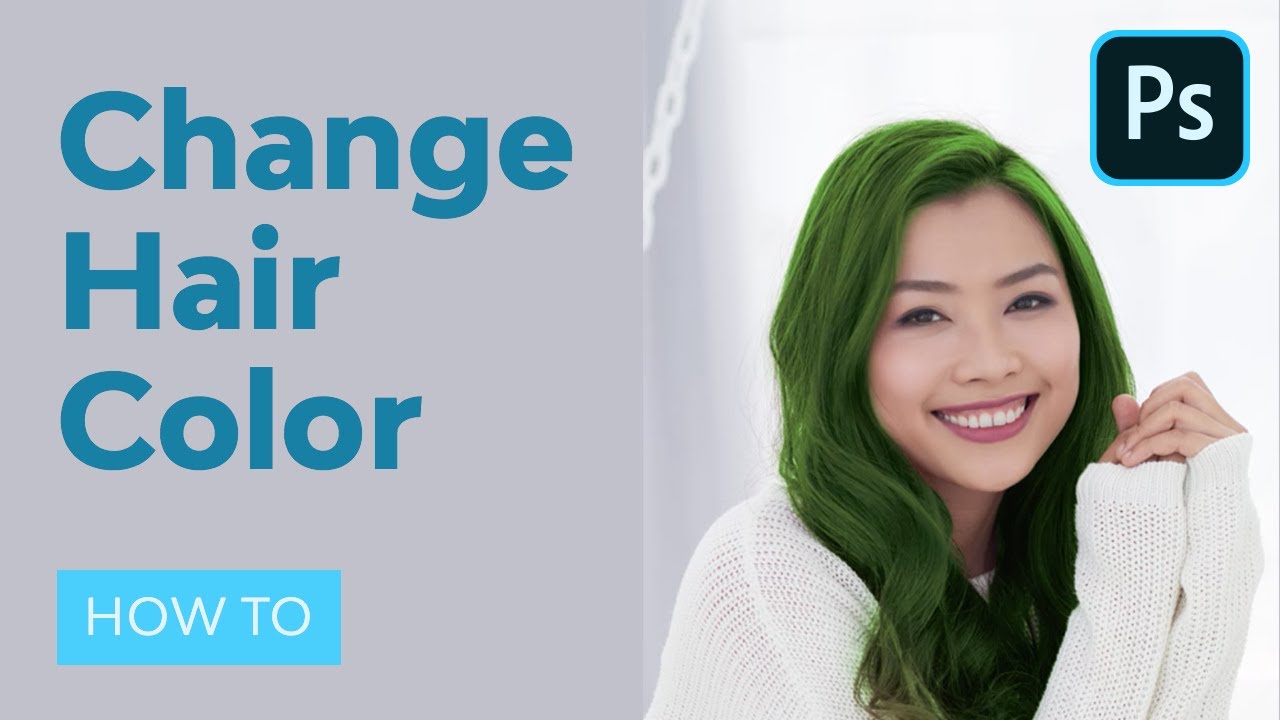
Are you curious how you'd look with a different hair color? You can use Photoshop to change your hair color and see how it looks!
In this tutorial, I will show you how to edit hair color in Photoshop using a very versatile technique. I'll teach you how to select an object and adjust its colors without affecting the original image.
Prefer to learn how to edit hair color in Photoshop through a video? Follow along with us over on our Envato Tuts+ YouTube channel:
Tutorial Assets
You'll need the following assets to complete this tutorial:
- Your own photo!
- Optional: woman portrait
1. How to Select Hair Only in Photoshop
Let's begin learning how to edit hair color in Photoshop. This part is the most difficult, because hair can be very chaotic. To ensure the best result, use a photo with a contrasting background (possibly white), with your hair mostly in the back (or, if not possible, lying on a contrasting shirt), and remove any fly-away hair.
The photo should be high-resolution and sharp if you want to edit hair color in Photoshop more easily.


Step 1
Open your photo in Photoshop for hair color changes. Find the Lasso Tool on the toolbar and press it to reveal the sub-tools. Select the Magnetic Lasso Tool.


Step 2
Click somewhere over the outline of the hair, and then slowly move along it. Do your best, but don't worry about a perfect outcome—we'll fix it all in a moment. After you meet the first point, click it to close the selection so you can use Photoshop to change hair color seamlessly.


Step 3
We have a selection now, but it's not perfect. To fix it, click Refine Edge. This way, you can change hair color in Photoshop without as much trouble.


Step 4
A new window will show up, and the picture will change to present the edge of the selection. You can choose the way of presenting it. Overlay is the best way to show the picture outside of the selection (for example, hair that's not selected yet), and On Black/On White shows the selected area most clearly. You can easily switch between them using the shortcuts.


Check Smart Radius and play with the slider below a little. Observe how it affects the edge of the selection.


Step 5
If you move your cursor over the picture, you'll notice you have a special brush—it's called the Refine Radius Tool. You can use it to show the program the places that should be carefully added to the selection. You can also hold the Alt key to remove certain parts of the selection, but keep in mind it's based on a special algorithm and may not work exactly as you expect.
Be patient and feel free to experiment. If you mess up, you can always cancel and start with a clean slate.


Switch between the views to see the outcome better. You can "paint" in all the views, but in most of them you can't see what's not selected.


Step 6
When you're done, change Output to New Layer with Layer Mask and press OK.


Step 7
A copy of the layer will be created. If you hide the original one, you should see the hair only. This is a great way to change hair color in photos.


But as powerful as the Refine Edge tool is, it's still program-based, so it can't see everything. Let's add some manual fixes so you can change hair color in photos realistically.
Add a New Layer on the bottom and fill it with black using the paint Bucket Tool (G). Then lower the Opacity of the original picture to see the face only slightly.


Step 8
Go back to the copied layer. It has a Layer Mask: black areas on the mask tell the layer which areas should be transparent, and white tell it which should be opaque. If you click on the mask, you can paint on it to modify it using these rules to change hair color in photos.
Take a soft brush with a low Flow and carefully modify the areas next to the skin. The change between the skin and hair shouldn't be too abrupt. Use black, white, or various shades of gray to make certain parts transparent, opaque, or in various levels of transparency.
You can learn more about this technique here:


When you're done, simply remove the black layer and drag the Opacity of the original picture back to 100%.
2. How to Change the Color of an Image in Photoshop
Step 1
Photoshop now knows what we want to change, so it's time for the fun part! Open Window > Adjustments and select the Hue/Saturation adjustment.


Step 2
Clip the adjustment (Control-Alt-G) to make it affect only the hair. Check Colorize to have full access to all the options, and then play with the Hue slider to change the colors. This will allow you to explore the colors within your present shade. This is where you decide the hue you want if you'd like to change hair color in photos.


You can also easily make the color darker with this technique just by lowering the Lightness. So if you have blond hair, you're lucky—you can get all the beautiful colors just by playing with the sliders! Isn't using Photoshop to change hair color easy?


Step 3
If you want a more saturated color, and your hair is dark, there's more work to do to use Photoshop for hair color changes. First create a darker version of the color, and then duplicate the adjustment (Control-J) and create the color you actually want.


Right-click the second adjustment layer and select Blending Options. Can you see the grayscale sliders below? You can use them to make certain parts of the picture transparent. I've explained it all in this quick tutorial:


For now, you only need to know that if you drag the lower black marker to the right, the layer will reveal the darker parts of the layer below. If you hold the Alt key, the marker will split and the effect will be more gradual. Keep this in mind as you change hair color in photos.


Step 4
You can use exactly the same method to add highlights. Just create a new adjustment layer with an extreme version of the same color...


... and remove most of it, keeping it visible only over the bright parts.


Step 6
What about bright colors, like blond? Just like with real dark hair, we need to bleach it first. Create three adjustment layers with no saturation: dark—brighter—bright, and use Blend-if to combine them.


Step 7
When you're done, you can adjust the shades to achieve a uniform result and even paint on the masks if something looks wrong.


Step 8
Now you can easily add another adjustment layer with any bright color you wish! And you're done figuring out to change hair color in photos!


Good Job! You've Learned How to Change Hair Color in Photoshop!
Now that you're familiar with how to edit hair color in Photoshop, you can use this technique to create many beautiful shades, both realistic and unreal. Just keep in mind you need to control the contrast on your own—Photoshop won't stop you from creating a fake effect.
If you want to share your results, don't forget to adjust the original hair mask to make sure everything looks the best it can (for example, bright, vivid colors should reflect subtly on the face). Feel free to use other adjustments or blend various colors to create even more advanced effects.


The same technique can be used to color animal fur or other areas of the picture (as long as you select them properly). Experiment with this to learn it better—it's really fun!


5 Premium Photoshop Actions From Envato Elements
Now that you've learned to use Photoshop for hair color changes, you may be interesting in figuring out what else you can do!
Luckily, Envato Elements offers a wide variety of premium Photoshop actions. This means you can transform your images into your vision in seconds. And you can have all of these actions for a low monthly fee!
Want a taste? Check these ones out!
1. Infrared Action (ATN)
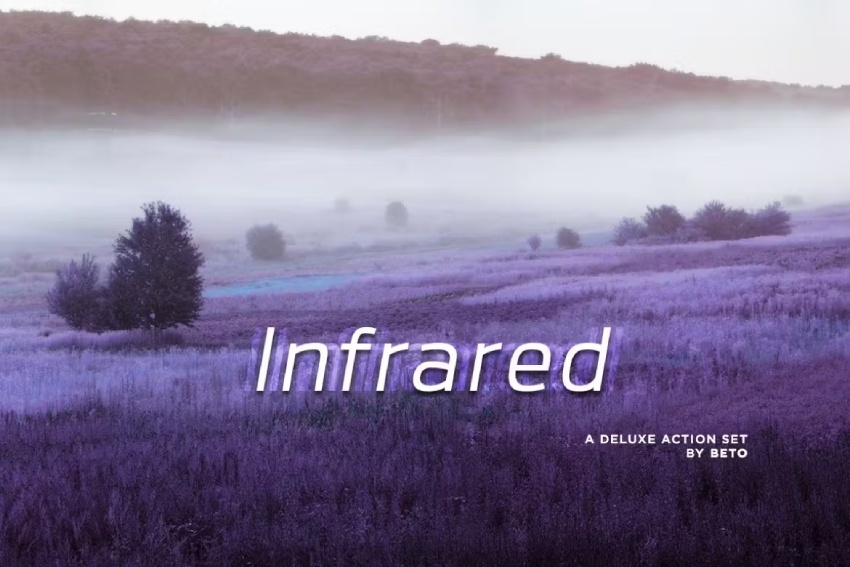
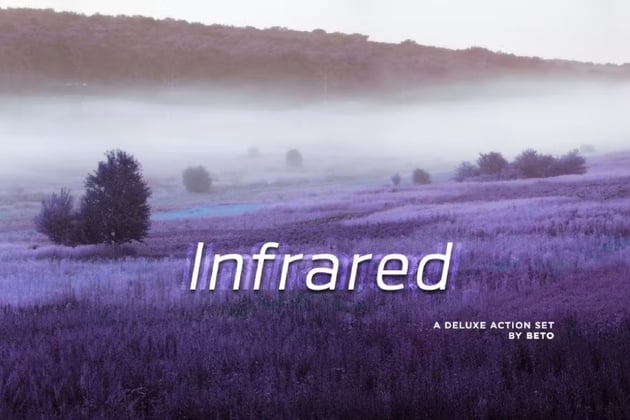

Inject your images with magical colors! This is the Photoshop action to use if you want to create infrared pictures. This amazing download comes with three different actions for a variety of results. It comes with documentation included if you need extra assistance.
2. Impressionist Photoshop Action (ABR, ATN, PAT)
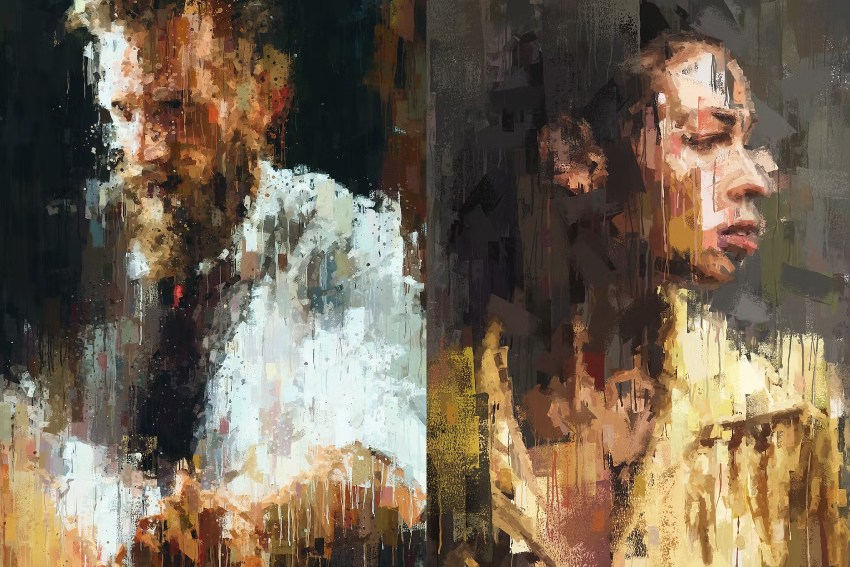


Are you a fan of impressionist art? If you are, there's no need to spend hours mastering the technique on your own. You can simply download this Photoshop action and apply it to your images. You can learn to use it effectively thanks to its video tutorial.
3. Destroyed Photoshop Action (ATN, GRD, PAT)
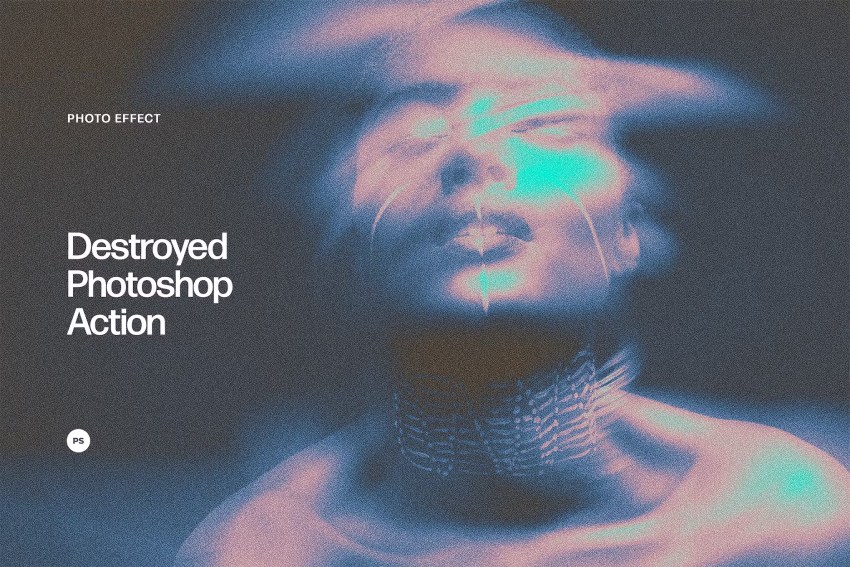
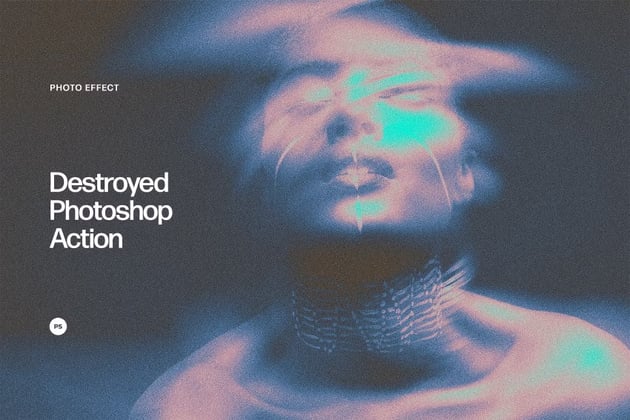
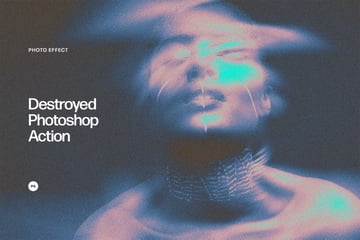
This mysterious and eerie Photoshop action will give all of your projects a ghostly appearance and aura in just a few clicks. This high-quality Photoshop action comes with gradients and patters included, as well as a help guide.
4. Glow in the Dark Photoshop Actions (ATN)
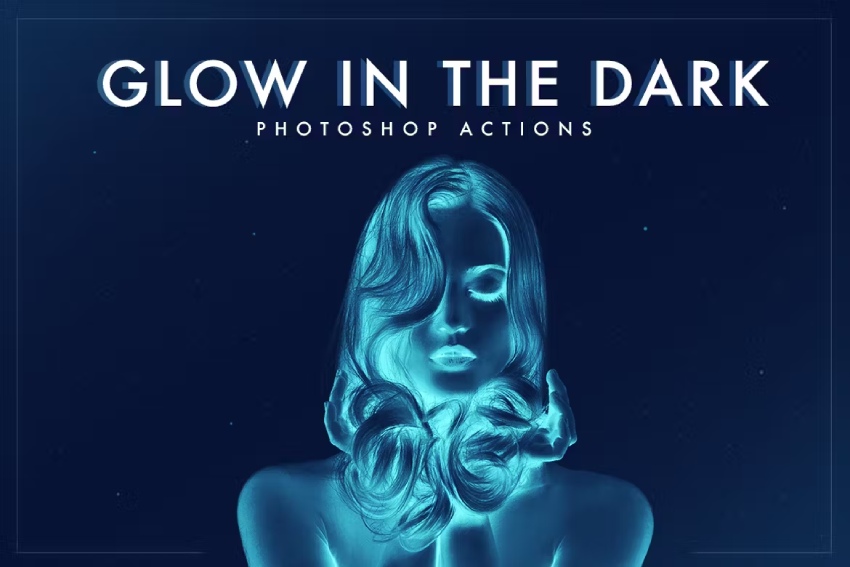
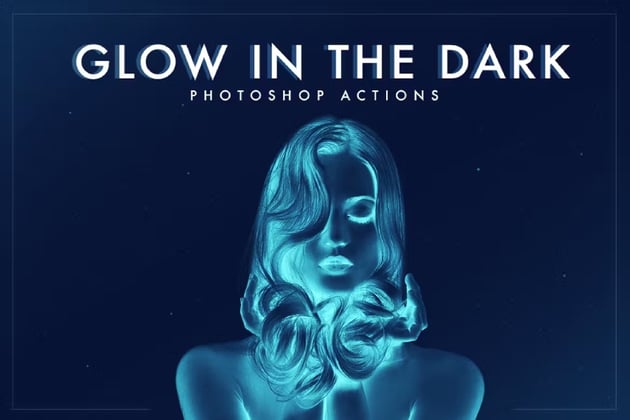
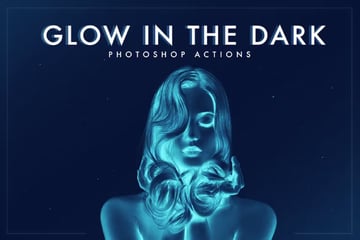
Are you afraid of the dark? You don't have to be! This Photoshop action glows in the dark and gives your images an electric look. Give this premium action a try and get a professional, non-destructive visual effect, easy editing options, bonus light leaks, and instructions.
5. Anaglyph Photoshop Actions (ATN)


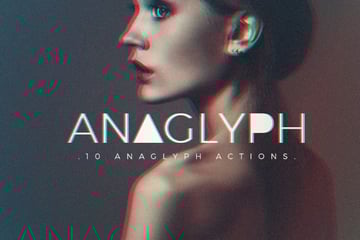
Last but not least, there's this elegant Photoshop action. It will put your images through a stereoscopic lens and give them a grainy texture with cool undertones. This is an adjustable effect, meaning you can customize it to your liking. It also comes with 4 basic anaglyphs and 11 experimental options.
If you want to learn more about creating Photoshop effects, try these tutorials as well:

 How to Make a Frequency Separation Photoshop Action


 How to Create a Strawberry Lips Effect for Beginners in Adobe Photoshop


 How to Create and Use Luminosity Masks in Adobe Photoshop


 How to Remove an Object in a Photo in Affinity Photo


 Make a Trendy Double Exposure Effect in Photoshop


 How to Create a Basic Photoshop Action for Your Photography


 How to Make a Soft Light Photoshop Action to Create a Backlight Effect


 How to Blur a Background in Photoshop
 By
By


