


Optimizing the performance of Photoshop can be crucial if you work with large images, or if you use features like HDR, Photomerge, or 3D and Video layers. In this tutorial, I will give you a couple of tips to improve the performance of Photoshop and make it run faster on your machine. Let's get started!
1. Memory Usage
Photoshop is a 64-bit native application so it can handle as much memory as you have space for. More RAM will help when working with large images. By default, Photoshop will allocate 70% of the available RAM to be used, but you can change these options under Preferences > Performance. The changes here will take effect after you restart Photoshop. Increasing this is probably the most effective way to accelerate Photoshop's performance.


2. Using Scratch Disks
When you run out of RAM, your computer's hard disks will take on the workload. By default your scratch disk is your Boot Partition, which already handles all your installed applications and the operating system. It is advisable to add all your available hard drives as scratch disks and most importantly, you should prioritise your scratch disks with the arrows under the Performance tab in the Preferences > Performance window. When investing in hard drives you should consider the following things:
- Solid-state drives (SSD) are much faster than the traditional hard disk drive (HDD).
- Internal drives are better and faster to use as scratch disk than external ones.
- In case of an external drive, make sure you use USB 3.0, Firewire, or Thunderbolt, if you have the capacity.


3. Efficiency Indicator
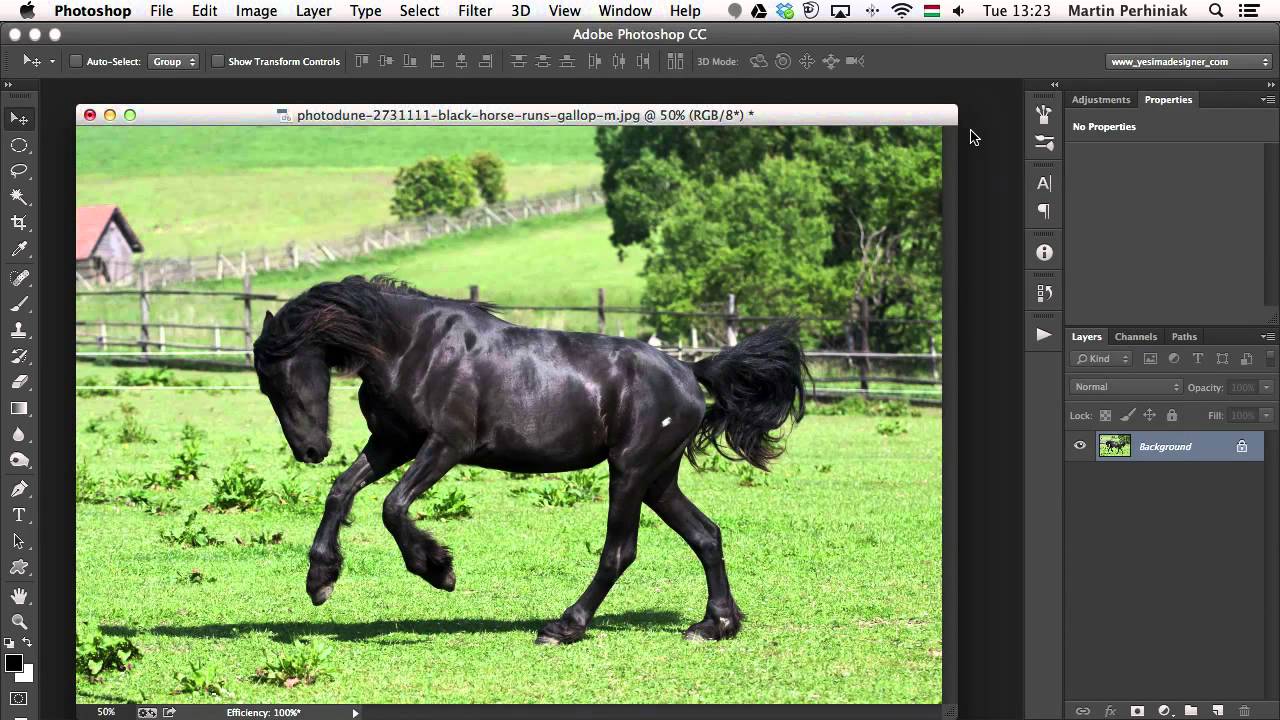
You can keep an eye on the efficiency level of Photoshop if you choose Efficiency from the status bar options at the bottom of the document window. It will be indicated with percentages, where 100% is the highest efficiency. You can reduce the number of layers and smart objects to help improve efficiency but that comes at the expense of a more destructive workflow.


4. Managing Cache Levels and History States
The cache stores low-resolution versions of the images you have open in Photoshop so that it can quickly redraw them. There are eight different Cache Levels, and the more Cache Levels you have, the longer it will take for Photoshop to open files. With that said, the more Cache Levels you have, the faster Photoshop will work once the files are open.
To see your History & Cache settings, go to Preferences > Performance. Use Tall and Thin if you work with smaller images with lots of layers (web design, user interface design projects). Use Big and Flat if you work with large images with few layers (digital painting, photo retouching). In any other case, stick with the Default Cache Level preset.
A higher amount of History States will also degrade performance. It can be changed on a scale of 1–1000. You can reduce this to 5 if you do everything non-destructively. If you are a digital artist and you use the Brush Tool a lot then I would recommend you have around 100 History States.


5. Reducing Image Resolution
It is always useful to consider the destination of your file before you start working on it in Photoshop. If you know that your image will be used only on a website with a size of 600px width, then don't work with a 20 megapixel image size. Make sure you resize the image first and then start using filters, adjustments and effects.


6. Closing Unnecessary Documents
This is quite self-explanatory. Having several documents open at the same time causes clutter and will slow down Photoshop. You should aim for 100% Efficiency when working (you can see this in the status bar, as explained before).


7. Save in Background and Auto Save
You can find these options under Preferences > File Handling. If you enable Save in Background when saving big files you can actually continue working while Photoshop is saving. The saving progress is visible in the status bar. If you turn it off you won’t be able to use auto save either. Auto save will write to the scratch disks and it might cause problems if you don’t have much space available. You can also set the frequency of auto save from every five minutes to every hour.


8. Purge History and Clipboard
You can quickly purge all the history states and any information you have on your clipboard by going to Edit > Purge > All. It is especially useful if you use lots of history states and you copy large images. Once something is selected and copied it will sit on the clipboard and take up valuable RAM.


9. Turn Off Panel Previews and Thumbnails
For Layers, Channels and Paths you should turn off the previews from each panel (Menu > Panel Options > None). Turning off the thumbnail previews will accelerate Photoshop, but might make it more difficult to find layers if you are not organised. If you are regularly naming and grouping your layers you shouldn't find it difficult to find them even without seeing the thumbnail previews.


10. Using Layers Wisely
First of all, it is advisable to set the status bar to show Document Size. The first size is the flattened document size and the other one after the / will show the current document size, which can be much larger than the flattened version, if you have several layers.
One of the most important things to keep in mind is that Adjustment Layers are definitely better to use than duplicate layers, because Adjustment Layers hardly increase the file size. Flattened layers can reduce the file size to its minimum, but it is quite a drastic change, as you will lose all your non-destructive edits. Under File > Scripts you will find the following options, which can also reduce the file size without completely flattening the document:
- Delete All Empty Layers
- Flatten All Layer Effects
- Flatten All Masks


Conclusion
In this tutorial, I showed you several tips that you can use to help Photoshop run faster on your machine. I hope that you learned something from this tutorial and can use these tips to make your own Photoshop installation a bit more friendly to the tasks that you perform most-frequently.
 By
By


