
- What You'll Learn in This Tutorial
- What You'll Need
- How to Adjust the Grid Settings
- How to Create a Simple Zigzag Shape
- How to Create a Background Texture
- How to Create Text Layers
- How to Create 3D Layers
- How to Work With the 3D Scene
- How to Adjust the 3D Mesh Settings
- How to Adjust the 3D Cap Settings
- How to Create Simple 3D Materials
- How to Adjust a 3D Scene's Lighting
- How to Adjust a 3D Scene's Rendering Settings
- How to Transform and Move 3D Meshes
- How to Adjust the Brush Tip Settings
- How to Create Smart Object Filter Layers
- How to Apply Noise Texture Filters
- How to Create an Old TV Screen Effect
- How to Adjust the Vibrance
- Congratulations! You're Done
- Top Photoshop Text Effects From Envato Elements
- More Photoshop Text Effect Tutorials


Are you in love with the Saved by the Bell logo from the 90s sitcom of the same name? Well, in this tutorial I'll show you how to add effects to text in Photoshop to transform a font similar to the Saved by the Bell font into the bold, colorful, and busy sitcom title art of the 80s and 90s.
This Photoshop text effect was inspired by the retro text effects available on Envato Elements. Elements offers tons of cool text effects Photoshop add-ons and layer styles which will transform your favorite fonts quickly and easily.


What You'll Learn in This Tutorial
- How to create a background texture
- How to create text layers
- How to create 3D layers and 3D materials
- How to work with 3D scenes and lighting
- How to create an old TV screen effect
What You'll Need
The following Saved by the Bell fonts will help you recreate the look we created in this tutorial:
- Finder || Heavy All Caps Sans Serif font
- Fontdiner Swanky Font
- Monetizer font
1. How to Adjust the Grid Settings
Step 1
Go to Edit > Preferences > Guides, Grid & Slices, and change the Gridline Every to 50 Pixels and the Subdivisions to 5.


Step 2
Create a 700 x 300px New Document, and go to View > Show > Grid.


2. How to Create a Simple Zigzag Shape
Step 1
Pick the Pen Tool, and choose the Shape option in the Options bar. Click once to add anchor points as shown below to create a zigzag lightning shape.


Step 2
After creating the shape, make sure its Fill Color is Black and that the Background is filled with White.
Go to Edit > Define Brush Preset, and change the name to ZigZag Shape.


3. How to Create a Background Texture
Step 1
Create a 1000 x 800px New Document, and set the Foreground Color to #87568e and the Background Color to #38124d.
Duplicate the Background layer, rename the copy to BG Texture, and Fill it with the Background Color.
Right-click the BG Texture and choose Convert to Smart Object.


Step 2
Go to Filter > Filter Gallery > Texture > Grain, and use these settings:
- Intensity: 40
- Contrast: 50
- Grain Type: Stippled


Step 3
Click the New effect layer icon at the bottom right corner of the Filter Gallery window, go to Artistic > Poster Edges, and use these settings:
- Edge Thickness: 1
- Edge Intensity: 0
- Posterization: 1


Step 4
Add another New effect layer, go to Sketch > Photocopy, and use these settings:
- Detail: 7
- Darkness: 10
Click OK.


4. How to Create Text Layers
Step 1
Create the text in All Caps, each line in a separate layer, using the fonts Go Long for the first line, Fontdiner Swanky for the second, and SansBlack for the third.
Use the font Size you like for each line. Here, the Size values used are 130 pt for the first line, 75 pt for the second, and 150 pt for the third.


Step 2
You can also change the Tracking values as needed, especially for the second line, to separate the characters and get a cleaner 3D mesh. The Tracking value used here for the second line is 50.


5. How to Create 3D Layers
Step 1
For each text layer you have, select it and go to 3D > New 3D Extrusion from Selected Layer.


Step 2
Select all 3D layers and go to 3D > Merge 3D Layers.


6. How to Work With the 3D Scene
Step 1
To access the 3D mesh settings and properties, you’ll need to open two panels: the 3D panel and the Properties panel (both found under the Window menu).
The 3D panel has all the components of the 3D scene, and when you click the name of any of those, you’ll be able to access its settings in the Properties panel. So make sure to always select the tab of the element you want to modify in the 3D panel before you change its settings in the Properties panel.


Step 2
If you select the Move Tool, you’ll find a set of 3D Modes for it to the right of the Options bar.
When you choose one of those, you can then click and drag to perform changes (on the selected element in the 3D panel).
Use those modes to change the Current View into an angle you like.


Step 3
Select all the 3D mesh tabs in the 3D panel, click the 3D panel menu icon, and choose Move Object to Ground Plane.


7. How to Adjust the 3D Mesh Settings
Step 1
Select the first 3D mesh tab in the 3D panel, and change its Extrusion Depth in the Properties panel to 12 px.


Step 2
Select the second 3D mesh tab and change its Extrusion Depth to 10 px.


Step 3
Select the third 3D mesh tab and change its Extrusion Depth to 17 px.
You can use any other Extrusion Depth values or change them anytime you like, as the results might differ depending on the text you have and the final camera angle you want to use.


8. How to Adjust the 3D Cap Settings
Step 1
Select the first 3D mesh tab, and click the Cap icon at the top of the Properties panel.
Change the Bevel Width value to 5, the Contour to Half Round, the Inflate Angle to 20, and the Strength to 2.


Step 2
Select the second and third 3D mesh tabs, click the Cap icon, and change the Inflate Angle to 90 and the Strength to 2.
Once again, you can use any other values that you think suit your text better.


9. How to Create Simple 3D Materials
Step 1
Select the first 3D mesh's Material tabs, and use these material values in the Properties panel (the color values used are in RGB):
- Diffuse: 74, 173, 207
- Specular: 169, 169, 169
- Shine: 90%


Step 2
Select the second 3D mesh's Material tabs, and use these material values:
- Diffuse: 222, 177, 228
- Specular: 169, 169, 169
- Shine: 90%


Step 3
Select the third 3D mesh's Material tabs, and use these material values:
- Diffuse: 229, 230, 137
- Specular: 169, 169, 169
- Shine: 90%


10. How to Adjust a 3D Scene's Lighting
Step 1
Select the Infinite Light 1 tab, change its Intensity to 70%, and make sure that the Shadow Softness is set to 0%.


Step 2
Use the Move Tool to move the light around to get a result you like, or you can click the Coordinates icon at the top of the Properties panel and use numerical values instead.


Step 3
Click the Environment tab, and change the Ground Plane Shadows Opacity to 0%.


11. How to Adjust a 3D Scene's Rendering Settings
Step 1
Select all the 3D mesh tabs, and uncheck the Cast Shadows box in the Properties panel.
This will make sure that the meshes don't cast shadows, which will help create a flatter effect.


Step 2
Click the Scene tab, and change the Surface Style to Cartoon. This will also help create the flat retro effect.


12. How to Transform and Move 3D Meshes
Step 1
For each 3D mesh tab you have, select it and go to 3D > Split Extrusion.
This will separate the letters and place them in a Group.


Step 2
Next, you'll need to randomly select and edit some letters, to create a more dynamic effect.
Pick the Move Tool, and use the 3D Axis to transform and/or move the selected letter mesh.
The arrows at the ends of the axis move the mesh, the part below them is used for rotation, and the cubes are used for scaling. The cube in the center is used to scale the object uniformly. All you need to do is click and drag the part you want to make the changes.


Step 3
You can also click the Current View tab, and choose from the different presets available in the View menu in the Properties panel to help you better make the changes.


Step 4
Choose the final camera angle, make sure that everything looks fine, and make any final adjustments needed.


Step 5
Go to 3D > Render 3D Layer. The rendering should take a couple of seconds since it's a Cartoon style.
Once the rendering is done, right-click the 3D layer and choose Convert to Smart Object.


13. How to Adjust the Brush Tip Settings
Step 1
Pick the Brush Tool, and open the Brush panel.
Choose the ZigZag Shape tip, and use the settings below for the Brush Tip Shape and Shape Dynamics tabs.
These settings will help you get dynamic brush shapes every time you click to add the brush.


Step 2
Set the Foreground Color to #c6960e, create a New Layer on top of the BG Texture layer, and name it ZigZag.
Click once over different areas to add the shape behind the text.


14. How to Create Smart Object Filter Layers
Step 1
Create a New Layer on top of all layers, name it Filters 1, and press the Shift-Option-Command-E keys to create a stamp of all the layers you have.
Right-click the Filters 1 layer and choose Convert to Smart Object.


Step 2
Duplicate the Filters 1 layer, rename the copy to Filters 2, select both Filter layers, and change the Opacity value to 50%.


Step 3
Hide the Filters 2 layer by clicking the eye icon next to it, and select the Filters 1 layer.


15. How to Apply Noise Texture Filters
Step 1
Go to Filter > Filter Gallery > Artistic > Poster Edges, and use these settings:
- Edge Thickness: 0
- Edge Intensity: 0
- Posterization: 2


Step 2
Add a new effect layer, go to Brush Strokes > Spatter, and use these settings:
- Spray Radius: 1
- Smoothness: 15
Click OK.


Step 3
Go to Filter > Blur > Shape Blur, change the Radius to 5, and use the Flower 5 shape.


Step 4
Go to Filter > Distort > ZigZag, change the Amount to 1, the Ridges to 5, and the Style to Pond Ripples.


Step 5
Go to Filter > Noise > Add Noise, change the Amount to 5 and the Distribution to Gaussian.


16. How to Create an Old TV Screen Effect
Step 1
Show the Filters 2 layer, and apply the same Filter Gallery filters and values as you did for the Filters 1 layer in the previous step.


Step 2
Go to Filter > Pixelate > Pointillize, and change the Cell Size to 3.


Step 3
Expand the Filters 2 layer's filter list, and double-click the Pointillize filter's Blending Options icon.


Step 4
Change the Opacity to 35% and click OK.


Step 5
Go to Filter > Blur > Shape Blur, change the Radius to 5, and use the Flower 5 shape.


Step 6
Go to Filter > Distort > ZigZag and change the Amount to 1, the Ridges to 5, and the Style to Pond Ripples.


Step 7
Go to Filter > Noise > Add Noise and change the Amount to 5 and the Distribution to Gaussian.


Step 8
Double-click the Add Noise filter's Blending Options icon, and change the Opacity to 50%.


Step 9
Go to Filter > Pixelate > Mezzotint and set the Type to Short Strokes.


Step 10
Double-click the Mezzotint filter's Blending Options icon, and change the Opacity to 7%.


17. How to Adjust the Vibrance
Step 1
Command-click the 3D layer's thumbnail to load a selection.


Step 2
Click the Create new fill or adjustment layer icon at the bottom of the Layers panel and choose Vibrance.
Change the Vibrance to 50 and the Saturation to -5.


Congratulations! You're Done
In this tutorial, you learned how to create not only Saved by the Bell graphics but also Saved by the Bell patterns.


Top Photoshop Text Effects From Envato Elements
Discover other ways to create retro text effects in Photoshop quickly and easily with readymade actions and add-ons from Envato Elements. Here are just a few.
Coffee Shop 3D Text Effect Photoshop (PSD)
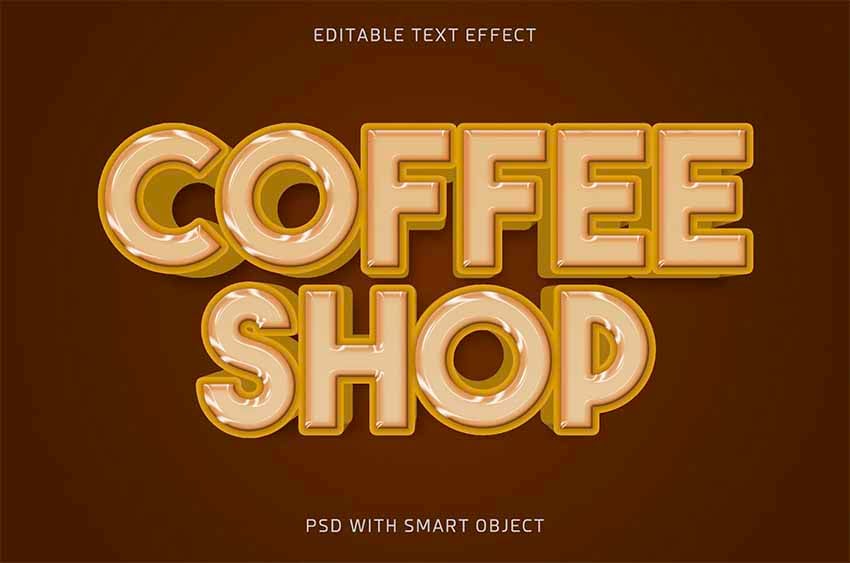

Coffee Shop 3D Text Effect Photoshop turns any text into 3D text with just a click or two. You can also change the background and color scheme as needed.
Retro Text Effect Photoshop (PSD)

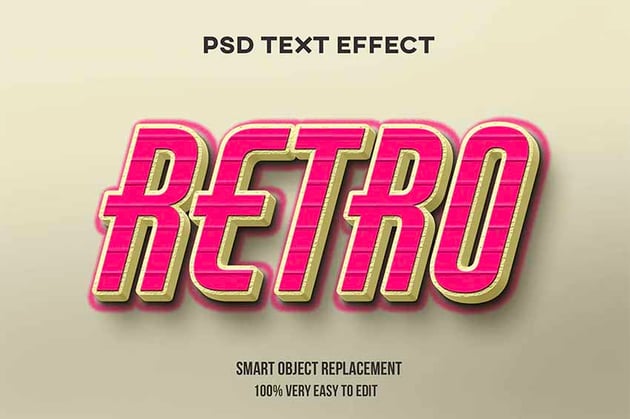
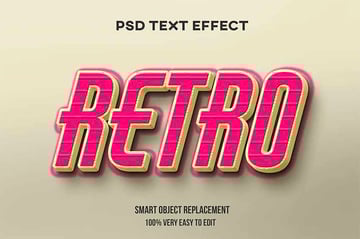
Need a 90s text generator? Well, we have the next best thing. Retro Text Effect Photoshop will help you create the coolest vintage looks imaginable. The files are well organized in layers to facilitate speedy customization.
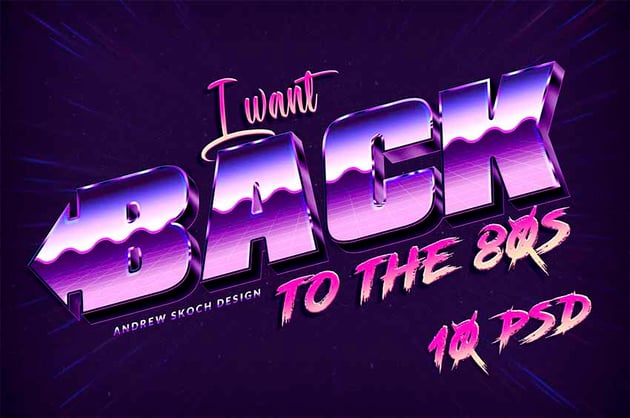
Vegas: 10 Retro Photoshop Text Effects (PSD)
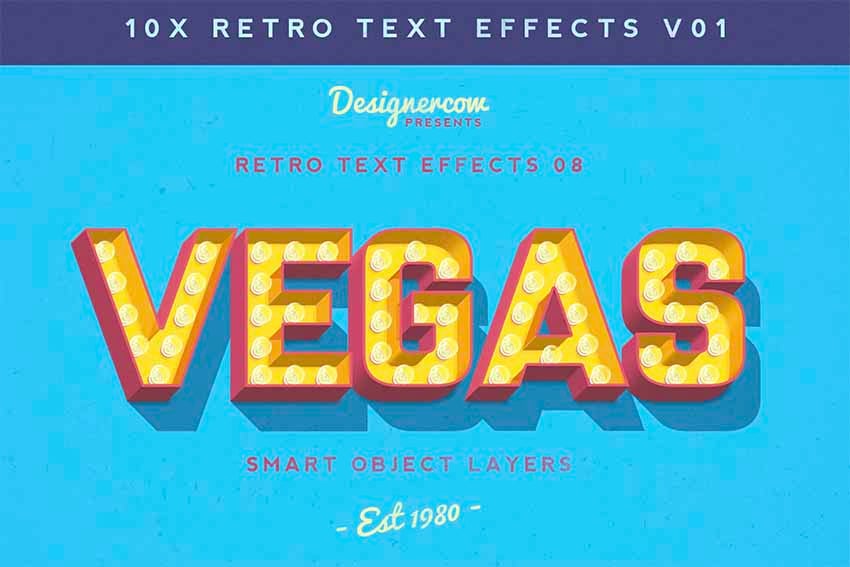

What happens in Vegas doesn't have to stay in Vegas when you use this terrific collection of ten retro Photoshop text effects to create your logo in lights.
Citrus Cool Text Effects Photoshop (PSD)

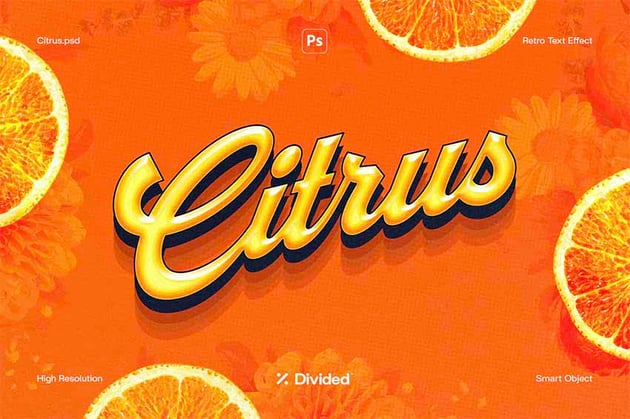

It doesn't get cooler than Citrus Cool Text Effects Photoshop. Use this fabulously retro text effect to transform your text or logo quickly using the Smart Object function.
Neon Text Effect Photoshop (PSD, ATN, ABR)
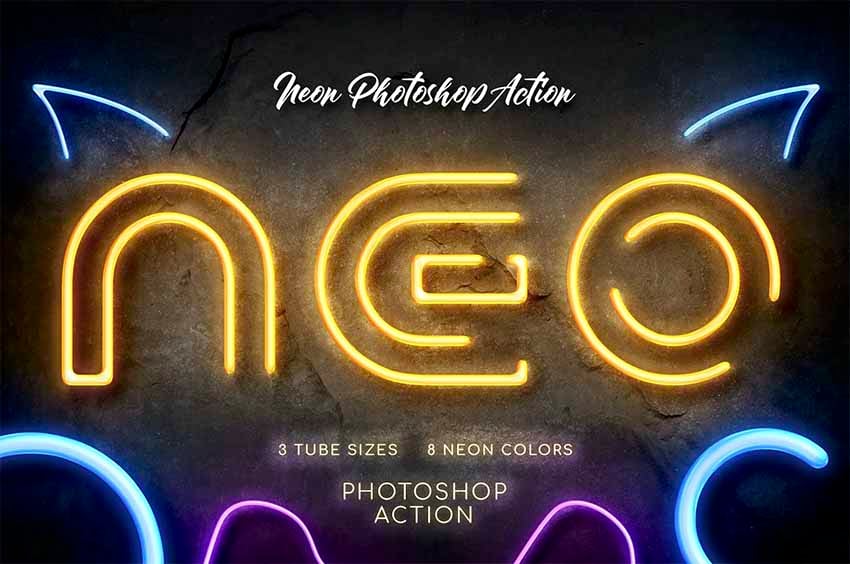


Give your text and logos this cool neon sign effect when you use Neon Text Effect Photoshop. The package contains three tube sizes and eight neon colors so that you can refine your creation to suit your needs.
More Photoshop Text Effect Tutorials
Here are more top Photoshop text effect tutorials to try from Envato Tuts+:

 30+ Cool Photoshop Text Effects, Actions & Styles for 2024


 How to Make Pop Art Text Effects in Illustrator


 100+ Best Photoshop Text Effect Tutorials

 How to Create a Chrome Text Effect in Affinity Photo


 How to Create a Super Easy Liquid Metal Text Effect in Photoshop


 15+ Best Handwriting Animated Text Templates for After Effects for 2023


 How to Create a Realistic Embroidery Text Effect in Adobe Photoshop

 By
By


