
 Lessons: 15Length: 1.3 hours
- Overview
- Transcript
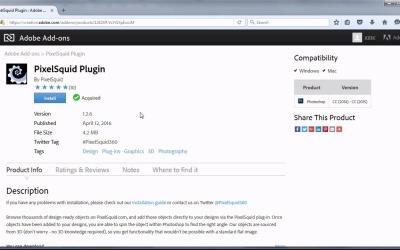
2.1 The Plugin
In this lesson, you’ll learn where to find the plugin and how to install it.
Related Links
1.Introduction
1.1Introduction01:31
1.1
Introduction
01:31
2.PixelSquid Basics
2.1The Plugin02:51
2.1
The Plugin
02:51
2.2Basic Interface05:59
2.2
Basic Interface
05:59
3.Compositing With PixelSquid
3.1Setting Up the Scene04:17
3.1
Setting Up the Scene
04:17
3.2Light and Shadow08:00
3.2
Light and Shadow
08:00
3.3Selection Layers07:16
3.3
Selection Layers
07:16
3.4Depth Maps06:23
3.4
Depth Maps
06:23
4.Designing With PixelSquid
4.1Sketching and Brainstorming05:42
4.1
Sketching and Brainstorming
05:42
4.2Crafting the Scene06:55
4.2
Crafting the Scene
06:55
4.3Matching Perspective05:04
4.3
Matching Perspective
05:04
4.4Extra Elements05:52
4.4
Extra Elements
05:52
4.5Liquid Effects07:41
4.5
Liquid Effects
07:41
4.6Light Effects05:49
4.6
Light Effects
05:49
4.7Text Effects06:28
4.7
Text Effects
06:28
5.Conclusion
5.1Conclusion01:08
5.1
Conclusion
01:08


