
 Lessons: 15Length: 1.3 hours
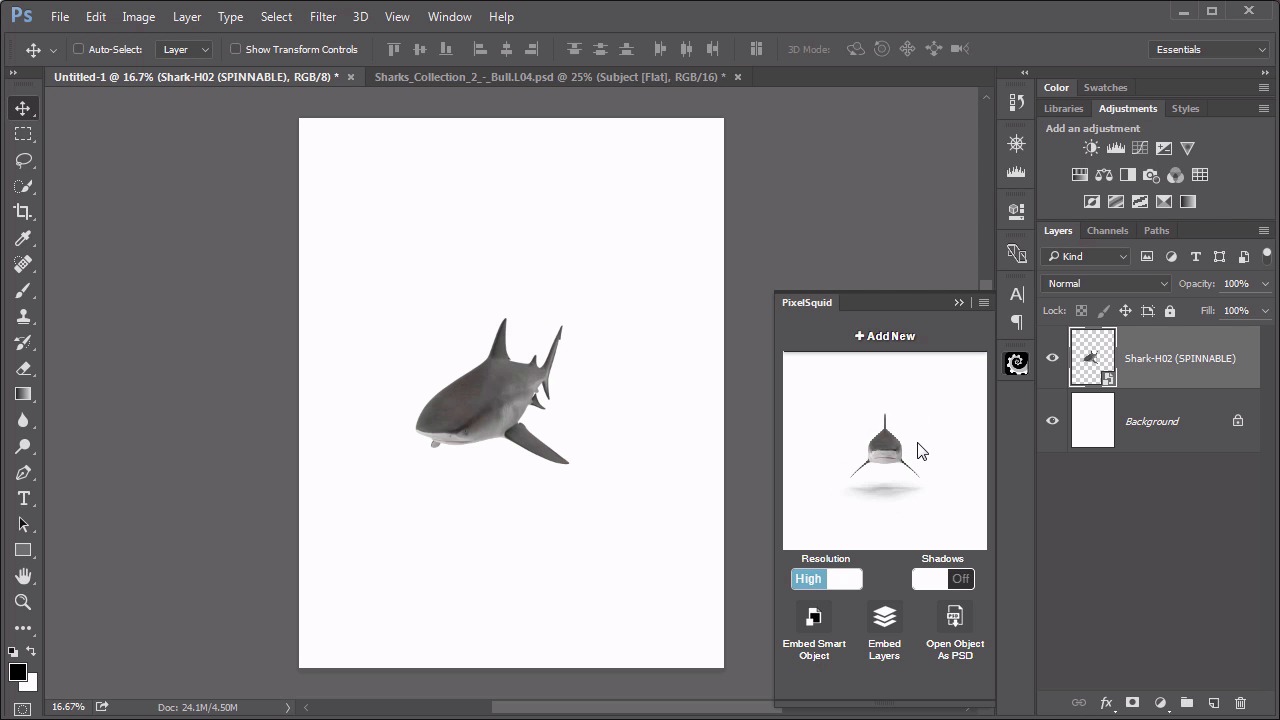
- Overview
- Transcript
2.2 Basic Interface
Learn how to use the plugin and how to browse the online PixelSquid gallery, add the graphics to your designs, and spin them in virtual 3D space!
1.Introduction
1.1Introduction01:31
1.1
Introduction
01:31
2.PixelSquid Basics
2.1The Plugin02:51
2.1
The Plugin
02:51
2.2Basic Interface05:59
2.2
Basic Interface
05:59
3.Compositing With PixelSquid
3.1Setting Up the Scene04:17
3.1
Setting Up the Scene
04:17
3.2Light and Shadow08:00
3.2
Light and Shadow
08:00
3.3Selection Layers07:16
3.3
Selection Layers
07:16
3.4Depth Maps06:23
3.4
Depth Maps
06:23
4.Designing With PixelSquid
4.1Sketching and Brainstorming05:42
4.1
Sketching and Brainstorming
05:42
4.2Crafting the Scene06:55
4.2
Crafting the Scene
06:55
4.3Matching Perspective05:04
4.3
Matching Perspective
05:04
4.4Extra Elements05:52
4.4
Extra Elements
05:52
4.5Liquid Effects07:41
4.5
Liquid Effects
07:41
4.6Light Effects05:49
4.6
Light Effects
05:49
4.7Text Effects06:28
4.7
Text Effects
06:28
5.Conclusion
5.1Conclusion01:08
5.1
Conclusion
01:08


