
 Lessons: 16Length: 2.5 hours
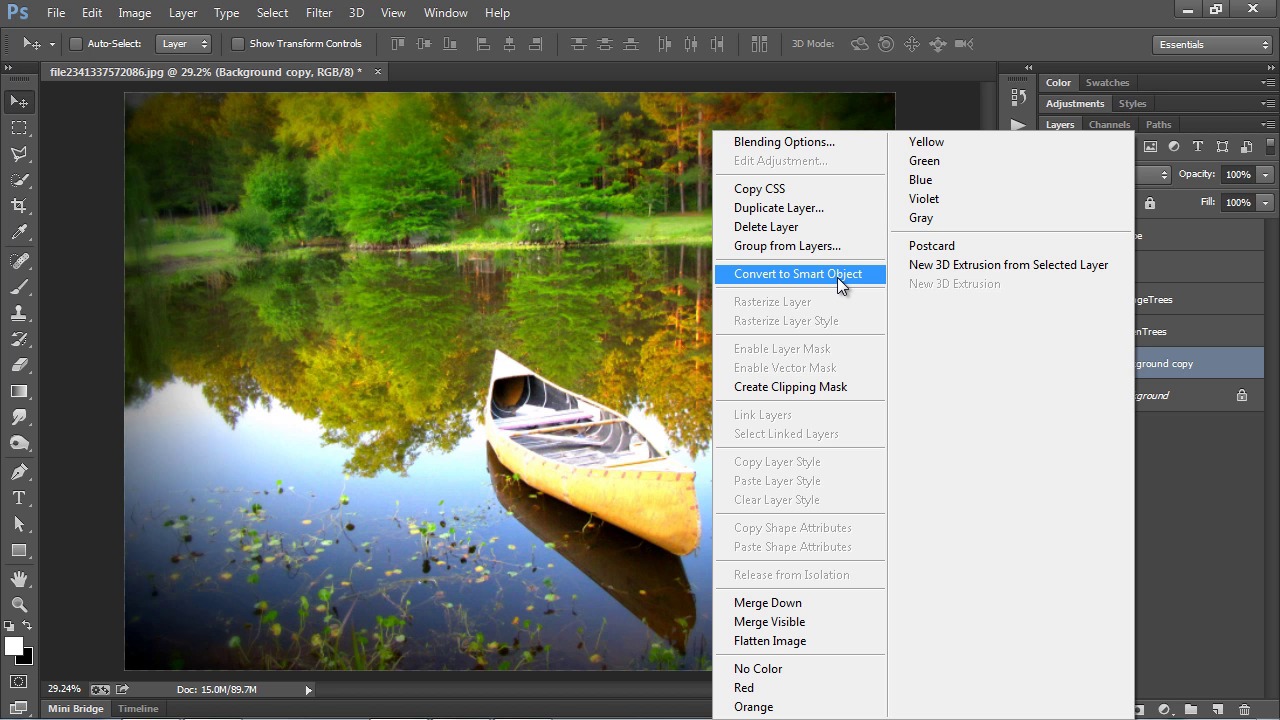
- Overview
- Transcript
2.2 Landscape Prep and Filter
Now let’s turn our attention to a landscape scene and work with what we learned about the Oil Paint Filter in the last lesson. This time we will isolate different elements to give them each their own distinctive painted appearance, while still making sure the entire piece fits into a cohesive whole.
Related Links1.Introduction
1.1Introduction03:21
1.1
Introduction
03:21
1.2Tools Overview11:16
1.2
Tools Overview
11:16
2.The Oil Paint Filter
2.1Quick and Easy Portraits09:08
2.1
Quick and Easy Portraits
09:08
2.2Landscape Prep and Filter13:00
2.2
Landscape Prep and Filter
13:00
2.3Canvas Texturing09:52
2.3
Canvas Texturing
09:52
3.Smudge Painting
3.1Pet Portrait Setup09:56
3.1
Pet Portrait Setup
09:56
3.2Smudge Basics09:49
3.2
Smudge Basics
09:49
3.3Fur Painting07:54
3.3
Fur Painting
07:54
3.4Smudge Details08:16
3.4
Smudge Details
08:16
4.Mixer Brush Painting
4.1Custom Painting Panel08:10
4.1
Custom Painting Panel
08:10
4.2Portrait Setup12:42
4.2
Portrait Setup
12:42
4.3Background Brush Work09:26
4.3
Background Brush Work
09:26
4.4Basic Mixer Brush Work09:58
4.4
Basic Mixer Brush Work
09:58
4.5Brushing the Hair11:19
4.5
Brushing the Hair
11:19
4.6Finishing Up11:42
4.6
Finishing Up
11:42
5.Conclusion
5.1Conclusion03:13
5.1
Conclusion
03:13


