
 Lessons: 17Length: 3.9 hours
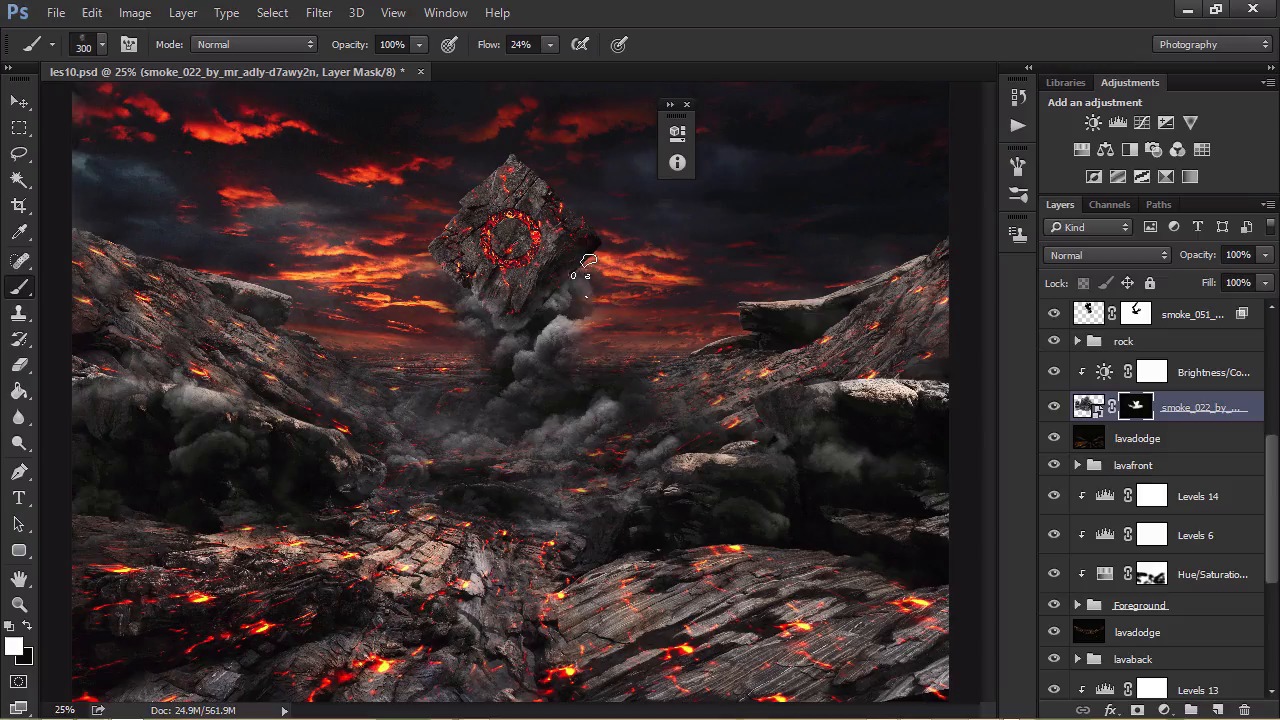
- Overview
- Transcript
2.9 Smoke Highlighting
In this lesson, we will be creating highlights to make the smoke pop more.
1.Introduction
1.1Introduction03:23
1.1
Introduction
03:23
1.2Source Images03:16
1.2
Source Images
03:16
2.Creating the Composition
2.1Document Setup and Foreground13:45
2.1
Document Setup and Foreground
13:45
2.2Finishing the Landscape17:17
2.2
Finishing the Landscape
17:17
2.3Adding Our Sky16:12
2.3
Adding Our Sky
16:12
2.4Using Lava Patterns16:30
2.4
Using Lava Patterns
16:30
2.5Perspective Tools16:09
2.5
Perspective Tools
16:09
2.6Colour Dodge16:03
2.6
Colour Dodge
16:03
2.7Adding Cracks16:25
2.7
Adding Cracks
16:25
2.8Adding Smoke and Creating a Smoke Brush15:13
2.8
Adding Smoke and Creating a Smoke Brush
15:13
2.9Smoke Highlighting16:48
2.9
Smoke Highlighting
16:48
2.10Rock Adjustments16:06
2.10
Rock Adjustments
16:06
3.Adjustments and Final Steps
3.1Finalising the Smoke16:45
3.1
Finalising the Smoke
16:45
3.2Blending the Subject16:02
3.2
Blending the Subject
16:02
3.3Lightning and Rock Brushes16:18
3.3
Lightning and Rock Brushes
16:18
3.4Filters and Adjustments16:52
3.4
Filters and Adjustments
16:52
4.Closing
4.1Conclusion03:23
4.1
Conclusion
03:23


