
 Lessons: 17Length: 3.9 hours
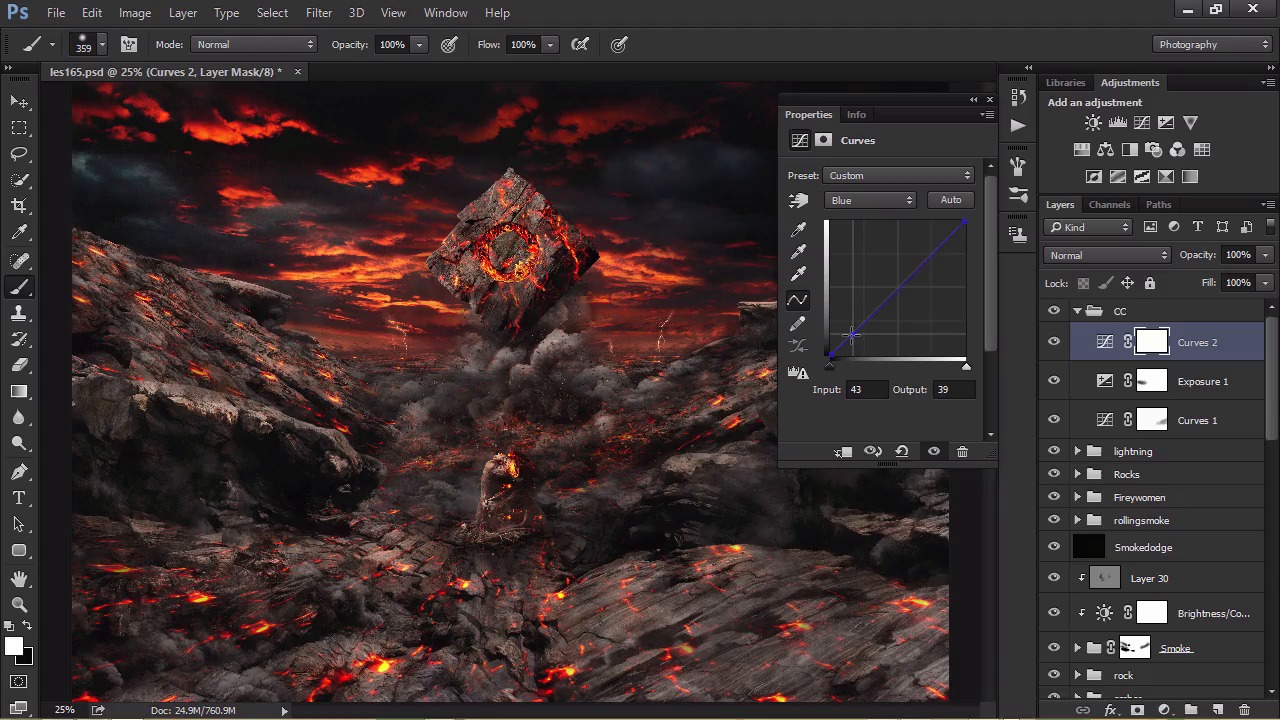
- Overview
- Transcript
3.4 Filters and Adjustments
Now we will finish our image by using filters such as Lighting Effects and Sharpen. We’ll also use Noise to blend our image together.
1.Introduction
1.1Introduction03:23
1.1
Introduction
03:23
1.2Source Images03:16
1.2
Source Images
03:16
2.Creating the Composition
2.1Document Setup and Foreground13:45
2.1
Document Setup and Foreground
13:45
2.2Finishing the Landscape17:17
2.2
Finishing the Landscape
17:17
2.3Adding Our Sky16:12
2.3
Adding Our Sky
16:12
2.4Using Lava Patterns16:30
2.4
Using Lava Patterns
16:30
2.5Perspective Tools16:09
2.5
Perspective Tools
16:09
2.6Colour Dodge16:03
2.6
Colour Dodge
16:03
2.7Adding Cracks16:25
2.7
Adding Cracks
16:25
2.8Adding Smoke and Creating a Smoke Brush15:13
2.8
Adding Smoke and Creating a Smoke Brush
15:13
2.9Smoke Highlighting16:48
2.9
Smoke Highlighting
16:48
2.10Rock Adjustments16:06
2.10
Rock Adjustments
16:06
3.Adjustments and Final Steps
3.1Finalising the Smoke16:45
3.1
Finalising the Smoke
16:45
3.2Blending the Subject16:02
3.2
Blending the Subject
16:02
3.3Lightning and Rock Brushes16:18
3.3
Lightning and Rock Brushes
16:18
3.4Filters and Adjustments16:52
3.4
Filters and Adjustments
16:52
4.Closing
4.1Conclusion03:23
4.1
Conclusion
03:23


