
 Lessons: 18Length: 2.8 hours
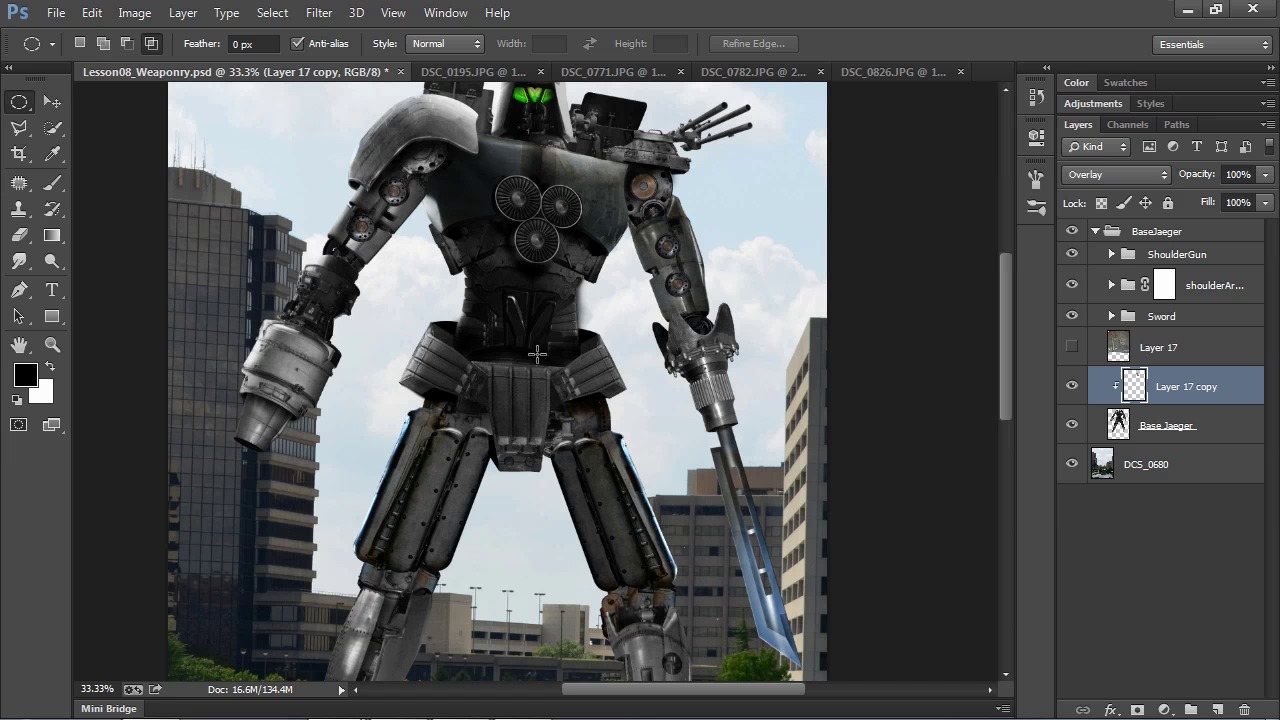
- Overview
- Transcript
4.1 Scratch and Rust Effects
In this lesson, we'll use the source photos of scratches, rust, and grunge to create custom brushes, then use those brushes to add battle damage effects to the robot.
1.Introduction
1.1Introduction04:55
1.1
Introduction
04:55
2.Getting Ready
2.1Source Photos06:37
2.1
Source Photos
06:37
2.2The Basic Setup11:50
2.2
The Basic Setup
11:50
3.Creating Your Photo-Manipulation
3.1Model Preparation09:34
3.1
Model Preparation
09:34
3.2Mechanical Parts10:55
3.2
Mechanical Parts
10:55
3.3Creating Armor Shells11:02
3.3
Creating Armor Shells
11:02
3.4Rundown of Mechanical Parts18:15
3.4
Rundown of Mechanical Parts
18:15
3.5Creating Weaponry09:52
3.5
Creating Weaponry
09:52
4.Adding Effects and Enhancements
4.1Scratch and Rust Effects11:07
4.1
Scratch and Rust Effects
11:07
4.2Glow Effects12:44
4.2
Glow Effects
12:44
4.3Environment Effects11:53
4.3
Environment Effects
11:53
4.4Lighting Effects09:51
4.4
Lighting Effects
09:51
4.5Cloud Brushes10:14
4.5
Cloud Brushes
10:14
4.6Additional Effects09:14
4.6
Additional Effects
09:14
5.Adding Text
5.1Title Text07:45
5.1
Title Text
07:45
5.2Rift Emblem04:24
5.2
Rift Emblem
04:24
5.3Official Poster Text06:54
5.3
Official Poster Text
06:54
6.Conclusion
6.1Conclusion03:45
6.1
Conclusion
03:45


