Photoshop in 60 Seconds: How to Create a Scatter Photo Effect


Welcome to our Photoshop in 60 Seconds series, in which you can learn a Photoshop skill, feature, or technique in just a minute!
Photoshop in 60 Seconds: Scatter Photo Effect
You can create an explosive scatter effect for your favorite photos in Adobe Photoshop. The key to this effect is using a combination of Layer Masks, Custom Brushes and more to uniquely reveal a hidden duplicate of your subject. Take your time with this look in order to build a dynamic scene full of movement and power.
To learn how to create this effect, check out this quick video below. Try out this look with one of these Scatter Brushes from GraphicRiver. And download this free Dancer stock via Pixabay.

How to Create a Scatter Photo Effect in Photoshop
Extract your subject using the Magnetic Lasso Tool. Create a New Document at 15 x 12 inches, and Fill the background layer with a grey to dark black Radial Gradient.
Place your subject onto the document, making sure to create a quick subtle shadow by blurring a black circle underneath her with Gaussian Blur.


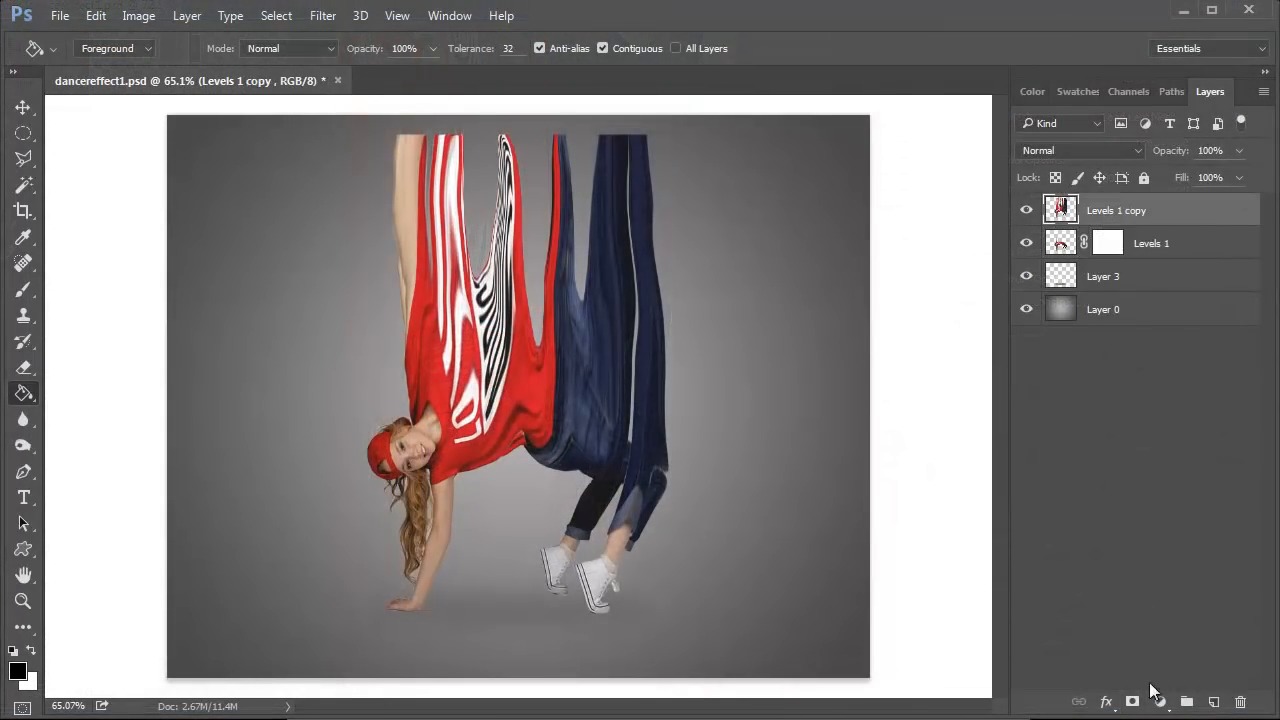
Add a New Adjustment Layer of Levels as a Clipping Mask to adjust the lighting. To create the scatter effect, first Duplicate the subject's layer and Warp the copy using the Forward Warp Tool located within Liquify.


Add a Layer Mask to both the copy and the original, Filling the layer mask of the warped dancer with black in order to hide it away.
Now, use a custom scatter brush to paint white triangles all over the Black Layer Mask in order to reveal parts of the warped copy. Move on to the White Layer Mask, painting black triangles to cut into the dancers body.


Experiment for the best results. Create movement by using the Path Blur to blur some triangles upward, and using Gaussian Blur to create depth of field.
Finish this effect by setting a New Layer to Overlay and using a Soft Round Brush to create more light by painting grey all over the scene.


Want to see this in action? Check out the video above to see this lesson at work!
A Bit More Detail
Want to learn more about Adobe Photoshop's vast tools while creating awesome designs and effects? Check out these tutorials below:


 The A to Z of Adobe Photoshop

 Mary Winkler19 May 2014

 Photoshop in 60 Seconds: How to Create a Polyscape

 Melody Nieves09 Aug 2016

 How to Create an Awesome Dispersion Action in Adobe Photoshop

 Marko Kožokar19 May 2020

 Make a Trendy Double Exposure Effect in Photoshop

 Yulia Sokolova12 Apr 2023
60 Seconds?!
This is part of a series of quick video tutorials on Envato Tuts+ in which we introduce a range of subjects, all in 60 seconds—just enough to whet your appetite. Let us know in the comments what you thought of this video and what else you'd like to see explained in 60 seconds!


