

This is part two in our four-part series on How to Design Flat Icons in Affinity Designer.
If you haven't already, make sure to check out Part One to this series, where you'll get the introduction to this course as well as the first lesson for creating a flat shopping bag icon.
Find more incredible Design & Illustration Courses on Envato Tuts+. And get amazing vector resources for your projects on Envato Market.
How to Create a Discount Badge Icon
In this lesson, Yulia Sokolova will show you how to create a quick discount badge icon. Learn how to make the second icon in this set, using basic shape tools, operations, and the Artistic Text Tool.
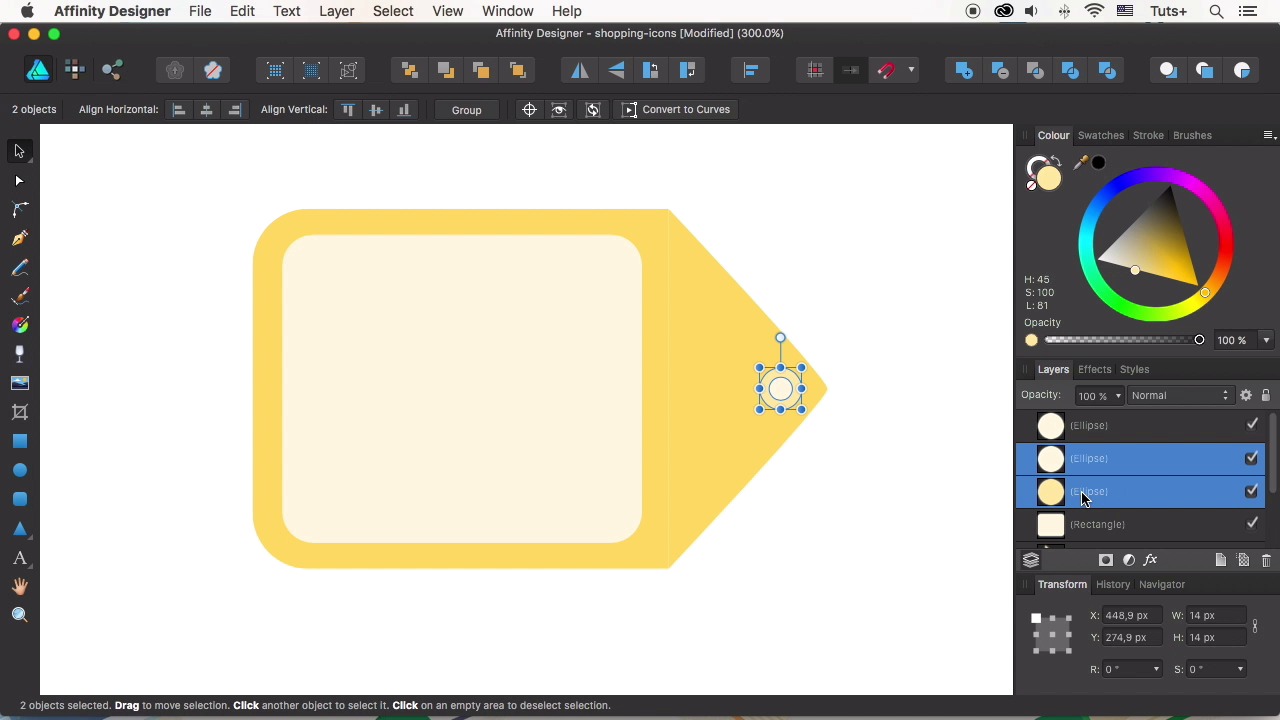
Create a yellow shape using the Rounded Rectangle Tool (M). Adjust the shape with the Vector Crop Tool to shrink in the right side.
Then create a yellow triangle and attach it to the first shape, adjusting the size with the Transform panel. Align the shapes together.


Now combine the shapes so that there's no gap. Then modify the triangle to look more like a badge.
Complete the design of the badge using the Rectangle Tool (M) to create the tag and the Ellipse Tool (L), along with operations, to create the badge's hole.


Finish the badge with some text. Here we'll use the Bowlby One Free Font to create the percentage sign to represent the discount.
Then use the same methods as before to create a trendy long shadow effect and the circular base for the icon. Here's the finished result.


How to Create a Hanger Icon
Time for the third icon. In this next lesson, we'll learn how to create a simple hanger icon using basic shapes and operations.
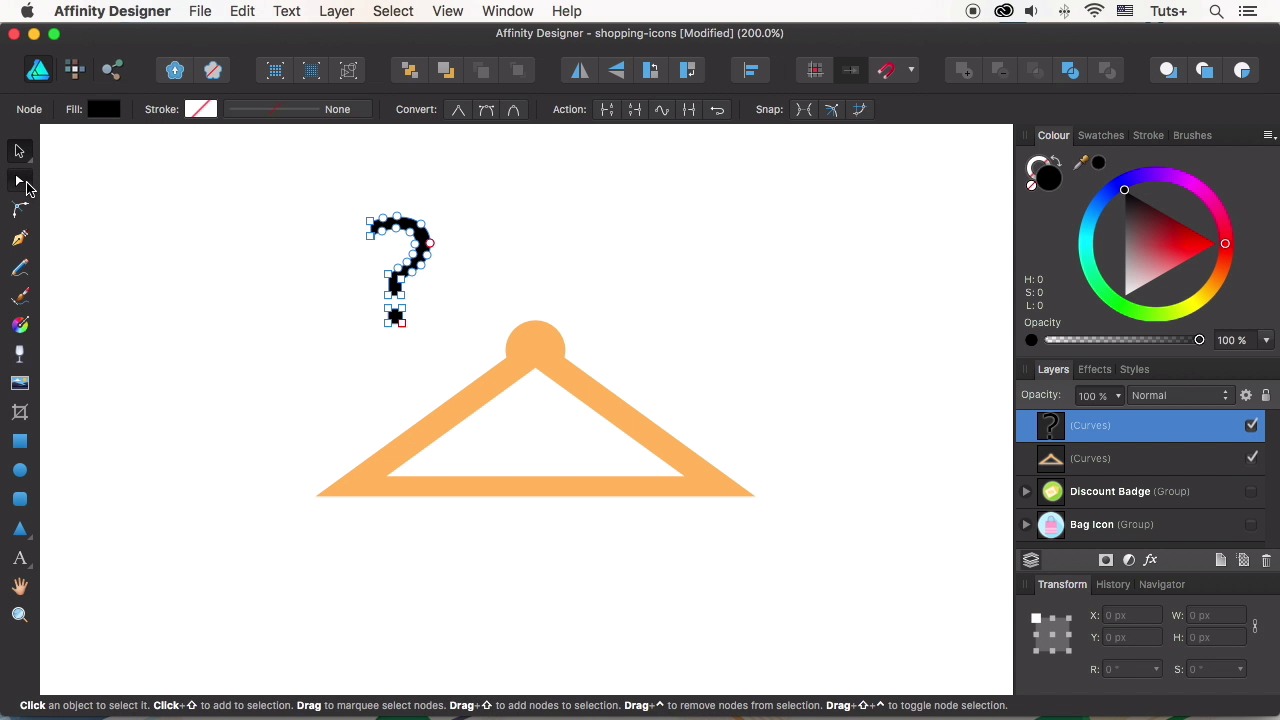
Use the Triangle Tool to create the initial base shape for the orange hanger. Duplicate this shape and make it smaller, and then create a circle for the top of the hanger with the Ellipse Tool (L).
Combine the larger triangle and circle shapes together, and then modify the new shape with the smaller triangle. This will result in a cutout effect for a stylized hanger design.


Finish the hanger with a curved metal rod. Use the Artistic Text Tool to create the metal shape from a simple question mark symbol. Then apply the gray shape to the hanger.
Create the final hanger icon with the usual steps from before. Make a long shadow effect first, and then apply it to the purple circular base. Here's the result.


Want More?
All done! Let's continue with the fourth and fifth icons in the next lesson. There we'll learn how to create a colorful shopping basket and dress icons.
Find creative assets for your designs on Envato Elements.
And for more amazing lessons on Affinity Designer, check out these tutorials:


 By
By


