Recreating Pixar's Wall-e in High Poly Using Maya 2012: Part 13


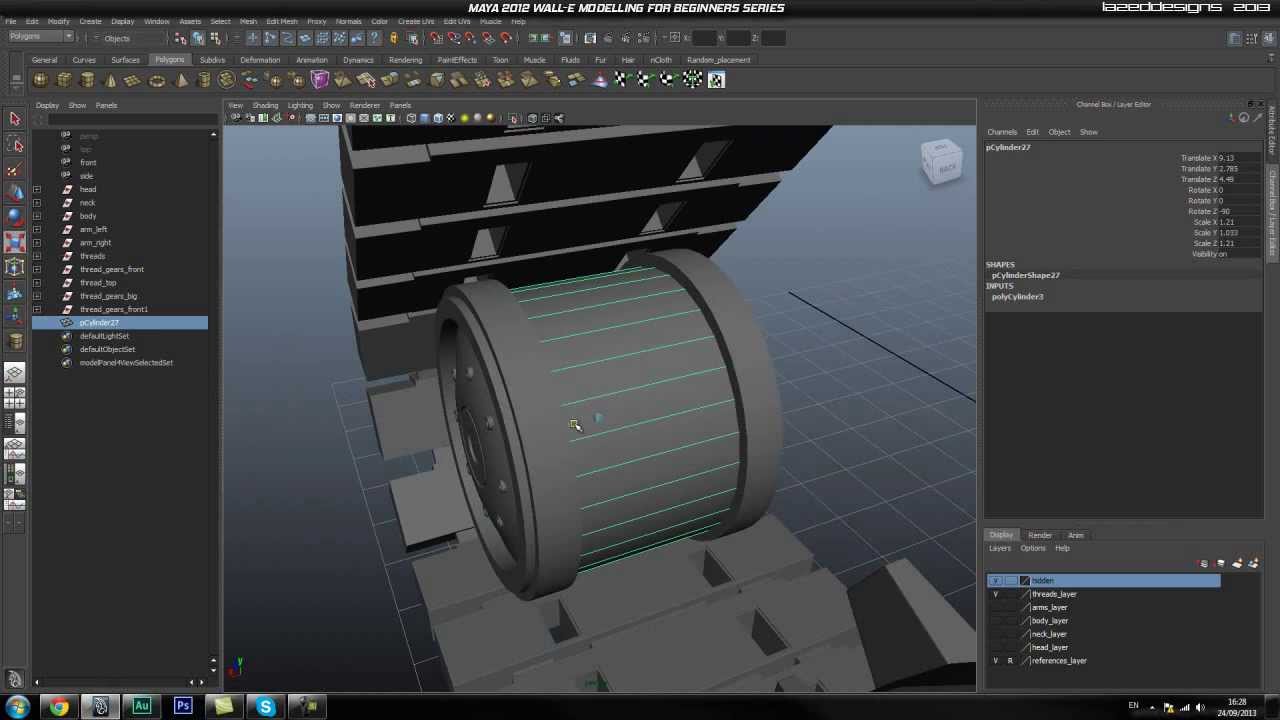
We're now at part 13 in the Wall-e modeling series and our model is really starting to take shape. In the previous part you began creating Wall-e's treads, and in this lesson you'll delve into the inner workings and begin creating the many components that make up this detailed section.
Project Overview:
In this in-depth modeling series for Autodesk Maya you'll learn how to faithfully recreate one of Pixar’s most lovable characters, Wall-e. This beginner/intermediate level tutorial series is focused on hard-surface modeling and will teach you fundamental techniques that you can apply to any project. These include blocking out form and overall proportion, creating complex shapes from primitives and maintaining a correct edge flow across your models. By the end of the series, you'll have a good understanding of the fundamental tools and techniques used in high-poly, hard-surface modeling and the experience to start tackling complex modeling projects on your own!
Part 13: Video 1
Part 13: Video 2
Part 13: Video 3
Use the link below to download this tutorial for offline viewing.


