


Welcome to our Photoshop in 60 Seconds series, in which you can learn a Photoshop skill, feature, or technique in just a minute!
Photoshop in 60 Seconds: Custom Texture Brush
For this quick video, let's take a look at how to create your own Custom Texture Brush in Adobe Photoshop.
How to Create Custom Texture Brushes in Photoshop
We'll start out with this quick scan of a charcoal rubbing.


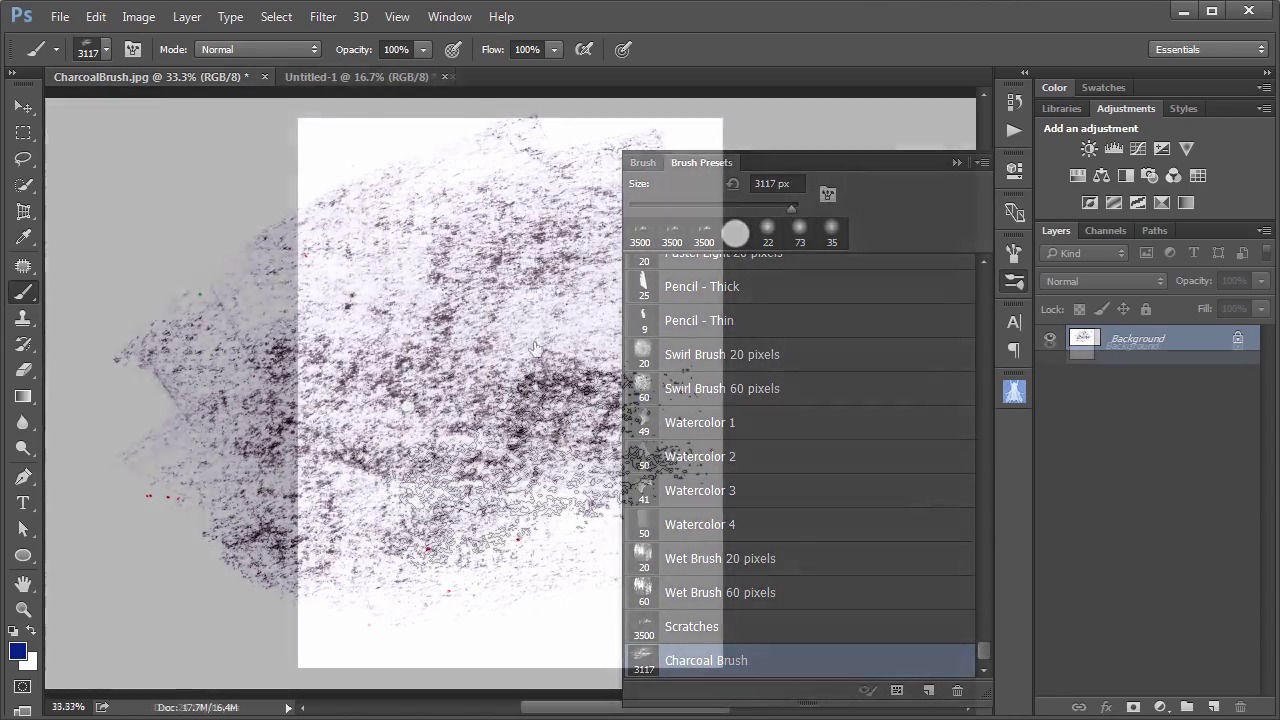
Next go to Edit > Define Brush Preset, we'll just call this Charcoal Brush.


Click OK, grab the Brush Tool, and in our Brush Presets, the new brush appears all the way at the bottom of the preset library.


To adjust the settings, open up the Brush Panel, increase the Spacing, engage the Shape Dynamics, add a significant amount of Angle Jitter, then the Flip X and Y Jitter. Create additional adjustments for more customization.


Want to see this in action? Check out the video above to see this lesson at work!
A Bit More Detail
Want to learn more about Adobe Photoshop's vast tools and settings? Check out these tutorials below:

 The A to Z of Adobe Photoshop


 How to Create Textures Using Dynamic Brushes in Adobe Photoshop


 New Coffee Break Course: How to Use the Brush Tool in Adobe Photoshop


 Photoshop in 60 Seconds: What Are Artboards?
60 seconds?!
This is part of a series of quick video tutorials on Envato Tuts+ in which we introduce a range of subjects, all in 60 seconds—just enough to whet your appetite. Let us know in the comments what you thought of this video and what else you'd like to see explained in 60 seconds!
 By
By


