Illustrator in 60 Seconds: What Are Compound Paths?


Welcome to our Illustrator in 60 Seconds series, in which you can learn an Illustrator skill, feature, or technique in just a minute!
Illustrator in 60 Seconds: Compound Paths
Ever wondered what a Compound Path is, or how exactly you should use one? Well, if that's the case, give this short video a go and you'll be mastering them in no time!

How to Use Compound Paths in Adobe Illustrator
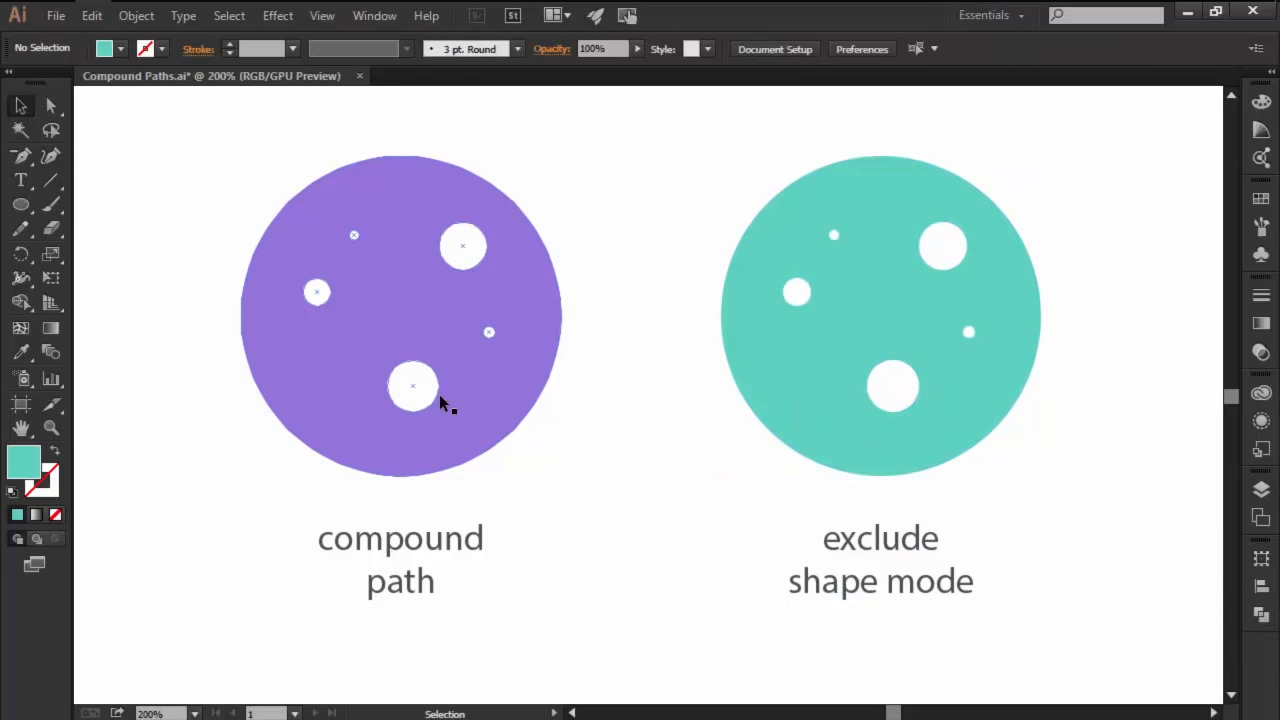
Create a Compound Path by selecting two or multiple overlapping objects and then going over to Object > Compound Path > Make.


You can easily change their Size, Shape, and even their Position by selecting the center of the empty shapes using the Direct Selection Tool and then adjusting them as you need.


If you need to, you can easily return a compound path to its original components by selecting it, and then going over to Object > Compound Path > Release.


Want to see this in action? Check out the video above to see this lesson at work!
A Bit More Detail
Want to learn more about Adobe Illustrator's vast tools and settings? Check out these tutorials below:


 The A to Z of Adobe Illustrator

 Mary Winkler20 Jan 2014

 Quick Tip: Advantages of Using the Clipping Mask Over the Pathfinder Panel

 Andrei Stefan16 Sep 2015

 Layers vs. Artboards: Comparing the Methods for Exporting Icon Packs

 Andrei Stefan07 Oct 2015

 How to Create Pixel-Perfect Artwork Using Adobe Illustrator

 Andrei Stefan19 May 2015
60 Seconds?!
This is part of a series of quick video tutorials on Envato Tuts+ in which we introduce a range of subjects, all in 60 seconds—just enough to whet your appetite. Let us know in the comments what you thought of this video and what else you'd like to see explained in 60 seconds!


