Use these techniques to improve your graphic design workflow and be more productive. With the time you save, what creative new designs will you come up with?
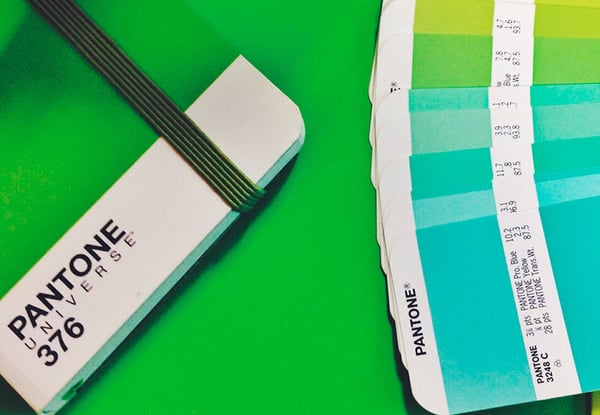
Finding Pantone colors in Photoshop isn’t as simple as it used to be. Since 2022, Adobe removed the built-in Pantone libraries, but don’t worry—you still...