


Photoshop masks are one of the most basic and important tools to learn. Photoshop masks add tons of advantages to your workflow that will help you achieve some of the best photo effects.
This essential tool is an overlay that can be added to a layer to control what to hide and show on that specific layer. Masks are non-destructive layers, providing more flexibility when working with images as they don’t permanently delete information in an image. Layer masks can be used to hide parts of an image, cutting out objects and adjusting specific parts of a photograph (in combination with adjustment layers). If you want to get started creating your own Photoshop effects, this is very handy too! Create photo filters and effects as part of your Photoshop actions with the help of layer masks.
While Layer Masks can get complicated, this tutorial will show you the essentials. So let’s take a closer look!
If you are new to Photoshop and would like some Photoshop actions or Photoshop effects, head over to Envato Elements and GraphicRiver. We’ve got many options to explore!
Follow along with us over on our Envato Tuts+ YouTube Channel:
What You Will Need
You'll need access to Adobe Photoshop; if you don't have the software, you can download a trial from the Adobe website. You'll also need:
Download the assets, and when you are ready, we can dive in!
1. How to Add a Layer Mask to Images
Step 1
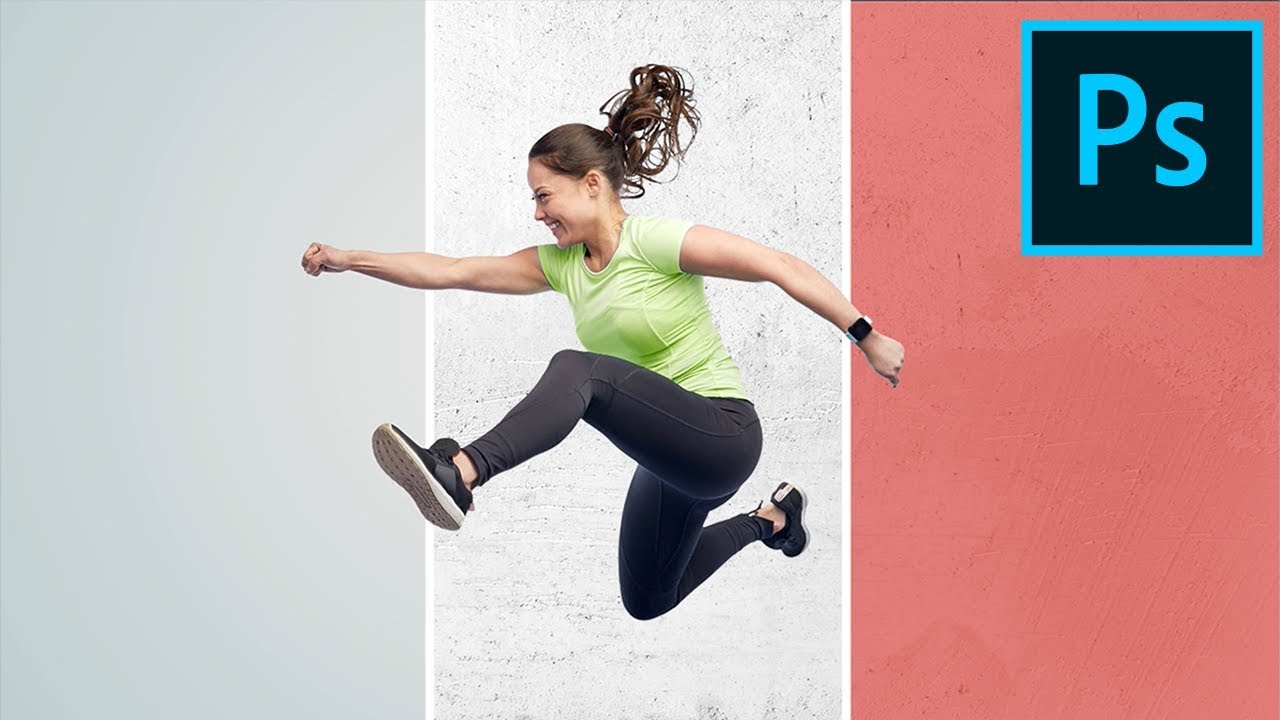
Open the Happy smiling sporty young woman image in Photoshop.


Step 2
On the Layers panel, you have the Background layer locked. Head to the bottom of the panel and click on the Add Layer Mask button. This will add a layer mask thumbnail to the right of your image thumbnail.


Step 3
You have the option to work with black, white, and grey on layer masks. Anywhere the layer mask is white, it shows what’s on the layer. Black will hide parts or all of the layer, and grey will partially hide the layer.
Let’s try hiding parts of this image. Head over to the toolbar and select the Brush Tool (B). Press D to Reset the Foreground/Background colors to White and Black. You can toggle between these two swatches by pressing X.


Step 4
On the Layers panel, make sure you have the Layer Mask thumbnail selected. Brush over the image to hide contents of the layer and you’ll be able to see what’s underneath it. In this case, we don’t have other layers, so we’ll see the transparency.
You will notice that any stroke you make with the brush will be reflected on the layer mask thumbnail.


Step 5
To bring back some of the content we hid, use the White foreground swatch. Press X to select the White foreground color. Brush over the hidden areas to reveal them.


Step 6
If you’d like to work on the layer mask directly, press Option and click on the layer mask. Here, you can work right in the layer with black, white, and grey. To exit, press Option and click on the layer mask.


Step 7
To delete the layer mask, you can drag the thumbnail towards the trash can on the Layers panel. In the new window, you have the option to Delete the layer mask and start again or Apply it before deleting it—in this case, you would be making a permanent change to the image.


2. How to Use Layer Masks With the Selection Tool
Step 1
Open the Raw concrete wall image in Photoshop. In the same file, drop the Happy smiling sporty young woman image. Resize the sporty young woman to fit the page by pressing Command-T to Transform.


Step 2
On the Layers panel, make sure you have the Happy smiling sporty young woman image selected. Click on the Add Layer Mask button.


Step 3
Go to the toolbar and select the Magic Wand Tool (W). On the Options bar, set the Sample Size to Point Sample, Tolerance to 32, and check the Contiguous option.
Click on a big area of the image—this is what I’d like to hide.


Step 4
On the Layers panel, make sure you have the Layer Mask thumbnail selected. Press Command-I to invert the selection from white to black. Press Command-D to Deselect.


Step 5
While the selection isn’t perfect, this helps greatly. Using the Brush tool to mask the entire image would take a long time. Instead, we can use the Brush Tool (B) now to work on the details.
Select the Brush Tool (B) from the toolbar. Right-click to adjust the brush as you need.
Press Z to Zoom in and Option to Out.
Make sure the foreground and background colors are set to white and black. To Reset them, press D. Use X to Toggle between the two swatches. Remember that White reveals the image and Black hides the image.
To help you see the areas that need refinement, press \ to display the layer as an overlay. Press \ again to exit the overlay. Start painting over the areas that need refinement.


3. How to Use Layer Masks With Adjustment Layers
Step 1
Let’s keep working on the same image as in the section above. This section is very useful when you want to create your own photo filters and effects.
Let’s say we would like to change the color of the shirt. Head over to the Layers panel, and select Create a New Fill or Adjustment Layer > Hue/Saturation.


Step 2
On the Properties panel, change the Hue to the desired color.
At this point, the whole image has changed, but we want only the T-shirt to change colors. Head back to the Layers panel, select the Layer Mask thumbnail, and press Command-I to invert the image and hide the change.


Step 3
Select the Brush Tool (B) from the toolbar. Using White as a foreground color, paint over the t-shirt to reveal the color. Press X to Toggle between the foreground and background colors.
Below, you can see the before and after images along with the Layer Mask overlay (\).


Great Job! You’ve Finished This Tutorial!
In this tutorial, you learned one of the most essential tools in Photoshop, Layer Masks. These Photoshop masks are great to edit images, merge them, and apply changes without obstructing the original. Keep in mind you’ll be able to re-open the file to edit the layer masks only if they are saved as PSD or EPS.
Today, you learned to:
- apply a layer mask to an image
- use the Brush Tool on a layer mask
- use the Magic Wand Tool on a layer mask
- combine layer masks with adjustment layers
If you are new to Photoshop and would like explore some amazing photo effects or photo filters, head over to Envato Elements and Graphic River. We’ve got many options to explore!


If you liked this tutorial, you might like these:


 By
By


