
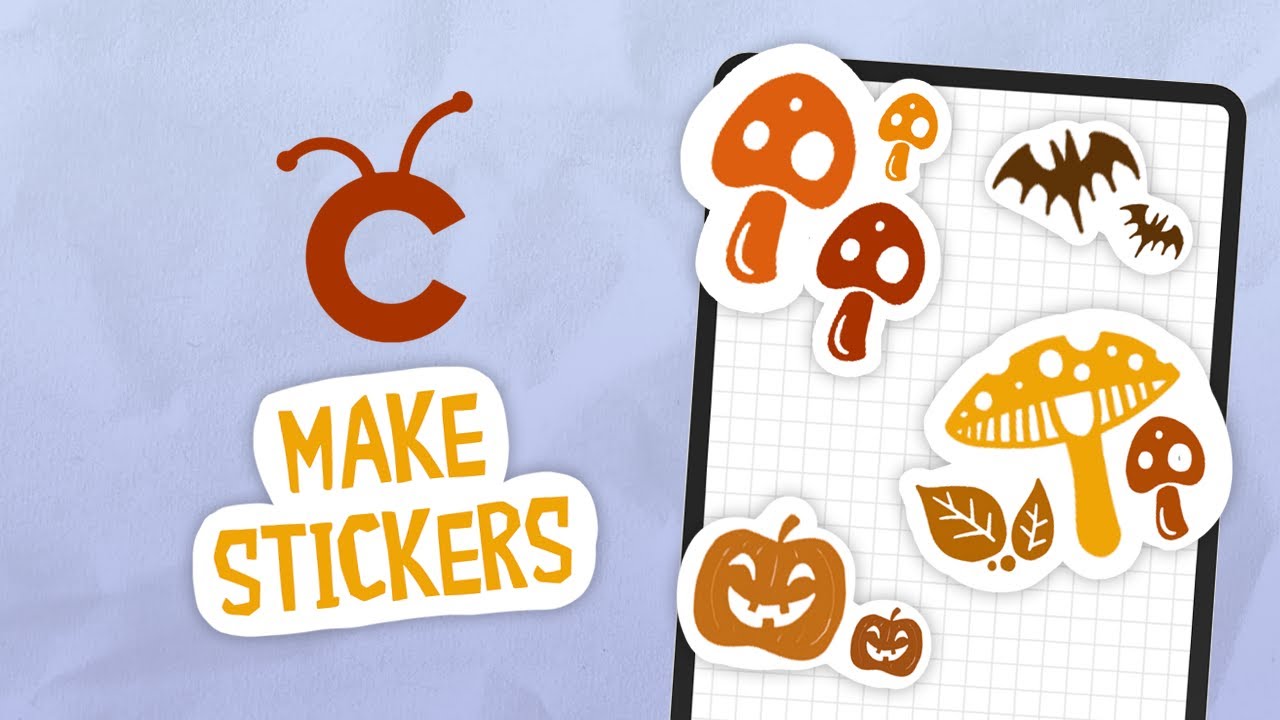
Have you ever wondered how to use a Cricut for making stickers? In this tutorial, you will be learning the step-by-step process for creating the perfectly cut custom stickers that you've always dreamed of!
You will learn how to prep, print, and cut individual stickers using a Cricut machine and Cricut Design Space, with plenty of tips and tricks along the way to ensure the perfect cut each time.
Looking for the perfect pre-made graphics pack to make stickers with? Then check out the amazing Procreate iPad planner stamp brush set from Envato Elements!


Interested in video tutorials? Don't miss out on the amazing content from the Envato Tuts+ YouTube channel! You'll find amazing resources, like this new video I did on how to make stickers on Cricut and Procreate:
What You'll Learn in This Tutorial on Making Stickers With Cricut
- How to prep the stickers for Print Then Cut
- How to set up for Print Then Cut
- How to cut stickers using a Cricut
1. How to Prep Stickers for Print Then Cut
Step 1
In this Cricut stickers tutorial, I'm using an iPad Pro, an Apple Pencil, the Procreate 5.2 app, an HP Envy Pro 6400 series printer, Evergreen Goods glossy sticker paper, and a Cricut Maker.
First, you will need to add your chosen design(s) to a document sized the same as the paper you will be printing on later. My printer prints in A4 size, so this is the size document I created. I will be using Procreate to set up my sticker sheet, but you can use any design software of your choice.


Step 2
Once your sticker designs are added to your document, you will need to space them out to ensure there will be no overlap between cuts. To be on the safe side, I like to add a minimum of a 1 cm gap between stickers. This will also make them easier to remove from the paper later on.


Step 3
Depending on your designs, you may need to add a background/border shape behind your stickers. The Cricut machine will cut out any empty spaces within your design, which will leave holes in the centre of your stickers unless filled. Complex shape borders with thin or small parts may be difficult to remove from the sticker sheet without breakage. An example of this is shown in the image below.


If the design has a solid fill and a simple border (e.g. a circle or a square), you can leave it as is. If not, you will need to add a solid shape behind your design for the Cricut to cut around. I created my border using the Monoline brush set to a white shade, and I turned off the Background colour layer in the Layers menu to enable me to see the outlines.


Step 4
Next, you will need to export the file using a file type that will keep the background transparent—I recommend using a PNG file format for this. On Procreate, this can be found under the Share section of the Actions menu.


2. How to Set Up for Print Then Cut
Step 1
Launch Cricut Design Space and select the green New Project button in the left corner of the screen.


Step 2
Upload the PNG image of your sticker sheet by selecting Upload in the bottom left corner of the screen and selecting the relevant option based on the location of your file.


Step 3
You will now be taken to the Clean Up screen, which contains various tools that can be used to make edits to the preview of your image. Here you can see exactly what will cut out, and spot any rogue shapes or mistakes.
Press the green Next button in the top right corner of the screen once you are happy with the image preview.


Step 4
The Refine screen shows black outlines of your shapes, which will be used by the Cricut as cut paths. You can zoom into these to check for any white space within the shapes, as this will need to be removed to avoid small cuts in the middle of your stickers.
Once you are happy with this preview, press the green Next button in the top right corner.


Step 5
Next, you will be given the choice between selecting Cut and Print Then Cut. The Cut option is best for non-printed projects that simply require cut-out shapes. If you are cutting out printed images such as the stickers in this tutorial, you will always want to choose Print Then Cut. This method scans the design to ensure an accurate cut.
Select the Print Then Cut option, and then press the green Save button in the top right corner. This will save your design to your Design Space image library.


Step 6
You will now be returned to the Canvas. To add your file, press Upload in the bottom left corner and then select the Open Uploaded Images option.


This will open up a library of all of the images you've uploaded to Cricut Design Space. Find your file, and then tap to select it. Once you've selected it, press the green Insert tick button in the bottom right corner of the menu.


The sticker sheet will now appear on your canvas.


Step 7
If you see a yellow warning symbol next to the Layers panel, tap on the Layers panel button at the bottom of the screen to open up the Layers panel and check the error. To view the error message, click on the warning symbol (circled in red).


In this case, the image was too large for the maker, so it must be reduced in size. The Cricut is set up in US Letter size, so this can be an issue if you are using international paper sizes such as A4.


To fix the error, you simply need to downsize the image within the recommended dimensions. To do this, select the arrow button on the button left corner of the image, and drag to resize.
Once your image is resized and the warning symbol has disappeared, click the green Make It button in the top right corner.


Step 8
You will now be taken to a preview of your sticker sheet on top of the cutting mat. First, turn on the Bleed switch (circled in red). This creates a small bleed around all of your shapes and helps to ensure a clean cut in case the machine gets the cut slightly off.
Next, press the Print button in the bottom right corner.


Step 9
Once the Print Options menu has opened, select your printer and ensure the Black & White and Double-sided settings are switched off and the Paper Size and Orientation settings are correct.
Then, select the Media & Quality button.


Here you can select your paper type depending on the sticker paper you have chosen.
My sticker paper is glossy, so I have chosen Photo Glossy Paper. Drag the quality slider to Best for the highest quality print.
Once you are happy with these settings, press Print in the top right corner of the menu to print out your sticker sheet.


Step 10
Before cutting out your printed sticker sheet, it's always a good idea to calibrate the Cricut for Print Then Cut to ensure the most accurate cut.
Begin by loading up your Cricut machine and inserting the cutting mat.


Step 11
To begin the calibration process, head back to the main menu of the Cricut Design Space app and open the menu (circled in red) in the top left corner.


Select the Print Then Cut Calibration option from the menu.


Step 12
You will now be prompted to print out a calibration sheet. To do this, press the Print button at the bottom of the menu (circled in red).
I recommend printing out multiple copies of this sheet because the process usually needs to be repeated a few times.


Step 13
Once you've printed your sheet, you will receive the below instructions to make sure that the Fine Point Blade is inserted into your machine and load the sheet onto your mat.


When placing your calibration sheet onto the mat, line up the edges of the paper with the edges of the white grid on the cutting mat.


Step 14
Once your sheet is in place, you can press the flashing Go button. The machine will begin by cutting out the central square.


You will then be prompted to check if the edge of the cut line is within the black printed square line all the way around.
If the cut line is outside the black line at any point, answer the question with No.


Here is an example of a cut line that is outside of the black square on the bottom edge.


Step 15
Next, the machine will cut out the lettered and numbered lines around the edges of the sheet.


You will then be prompted to choose which letter and number have cut lines which are closest to hitting the centre of the black lines. To input your results, tap on the Top and Right buttons circled below and select the relevant letter and number.
If No was answered to the question in step 14, you will be asked to repeat the calibration process from the beginning. If Yes was answered, your machine will progress to the final step.


Below is an example of the cut lines, in this case Q was the line with the most central cut.


Step 16
If Yes was answered to the question regarding the first square in step 14, the Cricut will finish the calibration process by cutting out the larger rectangle. If the cut line stays within the black line the calibration is now complete. If not, you can repeat the process.


3. How to Cut Stickers Using a Cricut
Step 1
To begin the process of cutting the stickers, first return to the project canvas, and then select the green Make It button in the top right corner.


Step 2
Press the green Next button in the top right corner until you reach this screen. Here you can select the material you will be cutting by tapping on All Materials (circled in red).


I selected Photo Paper because this best matches the glossy sticker paper I had chosen. You may notice an option for Printable Sticker Paper, but on this setting the Cricut will only cut through the top layer of paper, so this is only suitable for creating sheets of stickers rather than individual stickers.


Step 3
Once the sticker sheet is loaded onto the mat, you will be prompted to press the flashing Go button.


The machine will now cut around the individual stickers.


Step 4
Once the cut is complete, unload your cutting mat and carefully peel away the excess paper.


Step 5
You can now remove the stickers individually. I like to use a craft knife which I carefully slide underneath the edges of the stickers to assist with this process.


Now We're Finished!
The DIY stickers for Cricut are now complete! See the example below for how I put my stickers to use in a bullet journal spread.
Now you know how to make stickers on Cricut. Thank you for following this tutorial with me, and I hope you have lots of fun making stickers with your Cricut machine!


5 Top Sets of Sticker Designs for Cricut From Envato Elements
Now you know how to make stickers with Cricut. If you use a Cricut regularly, Envato Elements is the perfect place to source a huge library of ready-to-cut designs from. The subscription-based marketplace offers you unlimited Procreate brush sets, add-ons for Photoshop and Illustrator, premium fonts, and more! Everything is included in one subscription for a flat monthly fee.
If you'd like to explore more premium sticker designs for Cricut and sticker graphics, here I've selected five top options which are perfect for making stickers with a Cricut:
1. Procreate iPad Planner Stamp Brush
This set of planner stickers is perfect for creating your own DIY stickers for Cricut. Containing more than 60 Procreate stamps and brushes, this is the perfect set for journalling, planners, bullet journals, and more.
2. Cute Valentine's Day Stickers


Add some sweetness to your crafts with this adorable Valentine's Day themed sticker set. Containing over 20 sticker designs, this is the perfect set for creating stickers made with Cricut.
3. Cute Planner Doodle


If you need stickers for a diary or planner, try this cute set of whimsical designs. They'd be perfect for scrapbooking or for planning out your New Year's resolutions!
4. Nature Sticker Badge Illustration Design


Tap into your sense of adventure with these beautifully illustrated vector sticker designs. Containing eight different designs, this is the ideal set for creating outdoor-themed Cricut stickers.
5. Kawaii Doodle Sticker Set


This cut kawaii-themed sticker set is the perfect addition to your DIY Cricut sticker collection. This set of nine sticker designs is perfect for adding a splash of fun to water bottles, notebooks, journals, and more!
Discover More Amazing Cricut Tutorials and Resources
A Cricut for making stickers can be a really fun project. If you liked this tutorial on making stickers with Cricut, make sure to visit these other amazing Cricut tutorials and resources from Envato Tuts+:

 How to Make a Stencil Font With Cricut


 Cricut Fonts and Resources: The Ultimate Guide


 How to Make T-Shirt Designs With a Cricut


 50+ Must-Have Cricut SVG Files (Better Than a Bundle!)


 20 Best Free Fonts for Cricut (Monogram, Cursive, Script)

 44 Best Stencil Fonts for Cricut (& Cricut Stencil Ideas)

 How to Etch Glass With Cricut

 Tips & Tricks for Cutting Small Letters With Cricut
 By
By


