


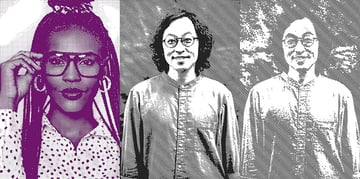
In this tutorial, you will learn how to create three halftone pattern Photoshop actions to add different halftone Photoshop effects to your photos. I will explain everything in so much detail that everyone can create it, even those who have just opened Photoshop for the first time.
Looking for a quick shortcut? Try one of these ready-made solutions for creating a halftone pattern:


What You'll Need
To recreate the design above, you will need the following resources:
1. How to Start Creating an Action
Step 1
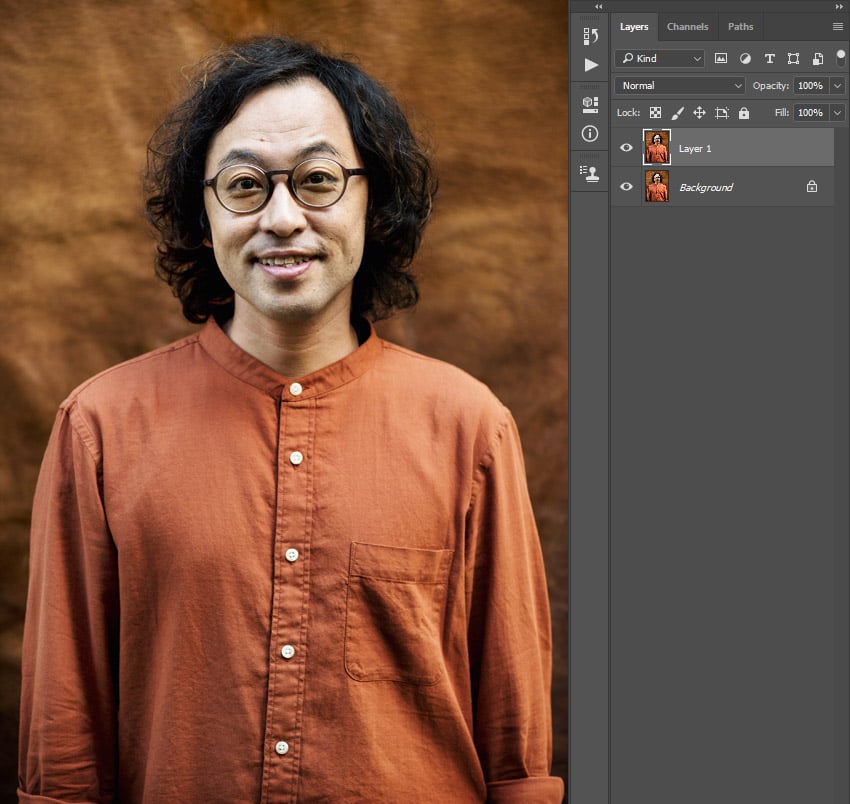
First, open the photo that you want to work with. To open your photo, go to File > Open, choose your photo, and click Open. Now, before we get started, just check a couple of things:
- Your photo should be in RGB Color mode, 8 Bits/Channel. To check this, go to Image > Mode.
- For best results, your photo size should be 2000–4000 px wide/high. To check this, go to Image > Image Size.
- Your photo should be the Background layer. If it is not, go to Layer > New > Background from Layer.


Step 2
Now go to Window > Actions, and in the Actions panel click on the menu icon in the top right-hand corner, choose New Set to create a new set, and name it Halftone Pattern.


2. How to Create the Dot Halftone Pattern Photoshop Action
Step 1
In this section, we are going to create the Dot halftone pattern Photoshop action. Go to Window > Actions, and in the Actions panel click on the menu icon in the top right-hand corner, choose New Action to create a new action, and name it Dot as shown below:


Step 2
Press Control-J on your keyboard to duplicate the Background layer.


Step 3
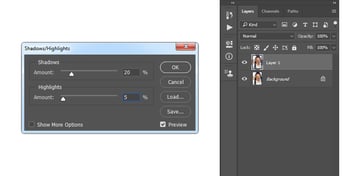
Now go to Image > Adjustments > Shadow/Highlights, and set the Shadows to 20% and the Highlights to 5%.


Step 4
Go to Filter > Filter Gallery > Sketch > Halftone Pattern and set the Size to 7, Contrast to 50, and Pattern Type to Dot.


Step 5
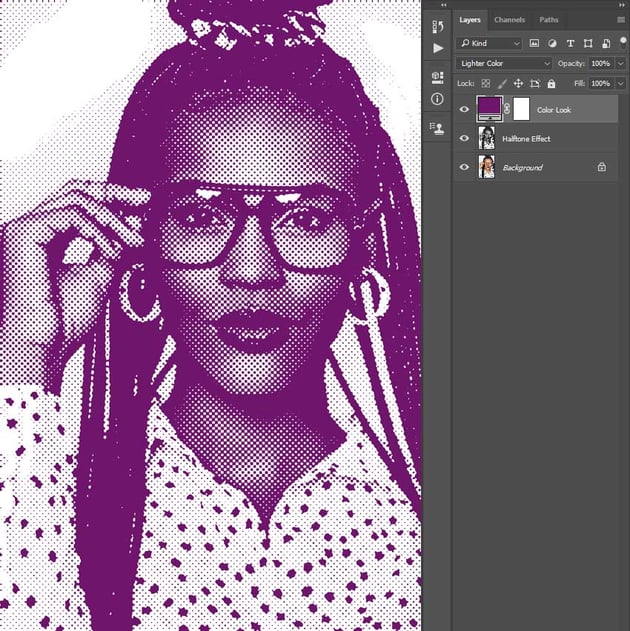
Now name this layer Halftone Effect.


Step 6
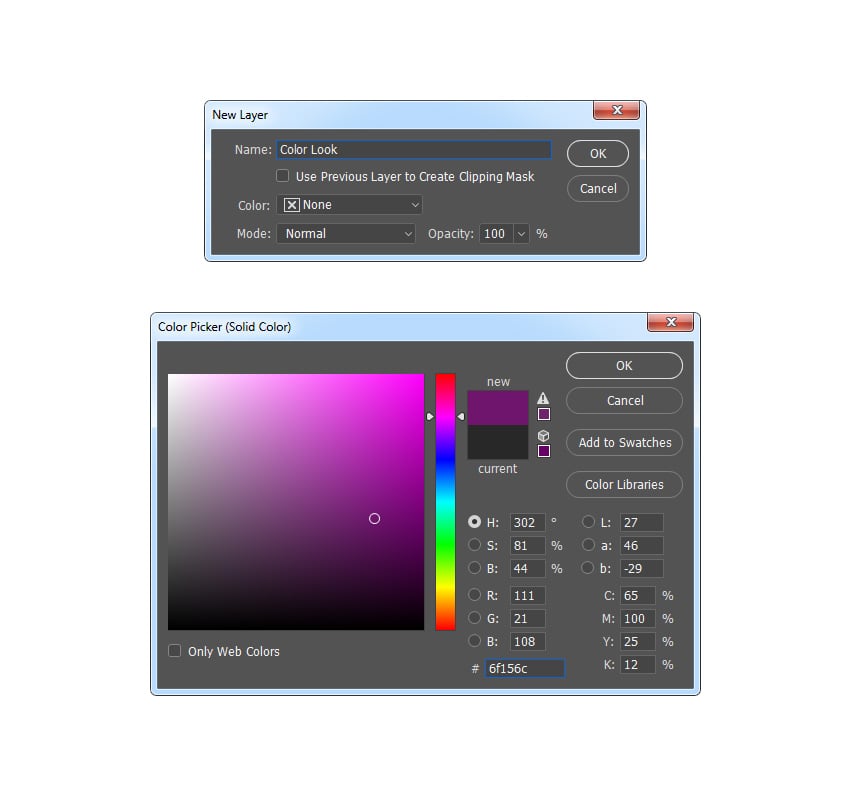
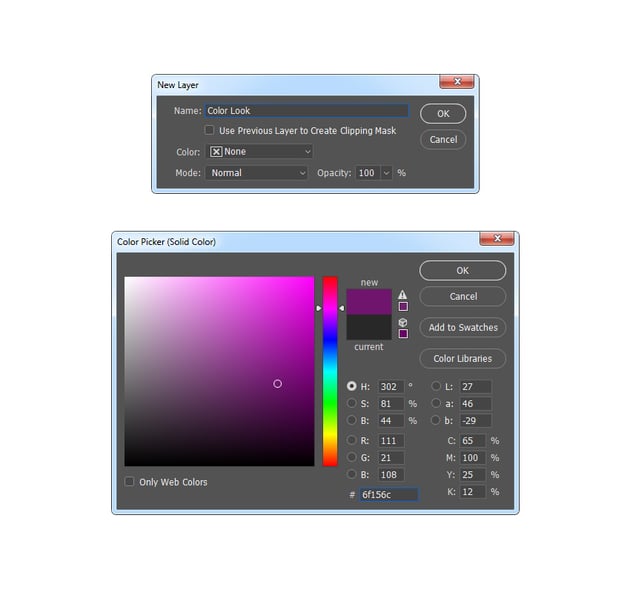
Go to Layer > New Fill Layer > Solid Color to create a new solid color fill layer, name it Color Look, and choose the color #6f156c:

Step 7
Now change the Blending Mode of this layer to Lighter Color.


Step 8
Now press Control-Alt-Shift-E on your keyboard to make a screenshot, and then press Control-Shift-U to desaturate this layer. Then, go to Filter > Other > High Pass and set the Radius to 2 px.


Step 9
Change the Blending Mode of this layer to Hard Light. Then, name this layer Overall Sharpening.


Step 10
Now go to Window > Actions, and in the Actions panel click on the rectangle icon in the bottom left-hand corner to Stop recording the action. Here is the final result for the Dot halftone pattern Photoshop action:


3. How to Create the Line 1 Halftone Pattern Photoshop Action
Step 1
In this section, we are going to create the Line 1 halftone pattern Photoshop action. Go to Window > Actions, and in the Actions panel click on the menu icon in the top right-hand corner, choose New Action to create a new action, and name it Line 1 as shown below:


Step 2
Press Control-J on your keyboard to duplicate the Background layer.


Step 3
Now go to Image > Adjustments > Shadow/Highlights, and set the Shadows to 20% and the Highlights to 5%.


Step 4
Press Control-T on your keyboard to transform this layer and set the Angle to -45° as shown below:


Step 5
Now go to Filter > Filter Gallery > Sketch > Halftone Pattern and set the Size to 5, Contrast to 50, and Pattern Type to Line.


Step 6
Press Control-T on your keyboard to transform this layer again and set the Angle to 45°.


Step 7
Name this layer Halftone Effect.


Step 8
Now press Control-Alt-Shift-E on your keyboard to make a screenshot. Then, go to Filter > Other > High Pass and set the Radius to 2 px.


Step 9
Change the Blending Mode of this layer to Hard Light. Then, name this layer Overall Sharpening.


Step 10
Now go to Window > Actions, and in the Actions panel click on the rectangle icon in the bottom left-hand corner to Stop recording the action. Here is the final result for the Line 1 halftone pattern Photoshop action:


4. How to Create the Line 2 Halftone Pattern Photoshop Action
Step 1
In this section, we are going to create the Line 2 halftone pattern Photoshop action. Go to Window > Actions, and in the Actions panel click on the menu icon in the top right-hand corner, choose New Action to create a new action, and name it Line 2 as shown below:


Step 2
Press Control-J on your keyboard to duplicate the Background layer.


Step 3
Now go to Image > Adjustments > Shadow/Highlights, and set the Shadows to 20% and the Highlights to 5%.


Step 4
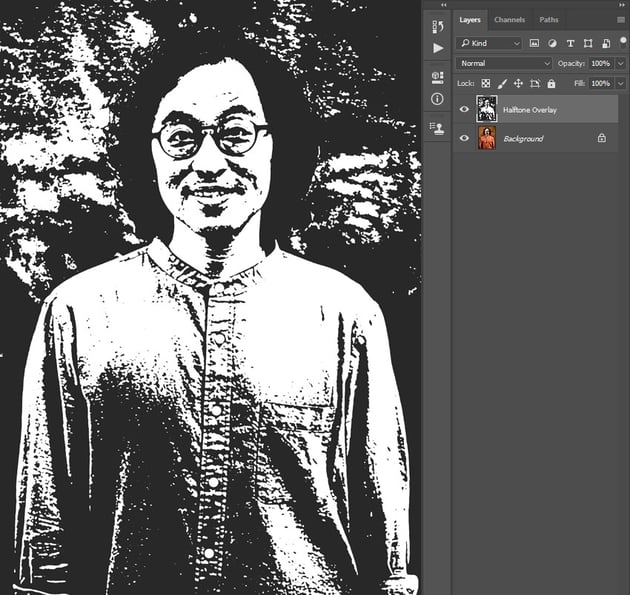
Go to Filter > Filter Gallery > Sketch > Stamp and set the Light/Dark Balance to 25 and Smoothness to 10.


Step 5
Now name this layer Halftone Overlay.


Step 6
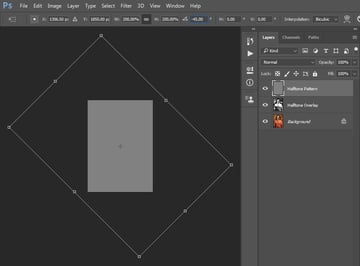
Go to Layer > New > Layer to create a new layer and name it Halftone Pattern.


Step 7
Now go to Edit > Fill, and set Contents to 50% Gray, Blending to Normal, and Opacity to 100% as shown below:


Step 8
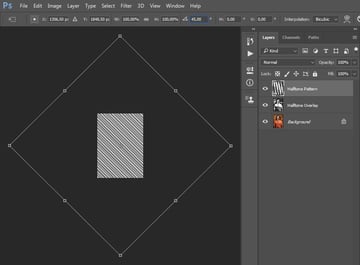
Press Control-T on your keyboard to transform this layer, and set the Width and Height of the layer to 200% and the Angle to 45°.


Step 9
Now go to Filter > Filter Gallery > Sketch > Halftone Pattern and set the Size to 5, Contrast to 50, and Pattern Type to Line.


Step 10
Press Control-T on your keyboard to transform this layer again and set the Angle to 45°.


Step 11
Go to Select > Color Range and set Select to Shadows, Fuzziness to 20%, and Range to 65.


Step 12
Now go to Layer > Layer Mask > Reveal Selection to add a layer mask that reveals the selected area of the layer.


Step 13
Drag this layer just below the Halftone Overlay layer in the Layers panel. Then, select the Halftone Overlay layer, and press Control-Alt-G on your keyboard to create a clipping mask.


Step 14
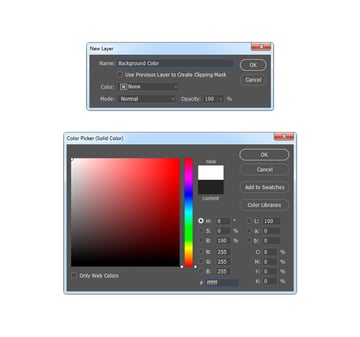
Select the Background layer, go to Layer > New Fill Layer > Solid Color to create a new solid color fill layer, name it Background Color, and choose the color #ffffff.


Step 15
Now press Control-Alt-Shift-E on your keyboard to make a screenshot. Then, go to Filter > Other > High Pass and set the Radius to 2 px.


Step 16
Change the Blending Mode of this layer to Hard Light. Then, name this layer Overall Sharpening.


Step 17
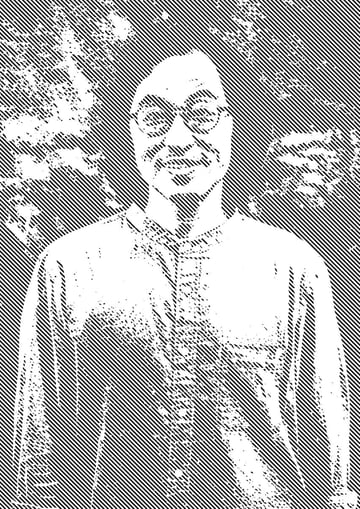
Now go to Window > Actions, and in the Actions panel click on the rectangle icon in the bottom left-hand corner to stop recording the action. Here is the final result for the Line 2 halftone pattern Photoshop action:


You Made It!
Congratulations, you have succeeded! You have now learned how to create a halftone pattern Photoshop actions to add amazing halftone Photoshop effects to your photos by using some Photoshop filters and various halftone patterns and halftone textures. Here are our final results:


You may also like:

 How to Create a Pastel Photo Effect Action in Adobe Photoshop


 How to Create a Colored Pencil Sketch Effect Action in Adobe Photoshop

 How to Create an Energy Effect Action in Adobe Photoshop

 How to Create a Dark Photo Effect Action for Beginners in Adobe Photoshop
 By
By


