

Have you ever come across a photo where all the highlights and shadows seem just too good to be true? If it's not HDR processing, it's pen tablet magic. Find out in this tutorial how to give a regular image a subtle, artistic feel with some clever brush work. Read more after the jump!
Final Image Preview
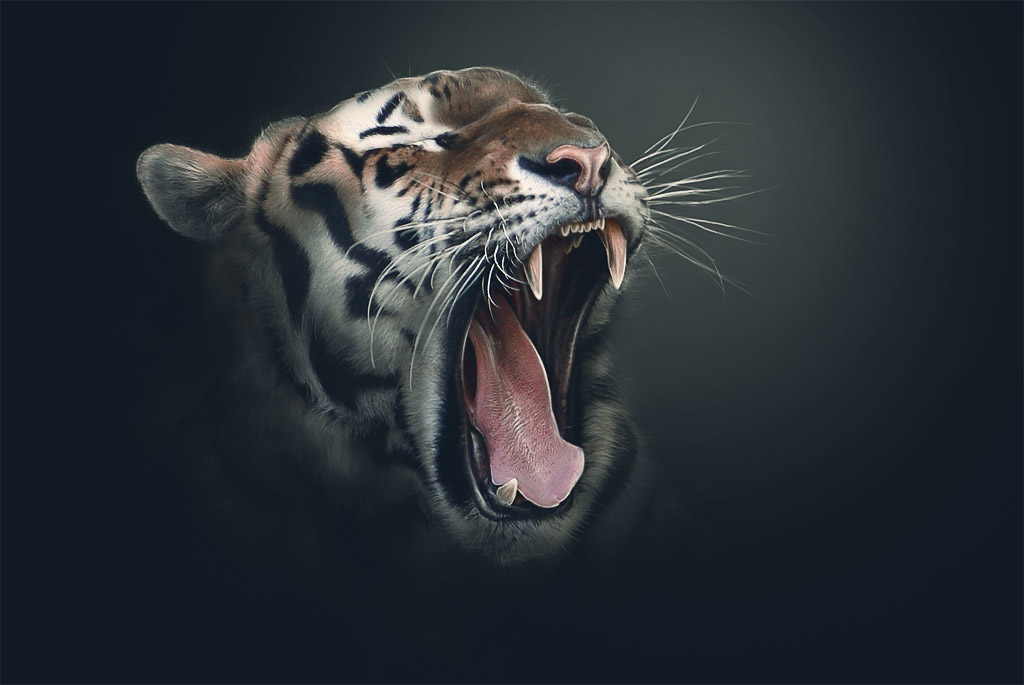
Take a look at the image we'll be creating. You can view the final image preview below or a larger version here.
Step 1
The first thing you need to do is download this photo of a tiger. Paste it in a new blank document (1575px by 1055px at 300 dpi). Rotate it and place it as shown in the image below. Also, while having the background layer selected press Command + I to invert it to black.


Step 2
Now it's time to separate the tiger from the background. We also want to fade the image out gradually, so the most efficient way is to do both of these tasks at the same time. By changing the background color to black, all we have to do now is erase portions of the tiger.
To avoid any damage to the photo though, we'll do that through a Layer Mask. With the tiger's layer active, go to Layer > Layer Mask > Reveal All. From now on, anything you paint within the Layer Mask with black will disappear. If you feel you've erased too much, paint with white to bring back parts of the image.
It's important that you do this with a tablet and at very low levels of Opacity. The idea is for the transitions to be very subtle, so sometimes when painting over dark regions with white, 1-5% Opacity is best to work with. For this step, begin to darken the background of the image to black. Use something around 10% Opacity.


Step 3
Eliminate as much as you can with the background, but don't go over the tiger itself.


Step 4
Reduce the brush size and go right up to the outline of the tiger. Try not to completely erase the whiskers. They'll be difficult to bring back if you're not sure where they are.


Step 5
Now use a large brush and cover the left side of its face and the top of the body. Add a little black on the lower part too.


Step 6
Now change the forward color to white and bring back the ear by painting over it with 100% Opacity.


Step 7
Change to black again, lower the Opacity considerably and darken the center of the ear.


Step 8
Darken the neck by focusing on the stripes. Leave the white portions somewhat visible.


Step 9
By now, only the tiger's head should be visible, and portions of the neck.


Step 10
With 1-5% Opacity, bring back some of the white parts of the chest area. Fading out the body shouldn't be abrupt and uniform. Since its fur is not flat, you'll still be able to see some of the white parts of the neck.


Step 11
And that should be it for separating the image from the background. Because the background color is solid black, it looks a bit odd now, but it will look just right with a few Adjustment Layers at the end.


Step 12
Now it's time to add highlights and shadows. In this before and after photo you can see the basic principle of everything we're about to do from now on.
On a separate layer, use white as the foreground color to paint linear highlights. To add contrast, switch to black and darken in the same way. You'll have to judge where you think all these will apply, so it's not an exact science at all. A more reflective surface like the fangs will have thinner and brighter outlines, while the tongue will require a more spread out reflection.


Step 13
Paint a white stroke along the margin of the tongue. Also, add a touch of white over the center, but don't just use a large brush size. Use a 2px brush on low Opacity and paint according to the texture of the tongue.


Step 14
For the fangs, paint along the edges and a bit near the center.


Step 15
The reflection of the nose is different from the white lines we've created so far. Instead of painting straight lines over the center of the nose, lower the Opacity even more and paint with a circular motion of the hand.


Step 16
Don't forget to add highlights on the lips and on the inner side of the cheek.


Step 17
Give the nose a well defined outline too.


Step 18
Now change the brush size to 1px and give those highlights a sharp feel.


Step 19
Don't forget the top of the head too.


Step 20
With the same 1px brush size, paint shadows this time


Step 21
Darken the left side of each fang. The boosted contrast will make them look more impressive.


Step 22
Add similar shadows to the entire mouth. To add sharpness to these effects, paint dark areas along side white ones.


Step 23
It's time to switch our attention to the entire head. Change the brush size to around 80 and add shadows to the white parts of the head.


Step 24
It's time to draw some digital hair on the darker portions. Grab a 1px brush on a very low Opacity (1-5%) and paint thin, curly lines that resemble the fur. You may need to do this over several parts of the image. Below is a close-up.


Step 25
Draw a thin, jagged line across the top of the head and edge of the ear.


Step 26
And that's it for the enhancements! Your image should now look something like this:


Step 27
Finish the image, we'll add a few Adjustment Layers. The first one's a Selective Color effect. Go to Layer > New Adjustment Layer > Selective Color. Double-click on the layer's icon to bring up the settings. From the drop-down menu, find Blacks. Change it as shown here below.


Step 28
Now find the Yellows and change the settings as follows, then Press OK when you're done.


Step 29
Add one final Adjustment Layer: Gradient Map. Bring up the settings by clicking on the layer's icon and click on the Color Gradient bar. When a second window opens, click on the first gradient from the bottom row. Change the first color (Violet) to a dark blue: #121929. Press OK and change the layer's Opacity to 10%.


Final Image
All done! Here is the final version below.
Conclusion
The true potential of this technique lies in its versatility. You can use a tablet to enhance just about any photo. Below is a before and after example of how I enhanced a portrait image of a man.


 By
By


