


Big cats are my favorite subject to draw. They're elegant and powerful, and their body has a simple, yet beautiful rhythm. Today, I'd like to show you how to draw a tiger—from the "skeleton" and muscles to the fur, details, and stripes. I will lead you step by step, so that you can follow me at your own pace without getting lost.
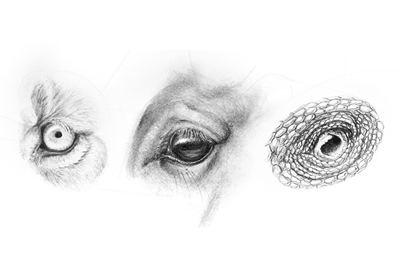
This is a tutorial for beginners, with a single outcome. If you want to learn more about drawing tigers, their anatomy and subspecies, or about big cats in general, you should check out this tutorial instead:


1. How to Start a Drawing of a Tiger
We'll start with a sketch, a set of guide lines that will become a base for the final lines. The sketch should be drawn in a way that allows you to discard it later—with very light lines, with an erasable tool, or on a separate layer.
Step 1
Draw a circle. It doesn't need to be perfect or drawn with a continuous line, so don't worry if it turns out wobbly. This will be the widest part of the chest.

Step 2
Draw a curve coming from this circle, connected to another, smaller circle. This will be the hips.

Step 3
Connect the big circle with another, smaller circle in the front. This circle should have two "arms". This area will become the arm and shoulder.

Step 4
Draw a line on top of the "shoulder". This will be the shoulder blade.

Step 5
We have all the guide lines we need to build the torso! Add some curves to finish it.

Step 6
It's very important to define the distance to the ground before we start drawing the legs. It should be slightly longer than the height of the torso.

Step 7
Draw one foreleg and one hind leg—both quite symbolic and simple, just to know where they are.

Step 8
To make the pose more interesting, let's add another shoulder...

.... and another pair of legs.

Step 9
Time for the head. Cats don't have very long necks, so place the circular "head" right in front of the shoulders.

Step 10
Finally, sketch the tail.

2. How to Draw a Tiger's Body
Does your sketch look like a tiger already? Great! If there's something not right in it, take a moment to fix it. It's very important to get the proportions right; if you get them wrong, even the finest details won't make the whole tiger look right. So take a good look at your "skeleton" and fix anything that needs to be fixed.
Step 1
Outline the shoulder blade gently.

Step 2
Connect the shoulder to the arm.

Step 3
Add some muscles to the torso.

Step 4
Sketch the elbow.

Step 5
Add the wrists and ankles.

Step 6
Sketch the paws in a blocky way. Think of them as hooves for the moment!

Step 7
Connect the wrists with the arms.

Step 8
Connect the ankle with the hip with one big curve.

Step 9
Finish the outline of the thigh.

Step 10
Outline the calf.

Step 11
Outline the ankle.

Step 12
Add some lines to make the limbs more accurate.

Step 13
Draw circles along the tail to plan its width. It should get progressively narrower towards the tip.

Step 14
Outline the tail.

3. How to Draw a Tiger's Paws
Step 1
Let's add some toes to these "hooves"! Draw blocky middle toes attached to each foot. The front ones should be slightly tapered.

Step 2
Add the other pair of toes on the sides.

Step 3
Add a rounded tip to each toe.

Step 4
Add a "thumb" to the visible inner side of the right foreleg, and a bony landmark to the ankle.

Step 5
Add the tip of the thumb.

Step 6
Add the carpal pad.

4. How to Draw a Tiger's Head
Step 1
Divide the circle-head into halves, horizontally and vertically.


Step 2
Give the face a slightly triangular look by "cutting" the sides of the circle.

Step 3
Place a circle (the muzzle) in the lower half of the circle.
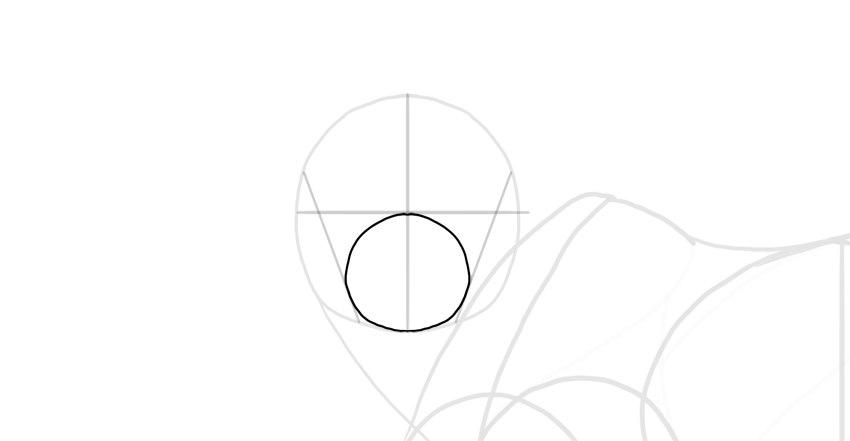
Step 4
Divide it into halves as well.

Step 5
Draw the eyebrow line right over the horizontal middle line.

Step 6
Connect it to the lower horizontal line, creating the nose.

Step 7
Create the forehead by connecting the muzzle with the top of the head.

Step 8
Make some space for the ears.

Step 9
Draw the ears.


Step 10
Go back to the muzzle. Divide its lower half into halves again.

Step 11
Use these guide lines to sketch the nose and the mouth.


Step 12
Draw the oval eyes.


Step 13
Add the details around the eyes.


Step 14
Accentuate the bones around the face. Make them rounded for a typical tiger look.

Step 15
Sketch the fur around the face.


Step 16
Sketch the fluffy chin.

Step 17
Make some space for the whiskers.

Step 18
Draw the corners of the mouth.

Step 19
Outline the cheek-mane.

Step 20
Add some additional guide lines we'll need later.

5. How to Finish a Drawing of a Tiger
We're done with the guide lines, finally! You can now switch to a more final tool, or simply press harder for more visible lines.
Step 1
Darken the eyes and give them some eyelashes.

Step 2
Draw the details around the eyes.

Step 3
Draw the nose.

Step 4
Draw the muzzle.


Step 5
Draw the ears.

Step 6
Draw the whole shape of the face.


Step 7
Outline the paws.

Step 8
Draw the forequarters.

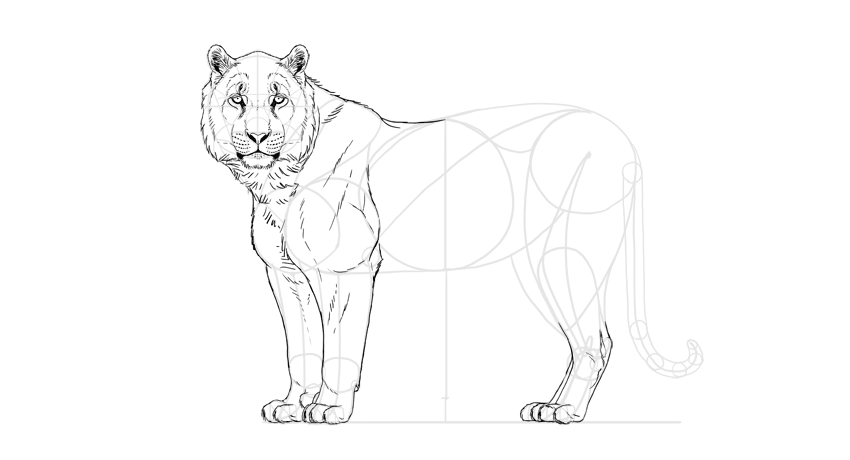
Step 9
Draw the hindquarters and the torso.

6. How to Draw a Tiger's Stripes
Step 1
Before you draw the stripes, it's better to sketch them lightly first to see how they all work together. First, sketch the pattern on the head.

Step 2
If the sketch looks good, darken it.

Step 3
Do the same with the rest of the body. Try to accentuate the 3D form of it with curved lines.

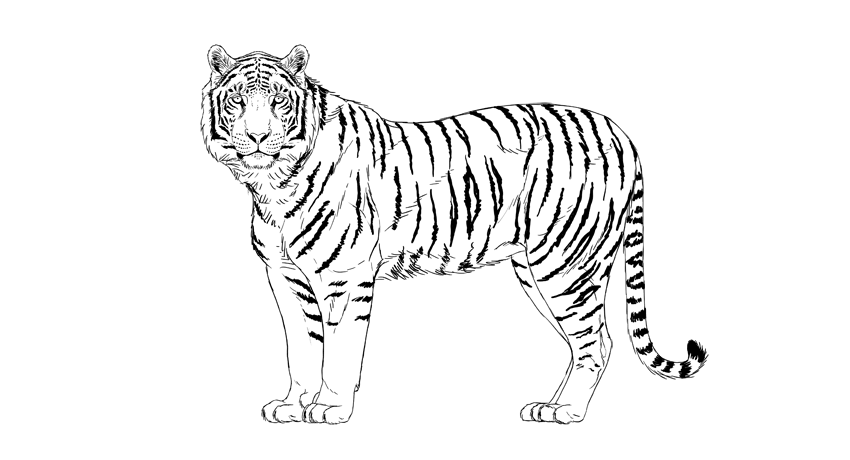
Step 4
Finally, give strong, dark outline to the tiger to make the drawing pop.

Step 5
Optionally, you can shade the tiger in a simple way to make it more 3D.

Beautiful!
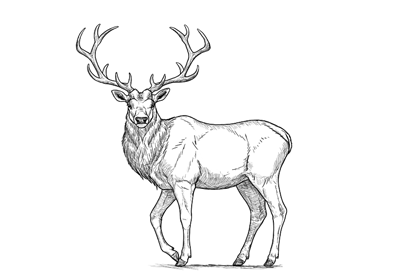
What a cute kitty! If you want to draw other animals with the same method, you'll love these tutorials as well:


And if you want to deepen your knowledge about drawing instead of simply following the steps, you can also check these out:


 By
By


