


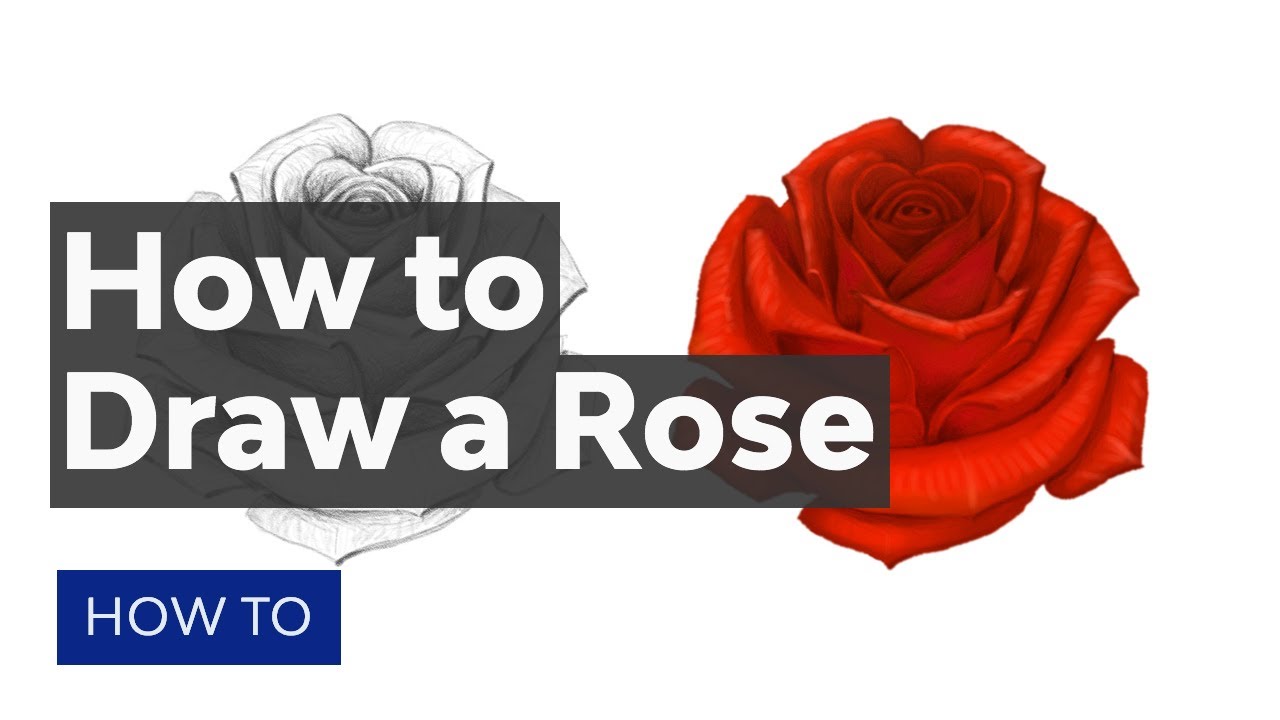
Roses are very popular flowers, commonly seen as a symbol of love. They're very difficult to draw, though—they're made of many layers of petals. You need to add them carefully one by one, and then shade the whole construction. In this quick tutorial, I'll show you how to draw a rose that's realistic with a pencil, without relying on a reference.
Follow this realistic rose drawing tutorial step by step over on our Envato Tuts+ YouTube Channel:
What You'll Need
To get started with this realistic rose drawing tutorial, you'll need a few things:
- Hard pencil (HB)
- Medium soft pencil (2B or slightly lower)
- Soft pencil (5B or lower)
- Sheet of paper
- Pencil sharpener
Do you have everything together? Then let's get going and learn how to create a rose pencil drawing that's realistic.
Step 1
Start your simple rose drawing with a teardrop/egg shape with a hard pencil. Use very light lines. This will be the inner bud of the rose sketch.


Step 2
Draw the "opening" of this shape.


Step 3
Draw little petals inside the realistic rose outline illustration.


Step 4
Close those petals into a heart shape—this will be the flower outline drawing of other petals.


Step 5
Connect the realistic rose flower outline drawing with the rest of the bud, creating a petal shape.


Step 6
One more heart...


... attached to the bud of your realistic rose flower drawing.


Step 7
One more time, draw the heart shape in your rose sketch, but this time make it less regular and more open.


The lines connecting it with the bud will create an effect of depth if you lead them correctly.


Step 8
We need one more petal on this level of your simple rose drawing design. It will have a more complicated perspective, so look carefully:


Step 9
We need to place the bud inside a "cup" of petals in the rose flower drawing. First, make it out of small petals...


... then use larger ones.


Step 10
The rest of the petals in your realistic rose outline drawing should bend more and more down.


Step 11
When you're done, press harder over the lines you want to see better to bring out the final shape of the rose drawing design.


Step 12
Take a softer pencil and shade the inner parts of the rose flower drawing. First draw lightly...


... then press harder to achieve a darker shade.


Step 13
Use the same pencil to slightly stress some edges of the petals of your realistic rose sketch. Don't draw all over them!


Step 14
Go back to a hard pencil and use it to add a subtle texture to the illuminated parts. The darker your rose, the darker you can go here.


Step 15
Take the softest pencil and finish shading your simple rose drawing with it, putting it in the darkest crevices.


Rose Logos From Envato Elements
There's no doubt learning how to make a realistic rose drawing step by step is a great skill to hone. But if you want to learn for the purpose of a brand, then you can pick a rose logo design found on Envato Elements.
1. Vintage Rose Logo Design (AI, EPS, PNG)
This logo features a realistic rose drawing design as its centerpiece. A stippling technique is applied to the shadow, giving it its vintage feel. You can edit the colors, text, and more from the well-made Illustrator file.
2. Rose Skull Badges Logo (AI, EPS, PSD, PNG)
This logo comes with a rose, but it also comes with something else that lends it a macabre vibe. The classic style combined with the skull makes it one of the best rose logo designs for a tattoo shop or a clothing line.
3. Rose Flower Logo (AI, EPS)
The simple rose sketch skips the realistic design in favor of a fun yet recognizable aesthetic. Featuring a rose drawing design inside a circle, it's ideal for a variety of needs. The logo with a rose is completely editable, down to the color and text.
4. Rose Love Heart Logo Design (AI, EPS, PNG)
This logo with a rose sketch takes minimalist design to another level. The heart and the rose are intertwined and sit just above your company or brand name and slogan. This rose logo design is scalable and editable, so have fun tweaking it to fit your brand.
5. Geometric Rose Color Logo Template (AI, EPS, JPG)
This last rose logo sketch goes fully geometric. The featured flower looks like a piece of origami and can fit well for creative entrepreneurs, shops, or as a personal logo. Use Illustrator to customize the rose logo design.
Beautiful!
You've learned how to draw a beautiful, realistic rose drawing step by step! If you'd like to publish it on the Internet, make sure you prepare the scan/photo properly first. These tutorials and resources will help you with it:

 Quick Tip: Clean Up Your Traditional Drawings in Photoshop


 How to Enhance Traditional Art in Adobe Photoshop

 Cartoon Fundamentals: How to Draw a Cartoon Face Correctly


 100 easy drawing tutorials for beginners and beyond!

 How to Draw Animals: Cats and Their Anatomy

 How to Draw a Pot Leaf

 How to Draw a Heart

 How to Draw a Lion

 Human Anatomy Fundamentals: Basic Body Proportions

 How to Draw a Wolf Step by Step

 How to Draw People
 By
By


