


Designing an Elvis movie poster can be a fun and creative way to express your love for the King of Rock and Roll.
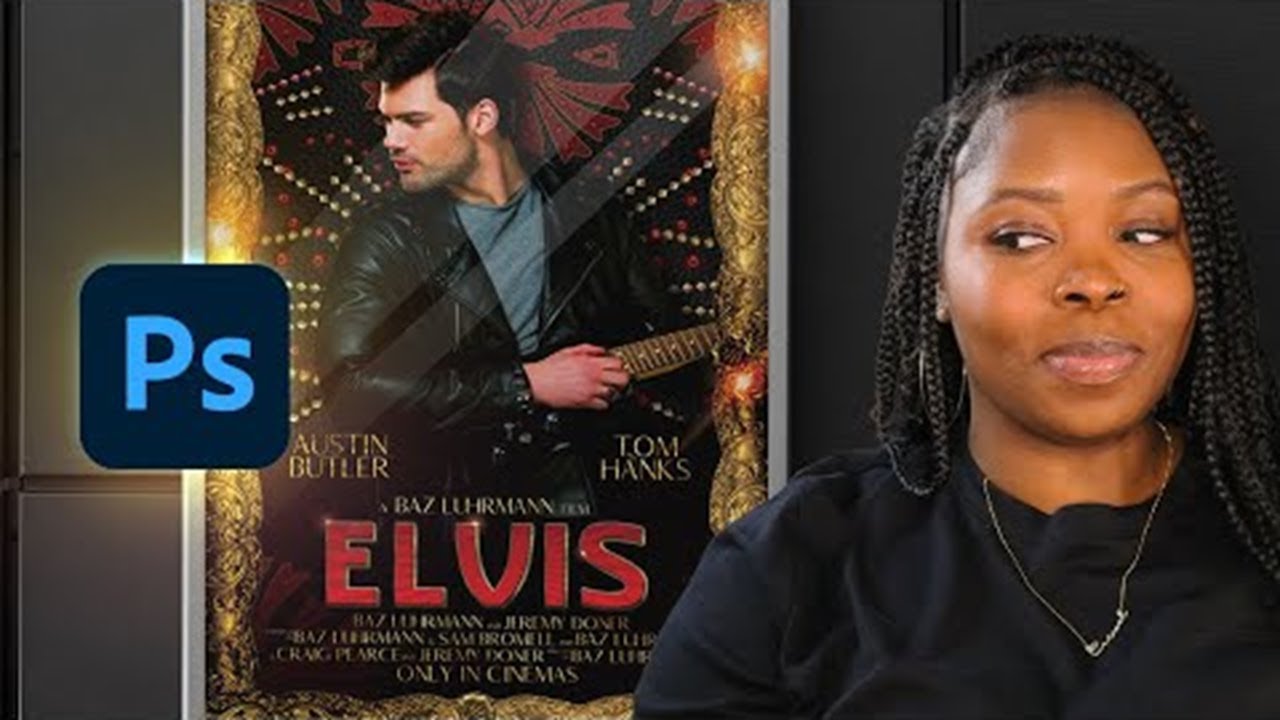
In this tutorial, we'll look at how to design an Elvis movie poster using Adobe Photoshop. We'll cover everything from how to add a glitter effect in Photoshop to how to add a bling effect in Photoshop that will make your poster shine. So, let's get started and learn how to design an Elvis movie poster!
If you prefer to follow along with a video tutorial, don't miss this new video from the Envato Tuts+ YouTube channel:
What You'll Learn in This Photoshop Tutorial
- How to set up an Elvis movie poster 2022 background
- How to add a bling effect in Photoshop
- How to create an Elvis movie poster
What You'll Need
- Black leather background
- Vintage labels
- Glitter vector brushes
- Man playing guitar
- Gold frame
- Treasure text effect
- Sun rays
- Lens flare and stars brushes
- Berton
- Modeco
- Rasane
- Gold wave
1. How to Set Up an Elvis Movie Poster 2022 Background
Step 1
Open Photoshop and create a new document, File > New. Change the dimensions to 11.25 in x 17.25 in, CMYK Color Mode, and 300 Resolution.


Step 2
Open the black leather background and place it on your Elvis movie poster. Resize it to 54% and duplicate it three more times to fill the background.


Step 3
Place the four black leather layers in a group and name it "Leather". Add a Brightness/Contrast adjustment layer above this group and change the Brightness to -35 and the Contrast to 24.


Step 4
Open the vintage labels in Adobe Illustrator. Select the flower from the fourth graphic and copy (Command-C) and paste (Command-V) it into the Elvis movie poster in Photoshop. Arrange the flowers on the top and bottom of the poster.


Step 5
Place the flowers within a group and name it "Flowers". Change this layer to Dissolve with 70% Opacity.


Step 6
Double-click one of the Flower layers within the group and apply a Stroke Layer Style. Use these settings:
- Size: 5
- Position: Outside
- Blend Mode: Normal
- Opacity: 100%
- Fill Type: Gradient
- Gradient:
#aa812d,#fcbb14,#aa812d,#fcbb14 - Style: Linear
- Angle: 90°
- Scale: 100%


Step 7
Apply a Gradient Overlay using these settings:
- Blend Mode: Normal
- Opacity: 100%
- Gradient:
#6f0f11,#ed1c24 - Style: Linear
- Angle: 90°
- Scale: 100%


Step 8
Right-click this layer and Copy Layer Style. Select the rest of the flowers in this group and right-click > Paste Layer Style.


2. How to Add a Bling Effect in Photoshop
Step 1
Create a New Document in Illustrator. Open the Glitter vector brushes and load them in the Brushes tab. Use the Pen Tool and change the Fill to None. Change the Stroke color to #b28536. Select Stud 6 from the Glitters Brush tab.


Step 2
Continue making a pattern using the Pen Tool. Use various studs to make it more appealing. Change some of the circular studs to a red color #a11d21.


Step 3
Copy and Paste this pattern of beads into your Elvis poster in Photoshop. Duplicate (Command-J) it and flip this layer horizontally (Edit > Transform > Flip Horizontal).


Step 4
Add more red beads on top of the flowers.


3. How to Create an Elvis Movie Poster
Step 1
Open the man playing the guitar image. Make a selection of the guitarist by going to Select > Subject.


Step 2
Create a Mask from the selection and place it on the poster. Put the Guitarist photo into a group.


Step 3
Add a Hue/Saturation layer and right-click > Create Clipping Mask above the Guitarist layer. Change the Saturation to 60 and the Lightness to 12.


Step 4
Add a Brightness/Contrast adjustment layer. Set the Brightness to -21 and the Contrast to 100.


Step 5
Create a New Layer and use a black soft brush to get rid of the highlight on the back of the guitarist's head.


Step 6
Select the Guitarist layer and double-click to add a Drop Shadow. Use the color #181718 for the shadow.


Step 7
Create a New Layer and use a soft black brush to add a shadow that covers the bottom. Change the layer to Multiply.


Step 8
Open the Gold Frame PSD file and Copy and Paste it around the Elvis poster. Duplicate it several times to fill the perimeter.


Step 9
Place these gold frames in a group and apply a Gradient Overlay Layer Style using these settings:
- Blend Mode: Vivid Light
- Opacity: 100%
- Gradient:
#000000 - Style: Linear
- Angle: 41°
- Scale: 100%


Step 10
Add a Brightness/Contrast layer above the Gold Frames group. Right-click > Create Clipping Mask. Set the Brightness to -22 and the Contrast to 100.


Step 11
Open the 02.PSD file from the Treasure text effects folder in Photoshop. Double-click the thumbnail to edit the text. I'm using the Modeco font for 'E' and 'L'. Use the Rasane font for 'V', 'I', and 'S'.


Step 12
File > Save this smart object. In the 02.PSD file, delete the other layers so that the smart object and Text Effect folder remain. Open the Text Effect folder and change the colors to red. Drag these two layers over into the Elvis poster. Note: I deleted the Top group that's within the Text Effect folder.
Get creative with this, and feel free to play around with the gold glitter Photoshop styles by changing the depth.


Step 13
Open the 02_Rays BG file. Delete all of the layers except 2 and 3. Change both sun rays to #000000 by double-clicking the thumbnail.


Step 14
Add the sun rays image above the Elvis text layer and right-click > Create Clipping Mask. Set this layer to Multiply with an Opacity of 10%.


Step 15
List the cast using the Berton font.


Step 16
Place your text about the film and actors within a group. Open the Gold Wave file and create a Clipping Mask.


Step 17
Open the Lens Flare & Stars brush folder and load the brushes into Photoshop. I will now show you how to add bling to letters in Photoshop. Create a New Layer and use various lens flare and star brushes along the gold frame and the name of the movie.


Step 18
Add an Inner Glow Layer Style to the lens flares using these settings:
- Blend Mode: Hard Light
- Opacity: 52%
- Color:
#ed2024 - Technique: Softer
- Source: Edge
- Choke: 0%
- Size: 0 px


Step 19
Add an Outer Glow using these settings:
- Blend Mode: Overlay
- Opacity: 100%
- Color:
#f68c1f - Technique: Softer
- Spread: 0%
- Size: 95 px


Step 20
Place this lens flare layer within a group and change it to Hard Light with an Opacity of 90%.


Lights! Camera! Action!
Congrats! You learned quite a bit in this lengthy movie poster tutorial, from how to add a Photoshop gem effect to how to apply a bling brush in Photoshop.
Now it's time to showcase your artwork like never before with Placeit's framed poster on dark wall mockup. Get an eye-catching and professional presentation in just a few clicks, and give your project the attention it deserves. Whether you're a designer, an artist, or just someone looking to bring their art to life, this mockup is perfect for you.


5 Eye-Catching Movie Posters
If you're on a time crunch, then let me introduce you to a set of posters that are red carpet ready. These professional templates are crafted by our talented designers, ready for you to customize and make your own. Break a leg!
1. Double Exposure Movie Poster (AI, PSD)


Are you looking for a way to make your upcoming movie night stand out? Look no further! Double Exposure Movie Poster template is here to give your event the wow factor. With this template, you can create a unique and eye-catching poster in no time.
2. Rainy Desert Movie Poster (PSD)


Get them hooked and ready for the show! With this rainy desert custom-made movie poster, you can create a stunning visual for your war or sci-fi themed thriller. Easily customize it with your own images and text, and watch as your audience gets excited about the event.
3. The Strangers Movie Poster/Flyer (PSD)


Are you ready to go beyond the stars? Get creative with The Strangers Movie Poster. This out-of-this-world design will help you make your movie night or space party extra special. With The Stranger Movie Poster, you can make any night a galactic adventure.
4. The End Movie Poster (PSD)


Showcase your apocalyptic style with The End Movie Poster. All you have to do is fill in the blanks and let your creativity run wild. With its unique blend of dark and light elements, this poster will make you stand out from the crowd and show off your end-of-the-world style. Get ready for the end with The End Movie Poster.
5. After the End Earth Movie Poster (AI, EPS, PSD)


Show the world what comes "After The End" with this custom movie poster template. Create your own apocalyptic masterpiece, whether it be an alien invasion, zombie apocalypse, or anything else you can imagine. Get creative and make the perfect movie poster today.
Find More Movie Poster Inspiration With These Resources
If you're yearning for more, check out these awesome resources. Sharpen your movie poster skills and become a better designer.

 Movie Poster Design 101: The Anatomy of a Movie Poster


 How to Make a Movie Poster in Photoshop


 How to Create the New Matrix Movie Poster Effect in Photoshop


 28 Best Movie Poster Templates


 How to Make a Horror Movie Poster

 How to Make an Action Movie Poster in Photoshop

 How to Make a Star Wars Inspired Movie Poster in Photoshop

 By
By


