How to Create Vexel Art in Adobe Photoshop With an Action
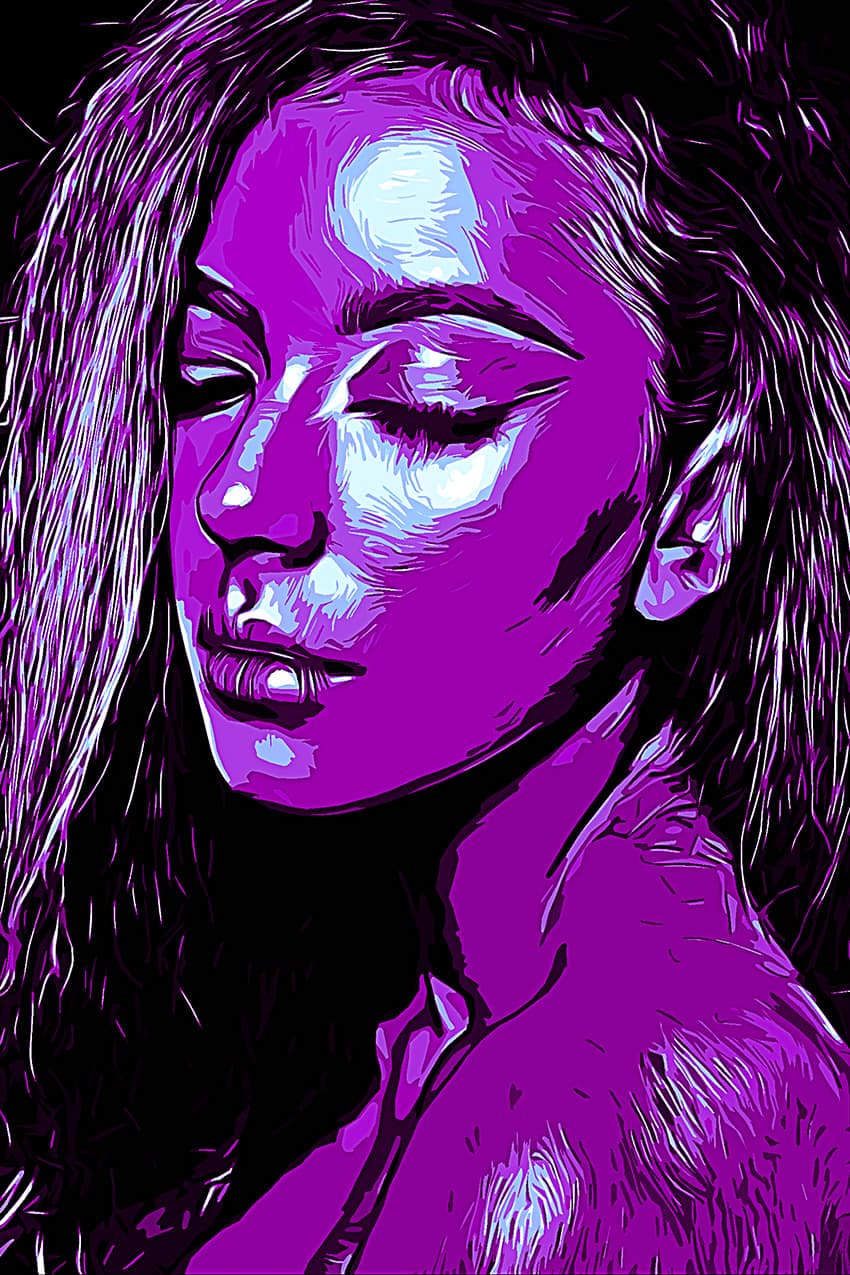
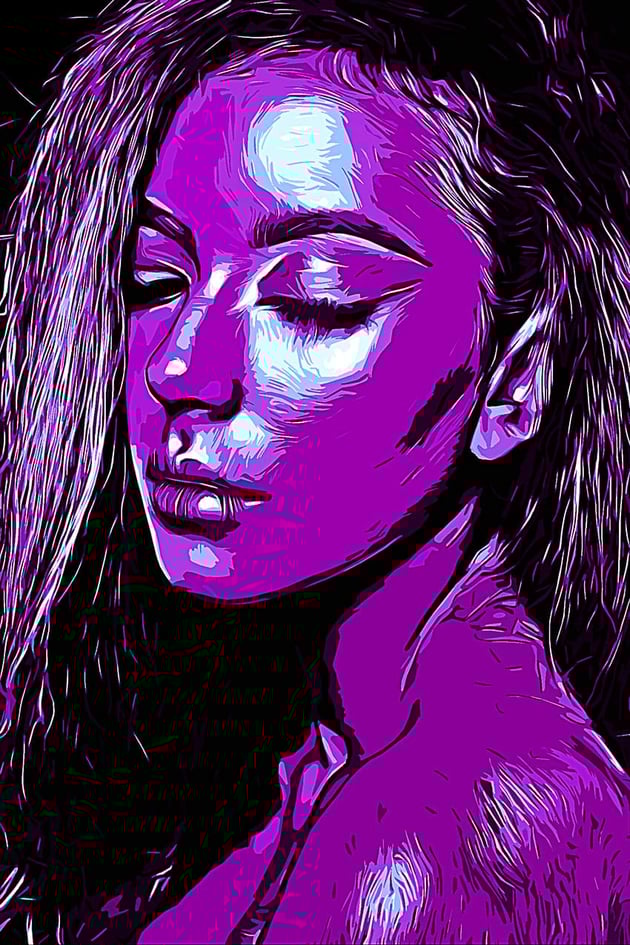
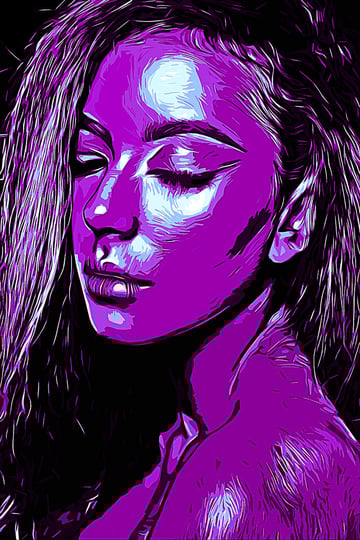
In this tutorial you will learn how to create an amazing vexel art effect. I will explain everything in so much detail that everyone can create it, even those who have just opened Photoshop for the first time.
The effect shown above is the one I will show you how to create in this tutorial. If you would like to create the even more advanced vexel art effect shown below, using just a single click and in only a few minutes, then check out my Vexel Photoshop Action. You can also purchase this as part of a bundle on GraphicRiver.


What You'll Need
To recreate the design above, you will need the following photo:
1. Let's Get Started
First, open the photo that you want to work with. To open your photo, go to File > Open, choose your photo, and click Open. Now, before we get started, just check a couple of things:
- Your photo should be in RGB Color mode, 8 Bits/Channel. To check this, go to Image > Mode.
- For best results, your photo size should be 1500–3500 px wide/high. To check this, go to Image > Image Size.
- Your photo should be the Background layer. If it is not, go to Layer > New > Background from Layer.


2. How to Create the Vexel Art Style
Step 1
In this section, we are going to create the vexel art style. Press Control-J on your keyboard to duplicate the Background layer, go to Image > Adjustments > Shadows/Highlights, and enter the settings below:


Step 2
Now go to Image > Adjustments > Shadows/Highlights again and enter the settings below:


Step 3
Go to Image > Adjustments > Brightness/Contrast and set the Brightness to -20 as shown below:


Step 4
Now go to Filter > Sharpen > Unsharp Mask, and set the Amount to 500%, Radius to 5.0 px, and Threshold to 0 levels as shown below:


Step 5
Go to Filter > Stylize > Diffuse and set the Mode to Anisotropic as shown below:


Step 6
Now go to Filter > Noise > Reduce Noise and use the settings below:


Step 7
Go to Filter > Blur > Smart Blur, and set the Radius to 5.0, Threshold to 25, Quality to Low, and Mode to Normal.


Step 8
Now go to Filter > Sharpen > Unsharp Mask, and set the Amount to 500%, Radius to 1.0 px, and Threshold to 0 levels.


Step 9
Go to Filter > Stylize > Diffuse and set the Mode to Anisotropic.


Step 10
Now go to Filter > Stylize > Oil Paint, set the Stylization to 5.0 and Cleanliness to 2.0, and uncheck the Lighting.


Step 11
Go to Filter > Stylize > Oil Paint again, set the Stylization to 10.0 and Cleanliness to 10.0, and uncheck the Lighting.


Step 12
Now go to Filter > Blur > Surface Blur, and set the Radius to 5 px and Threshold to 15 levels as shown below:


Step 13
Go to Filter > Filter Gallery > Artistic > Cutout, and set the Number of Levels to 8, Edge Simplicity to 5 and Edge Fidelity to 3 as shown below:


Step 14
Now go to Image > Auto Tone and then Image > Auto Contrast to make some auto-corrections to the photo's tone and contrast.


Step 15
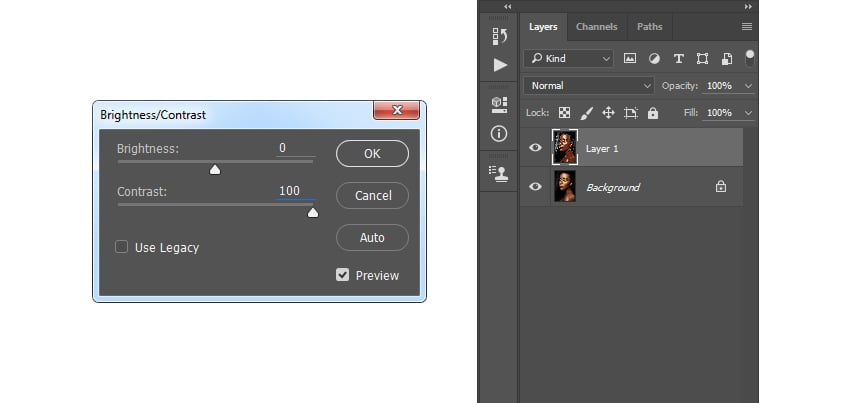
Go to Image > Adjustments > Brightness/Contrast and set the Contrast to 100 as shown below:


Step 16
Now go to Filter > Sharpen > Unsharp Mask, and set the Amount to 50%, Radius to 5.0 px, and Threshold to 0 levels as shown below:


Step 17
Now name this layer Vexel Art.


3. How to Make the Final Adjustments
Step 1
In this section, we are going to make some final adjustments to the design. Press D on your keyboard to reset the swatches. Then, go to Image > Adjustments > Gradient Map to create a new gradient map adjustment layer and name it Overall Contrast.


Step 2
Now change the Blending Mode of this layer to Luminosity and set the Opacity to 56%.


Step 3
Go to Layer > New Adjustment Layer > Levels to create a new levels adjustment layer and name it Overall Brightness.


Step 4
Now Double-click on this layer thumbnail and in the Properties panel enter the settings below:


Step 5
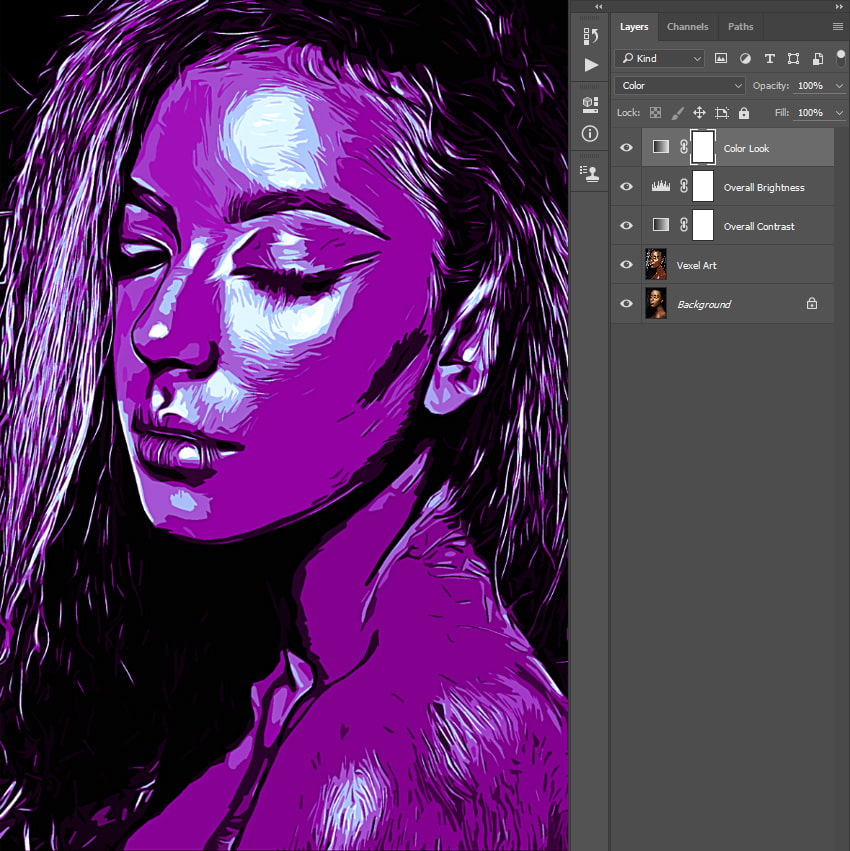
Go to Layer > New > Gradient Map to create a new gradient map adjustment layer and name it Color Look.


Step 6
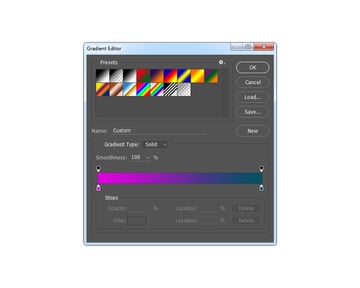
Now Double-click on this layer thumbnail, and then in the Properties panel, click on the gradient to open up the Gradient Editor panel and enter the settings below:


Step 7
Change the Blending Mode of this layer to Color.

Step 8
Now go to Layer > New Adjustment Layer > Vibrance to create a new vibrance adjustment layer and name it Overall Vibrance/Saturation.


Step 9
Double-click on this layer thumbnail and in the Properties panel set the Vibrance to +43 and Saturation to +22 as shown below:


Step 10
Now press Control-Alt-Shift-E on your keyboard to make a screenshot, and then press Control-Shift-U to desaturate this layer. Then, go to Filter > Other > High Pass and set the Radius to 2 px.


Step 11
Name this layer Overall Sharpening and change the Blending Mode of this layer to Overlay.


You Made It!
Congratulations, you have succeeded! Here is our final result:


If you would like to create the even more advanced vexel art effect shown below, using just a single click and in only a few minutes, then check out my Vexel Photoshop Action. You can also purchase this as part of a bundle on GraphicRiver.
The action works so you simply fill in your subject with a color and just play the action. The action will do everything for you, giving you fully layered and customizable results. The action also creates 20 preset color looks that you can choose from.
The action comes with a detailed video tutorial that demonstrates how to use the action and customize the results to get the most out of the effect.


~


