


This tutorial will show you how to use smart objects, layer styles, and some filters to create a simple sketch text effect in Photoshop. I'll also give you a cool tip for changing the coloring of the final result pretty easily using a Photo Filter adjustment layer.
If you like video tutorials, then you can't miss the new video by Ashlee Harrell from the Envato Tuts+ YouTube channel. Watch how to create a text effect inspired by the TV show Community:

What You'll Learn
- How to create the pattern with a custom brush
- How to make the layers for the background, text, and photo filters
- How to style the text and apply the filters
- How to move the text and change the color
What You'll Need
The following assets were used during the production of this Photoshop text effect tutorial:
- Gunterz Bold Sans Serif Font
- 9 Tileable Notepad Patterns by elemisfreebies
1. How to Create the Pattern
Step 1
Create a new 80 x 80px document, set the Foreground color to #e0e0e0, pick the Brush Tool, and open the Brush panel (Window > Brush).
Choose a soft round 1 px tip, check the Noise and Wet Edges boxes, and modify the rest of the settings as shown below:

Shape Dynamics:

Step 2
Create a new layer, and start drawing some diagonal lines to get a pattern fill for your sketch text effect in Photoshop.

Step 3
When done, make the Background layer invisible (by clicking the eye icon next to it), and then go to Edit > Define Pattern, and type in a name for the pattern. Then click OK.

2. How to Make the Background, Text, and Photo Filter Layers
Step 1
Create another new 1000 x 750px document, pick the Paint Bucket Tool, choose the Pattern option in the Options bar, and fill the Background with any pattern you like from the 9 Tileable Notepad Patterns pack.

Step 2
Create the sketch text in Black using the font Gunterz Bold Sans Serif Font and the font Size 150 pt.

Step 3
Right-click the text layer, choose Convert to Smart Object, and change the smart object layer's Fill value to 0.
Then duplicate the smart object layer three more times, so that you end up with a total of four smart object layers.
Group all the smart object layers you have, name the group Text, and change its Blend Mode to Normal. This is the part that will enable you to change the text color easily later on.

Step 4
Click the Create new fill or adjustment layer icon at the bottom of the Layers panel and choose Photo Filter. Place the Photo Filter adjustment layer inside the Text group on top of all the smart object layers.
Choose the Color option, and then change the color to #3f3f3f and the Density to 100%, and uncheck the Preserve Luminosity box.

3. How to Style the Text
Now it's time to start adding the sketch text effect in Photoshop. It's easier than you'd think.
Step 1
Double-click the first smart object layer to apply a Pattern Overlay effect using the following settings:
- Opacity: 70%
- Pattern: Use the pattern you created at the beginning of this tutorial.

This will style the inner part.

Step 2
Double-click the first copy smart object layer to apply the following layer style:
Add a Stroke with these settings:
- Size: 1
- Position: Center
-
Color:
#c9c9c9

Step 3
Add an Inner Shadow with these settings:
-
Color:
#bfbfbf - Distance: 0
- Spread: 100
- Size: 1

Step 4
This will style the first stroke layer. Right-click the styled layer, and choose Copy Layer Style. Then select the remaining copy layers, right-click one of them, and choose Paste Layer Style.

Step 5
Double-click the second copy smart object layer to modify some of the values used for the layer style:
For the Stroke effect, change the Color to #bfbfbf.

Step 6
For the Inner Shadow effect, change the Size to 2.

This will style the second stroke layer.

Step 7
Double-click the third copy smart object layer to change some of the Stroke effect settings:
- Opacity: 90%
- Position: Inside
-
Color:
#d6d4d4

This will style the last stroke layer.

4. How to Apply the Filters
Step 1
Select the first copy smart object layer, and go to Filter > Distort > Ripple. Change the Amount to 20 and the Size to Medium.

Step 2
Select the third copy smart object layer, and go to Filter > Distort > ZigZag. Change the Amount to 5, the Ridges to 10, and the Style to Out From Center.

Step 3
Finally, go to Filter > Blur > Surface Blur. Change the Radius to 3 and the Threshold to 12.

5. How to Move the Text and Change the Color
Step 1
What you'll need to do next is pick the Move Tool, and then select each of the three copy smart object layers and move them slightly. You can move any or all of the layers depending on the effect you want to get.

Step 2
If you want to change the coloring of the text, all you need to do is select the Photo Filter layer, and in the Properties panel, click the color's box to choose a different one. The color used here is #3060ce.
Place the Photo Filter layer inside a group that contains the elements it's supposed to affect, and change that group's Blend Mode to Normal instead of Pass Through.

Congratulations! You're Done
In this Photoshop text effect tutorial, we created a simple pattern using a modified brush tip.
Then we filled a background with a lined paper pattern, created some text, converted it into a smart object, and then created a couple of copies of it. We then styled each copy to get the sketch effect, with the help of some filters that we applied after styling the layers.
Finally, we moved the layers around a bit and used a Photo Filter adjustment layer to change the color of the final result.
Download Premium Photoshop Text Effects From Envato Elements
There are so many cool Photoshop text effects out there, and you won't need tutorials to try them all. Envato Elements is home to premium layer styles you can apply to your text and use for your projects. Here's a small sample of what you can find from the creative asset service:
1. Street Graffiti Text Effect (PSD)

We're jumping from a sketch text effect for Photoshop to street art. The graffiti on show in this download is realistic and works with all of your text. You can even use it for logos. If you're a fan of this art style, then you'll want to have this option on your side.
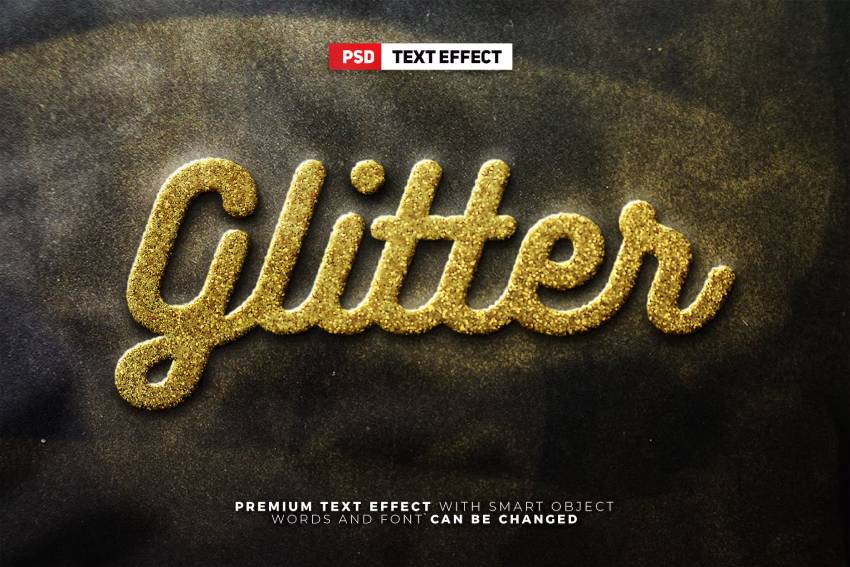
2. Super Luxury Glitter Editable Text Effect (PSD)
Let's face it: glitter gets everywhere. Thankfully, this cool text effect for Photoshop is a nice compromise. It has all of the sparkly traits of the tiny particles, with none of the mess. Use this Photoshop text effect's aesthetic for invitations, posters, and more.
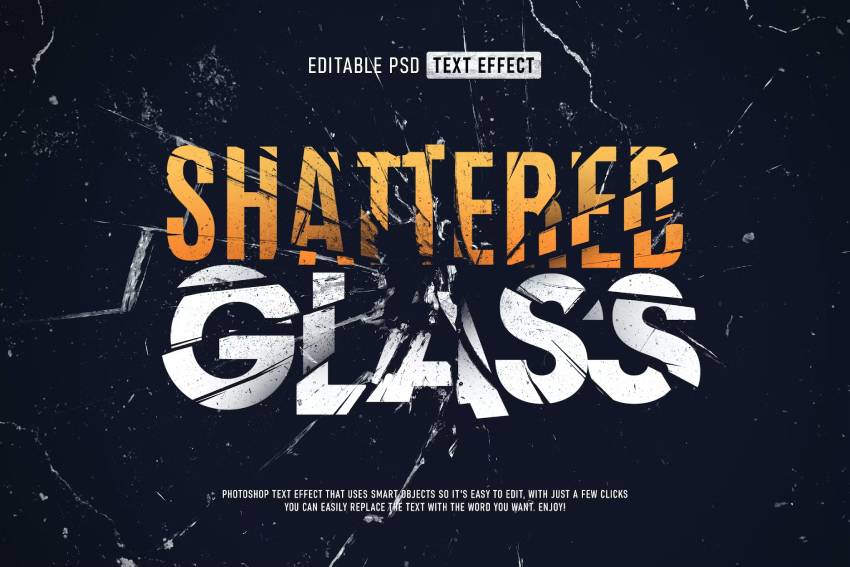
3. Shattered Glass Text Effect for Photoshop (PSD)
You can almost feel the impact of the Shattered Glass Photoshop text effect. When you add your text to the Smart Object layer, you'll be greeted with shards of splintered letters so realistic that they'll pop off the screen. If you're after cool text effects for Photoshop, download this.
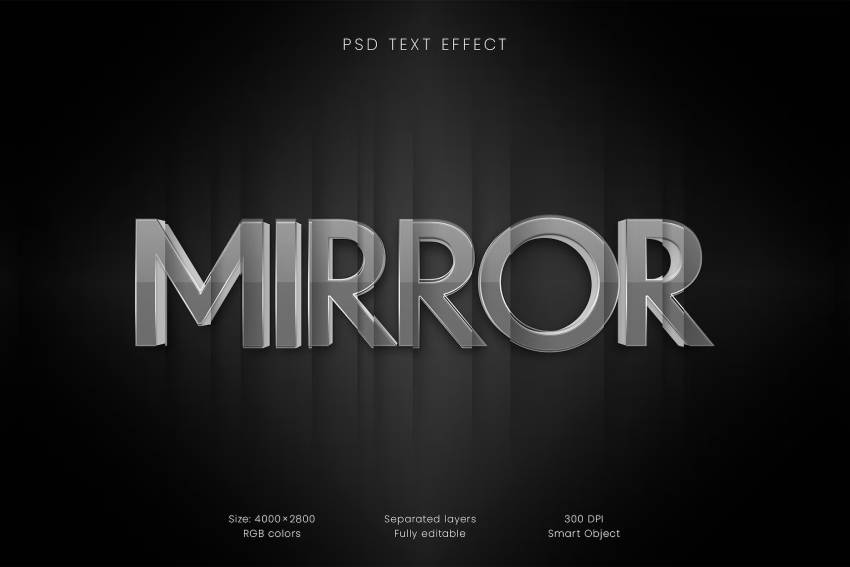
4. Mirror 3D Text Effect for Photoshop (PSD)
Looking at Mirror is almost like looking at an optical illusion. The well-placed folds and bends create a 3D text effect for Photoshop that's hard to pull yourself away from. It's high resolution and fully editable, so you can really try your hand at making something creative.
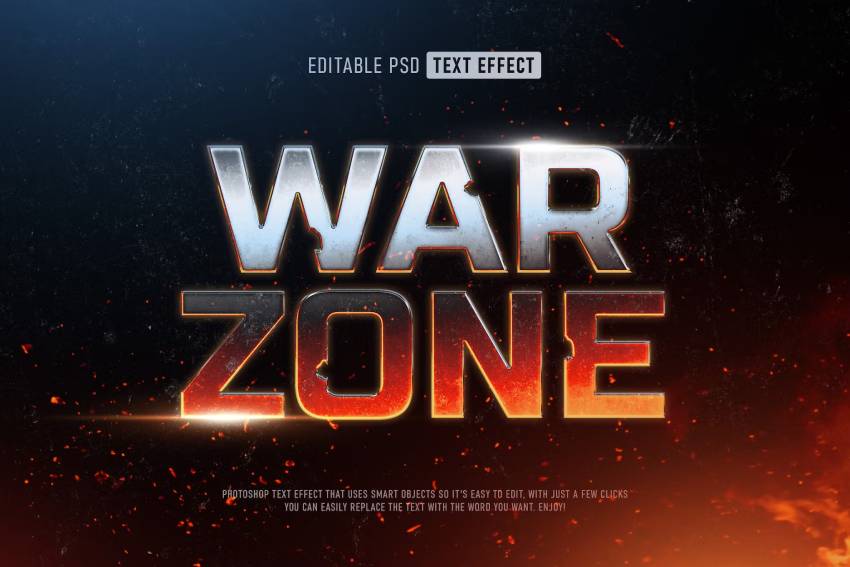
5. Burning Steel Text Effect (PSD)
Burning Steel is the final entry in our list of cool text effects for Photoshop. The texture and bold lettering on show here remind me of a high-octane action movie, so it's perfect for posters and fan projects. It's a departure from the sketch text effect in our Photoshop tutorial, but Burning Steel makes a great addition to your creative toolkit.
Try More Photoshop Text Effect Tutorials From Envato Tuts+
Learn how to create and add more effects to text in Photoshop with help from our instructors. They've crafted some of the best tutorials online that you can try your hand at. Here are a few you can get started on:
 How to Create a Piped Icing Text Effect in Adobe Photoshop
 How to Create a Quick Broken Glass Text Effect in Adobe Photoshop
 How to Create a Neon Flame Text Effect Action in Adobe Photoshop
 Create Light Painted Typography From Scratch in Photoshop
 How to Create a Beer Text Effect in Adobe Photoshop
 How to Create a Cool 3D Comic Text Effect in Photoshop
 How to Create a Sci-Fi Scan-Line Text Effect in Adobe Photoshop
 How to Create an Aquaman-Inspired Text Effect in Adobe Photoshop

 By
By


