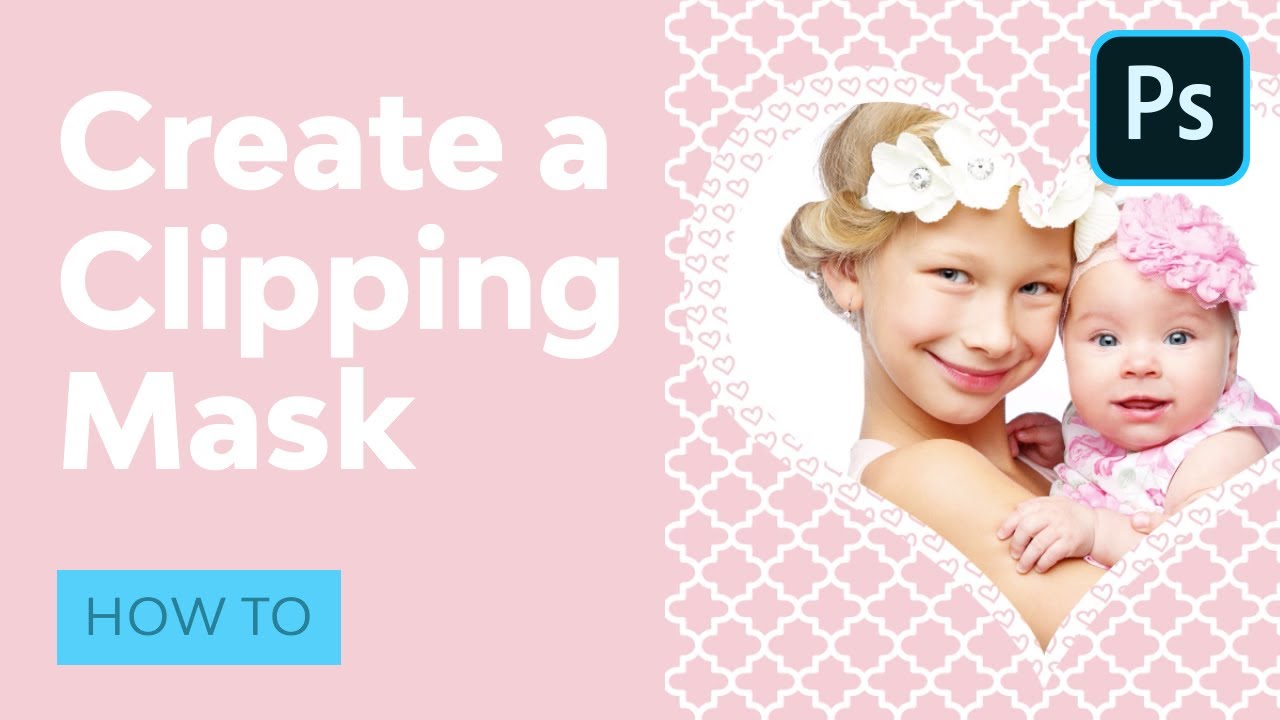
How to Create a Clipping Mask in Photoshop


Today, we have a handy little quick tip for you that's as powerful as it is simple! Let's take a look at how to how to create a clipping mask in Photoshop!
Let's get started!
Follow along with us over on our Envato Tuts+ YouTube Channel:
What You Will Need
Find more resources on Envato Elements!
1. What Are Clipping Masks in Photoshop?
A clipping mask, or Photoshop mask, is essentially a layer clipped inside another layer or group.
A clipped layer will only be visible within the boundaries of the layer it's clipped into, also known as the "base" layer. A layer will become underlined, indicating that it is a base layer, once a separate layer in clipped into it.
Let's get to learning how to create a mask in Photoshop!
2. How to Make a Clipping Mask in Photoshop
Step 1
Create two New Layers.
Step 2
Hold down Alt.
Position the pointer over the line dividing "Layer 1" and "Layer 2". You will notice the mouse change to two overlapping circles.
Now click! "Layer 2" will then clip into "Layer 1".


How to Use Clipping Masks in Photoshop
You can clip any kind of layer into any other kind of layer, such as text layers, shape layers, image layers, blank layers to paint on, etc.
Step 1
First, create a background using the Baby girl digital paper pack.
Make a heart using the Shape Tool.
Now clip the happy girl image inside the heart!


Step 2
Let's make a second clipping mask to create a scrapbook effect and see how we might layer clipping masks!
Create another heart using the Shape Tool. Make it slightly bigger than the first, and place it below the first heart as well.


Step 3
Create and clip the heart shape pattern from the Baby girl digital paper pack into the large heart.


Step 4
You can clip infinite layers into a single layer and adjust their layer mode and opacity as normal; however, all layers clipped into the base layer will be affected by the base layer's opacity and layer mode.
Below, I lowered the Opacity of the smaller heart to 50%, which then lowered the opacity of the little girl image to 50% as well.


Step 5
Finally, you can also clip layers into groups, but you cannot clip groups into layers, nor can you group clipped layers. You have to group the base layer with its clipped layers.
Let's go ahead and bring our heart's Opacity to 100%
Group all of your heart layers together, everything but the background, naming the group "Heart".
Create a New Layer and clip it into the "Heart" group, setting the layer to Screen.
Using a round Brush, paint in a soft pink #facccf light all around the heart. Notice how the color stays within the boundaries of the largest heart!


There You Have It!
We've learned how to make a mask in Photoshop. Clipping masks are one of the most powerful tools Photoshop has to offer, believe it or not, with the possibilities being endless!
So, as always, keep experimenting with different techniques, and don't forget to post your version below, along with any questions, comments, or critiques!


Looking to learn more? Why not check out the following excellent photo manipulation tutorials:


 How to Create an Abstract Diamond Lens Effect in Photoshop

 Abbey Esparza22 Nov 2018

 How to Create a Party Flyer Background

 Abbey Esparza20 Dec 2018

 How to Create a Minimalist La Llorona Photo Manipulation in Adobe Photoshop

 Abbey Esparza22 Oct 2018

 How to Create a Honey Bee Themed Photo Manipulation in Photoshop

 Abbey Esparza11 Sep 2018


