


Trying to figure out how to create a watercolor effect in Photoshop and add it to your text? Check out this easy tutorial that will walk you through how to add effects to text in Photoshop.
This Photoshop watercolor effect was inspired by the many Photoshop text effects available on Envato Elements. Elements offers loads of stunning effects like this watercolor effect Photoshop add-on that you can use to transform your favorite fonts in no time at all.


What You'll Learn in This Watercolor Effect Photoshop Tutorial
- How to create a watercolor texture using filters
- How to work with text
- How to create a watercolor brush tip
- How to style a watercolor effect
- How to colorize a texture
- How to apply filters
What You'll Need
You can find your own terrific resources to complete this tutorial below:
- HucklebuckJF font
- Canvas Textures by creativetacos
1. How to Create a Background
Step 1
Create a new 1250 x 850 px document, place the Canvas _15.jpg image on top of the Background layer, and resize it as needed.


Step 2
Click the Create new fill or adjustment layer icon at the bottom of the Layers panel and choose Hue/Saturation.


Step 3
Clip the Hue/Saturation layer to the canvas texture layer, and change the Saturation value to -25.


2. How to Create a Smart Object Layer
Step 1
Create a new layer on top of all layers, and call it Watercolor Texture.
Set the Foreground Color to any color you like, and fill the Watercolor Texture layer with it.
The color used here is #d63965.


Step 2
Right-click the Watercolor Texture layer, choose Convert to Smart Object, and then make sure to set the Background Color to White.


Step 3
Go to Filter > Render > Clouds.


3. How to Create a Watercolor Texture Using Filters
Go to Filter > Filter Gallery to apply the following filters:
Step 1
Brush Strokes > Sprayed Strokes:
- Stroke Length: 12
- Spray Radius: 7
- Stroke Direction: Right Diagonal


Step 2
For each filter we add next, you'll first need to click the New effect layer icon at the bottom right corner of the Filter Gallery window.


Step 3
Brush Strokes > Spatter:
- Spray Radius: 10
- Smoothness: 5


Step 4
Artistic > Dry Brush:
- Brush Size: 2
- Brush Detail: 8
- Texture: 1


Step 5
Artistic > Underpainting:
- Brush Size: 40
- Texture Coverage: 40
- Texture: Canvas
- Scaling: 100
- Relief: 0
- Light: Top


Step 6
Artistic > Dry Brush:
- Brush Size: 10
- Brush Detail: 10
- Texture: 1


Step 7
Click OK to get out of the Filter Gallery, and then go to Filter > Sharpen > Unsharp Mask.
Change the Amount to 55, the Radius to 5, and the Threshold to 0.


4. How to Work With Text
Step 1
Create the text using the font HucklebuckJF, and set the Size to 200 pt.


Step 2
Command-click the text layer's thumbnail to create a selection.


Step 3
Hide the text layer by clicking the eye icon next to it.
Then, select the Watercolor Texture layer, and click the Add layer mask icon at the bottom of the Layers panel.


5. How to Modify a Stroke Brush
Pick the Brush Tool (B), and open the Brush panel (Window > Brush).
Choose the Chalk 23 pixels tip, and change its settings as below:
Brush Tip Shape


Shape Dynamics


Scattering


Transfer


6. How to Create and Stroke a Work Path
Step 1
Right-click the text layer and choose Create Work Path.


Step 2
Pick the Direct Selection Tool (A), and then click the Path operations icon in the Options bar, and click the Merge Shape Components command.
Select the Watercolor Texture layer's mask thumbnail to stroke the work path.


Step 3
Pick the Brush Tool again, set the Foreground Color to White, and hit the Return key to stroke the path.
Press A and then hit the Return key one more time to get rid of the work path.


7. How to Create a Watercolor Brush Tip
Step 1
Pick the Brush Tool and open the Brush panel, and then pick a hard round tip and modify its settings as below:
Brush Tip Shape


Shape Dynamics


Texture


Dual Brush
Use the Chalk 23 pixels tip.


Transfer
Check the Noise and Wet Edges boxes.


Step 2
With the Watercolor Texture mask's thumbnail selected, click-drag slightly to add some random spots or smeared areas.


8. How to Style a Watercolor Effect
Step 1
Change the Watercolor Texture layer's Blend Mode to Linear Burn.


Step 2
Double-click the Watercolor Texture layer to apply an Inner Glow effect with these settings:
- Blend Mode: Linear Burn
- Opacity: 90%
-
Color:
#cccccc - Size: 5


This will create more realistic-looking edges.


9. How to Add a Subtle Vignette
Step 1
Add a Gradient fill layer below the Watercolor Texture layer.
Create a Transparent to Fill Color gradient fill using the colors #d8d8d8 to the left and #929292 to the right, and then change the Style to Radial and the Scale to 250%.


Step 2
Change the Gradient layer's Blend Mode to Color Burn.
This finishes off the main watercolor effect using only one color, which is the fill color you chose.


10. How to Colorize a Texture
Step 1
Add a Hue/Saturation adjustment layer, clip it to the Watercolor Texture layer, and change the Saturation value to -100.


Step 2
Add a new layer on top of the Hue/Saturation layer, name it Colors, and change its Blend Mode to Color Burn.


Step 3
Clip the Colors layer to the Watercolor Texture layer, and then pick a big soft round brush tip.
What you need to do next is pick different colors, and paint over random areas of the texture.
You can change the Colors layer's Opacity value if needed.


11. How to Apply More Filters
Step 1
Create a new layer on top of all layers, and then press the Option-Command-Shift-E keys to create a stamp.
Rename the stamp layer to High Pass, and convert it into a smart object.


Step 2
Go to Filter > Other > High Pass, and change the Radius to 1.


Step 3
Change the High Pass layer's Blend Mode to Soft Light and its Opacity to 50%.


Step 4
Create another stamp layer of all the layers you have, call it PC Filter, and convert it into a smart object.


Step 5
Go to Filter > Filter Gallery, and make sure to delete all the extra effect layers you have by clicking the Delete effect layer icon at the bottom right corner of the Filter Gallery window.
Select the Photocopy filter under Sketch, and use these settings:
- Detail: 7
- Darkness: 8


Step 6
Change the PC Filter layer's Blend Mode to Soft Light and its Opacity to 10%.


Congratulations! You're Done
In this tutorial, we created a simple canvas background and used a couple of filters to create a Photoshop watercolor effect. Then, we applied the texture to the text, styled and colored it, and modified brush tips to stroke and smear it. Finally, we added some more filters and adjustment layers to finish off the effect.


Top Photoshop Text Effects From Envato Elements
Creating your own watercolor text effects from scratch isn't the only way to add stunning effects to your text. You can also use readymade Photoshop watercolor effects from Envato Elements and add them to your text quickly and easily. Here are just a few.
Watercolor Text Effect Photoshop (ATN, ABR, PAT, PSD)
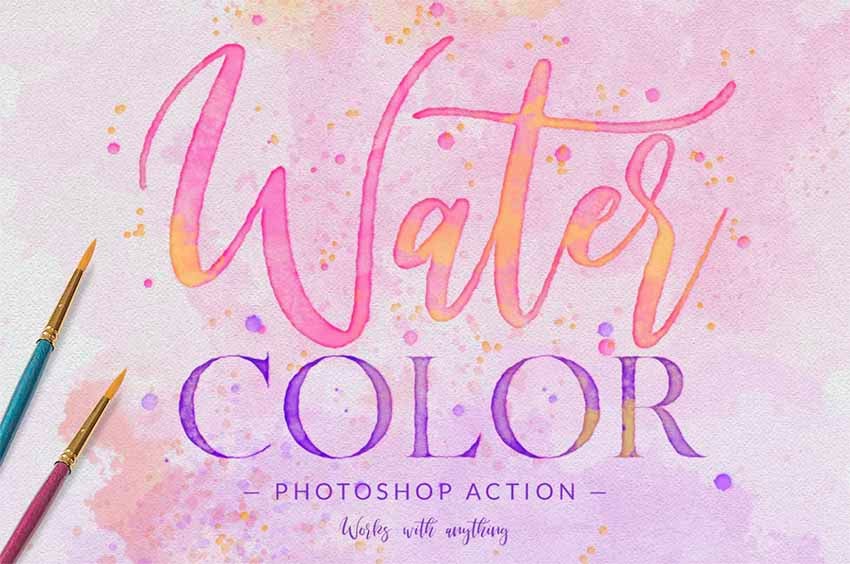
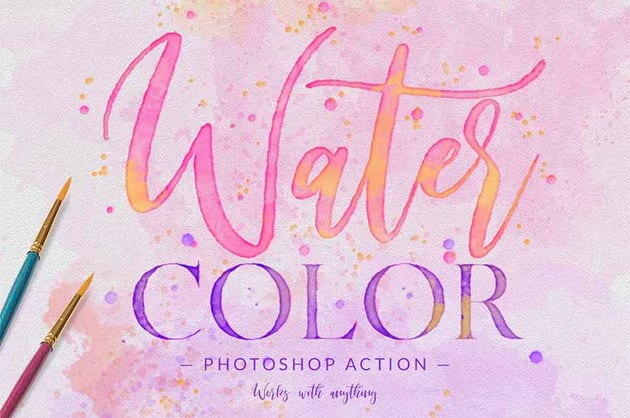
Watercolor Text Effect Photoshop contains 12 different watercolor effects that you can add to your text by playing the action of your choice.
Cool Text Effects Photoshop (PSD)
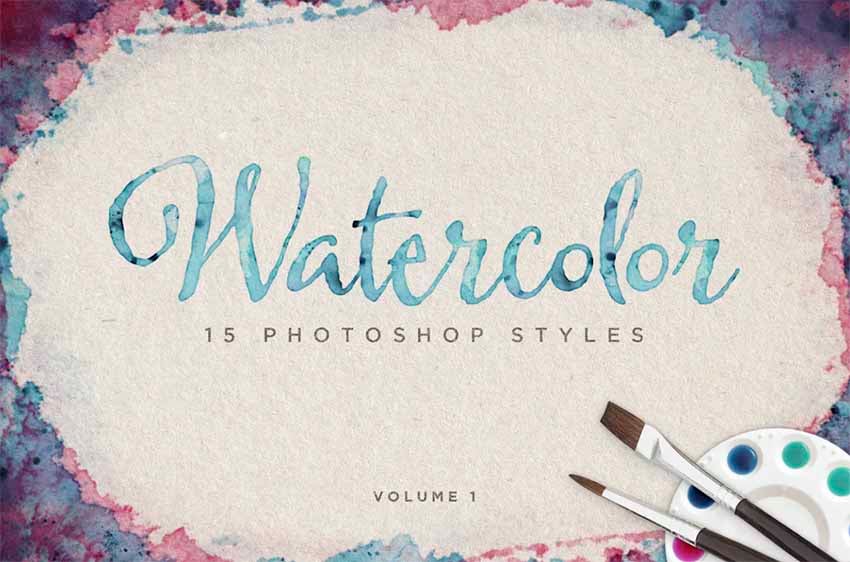
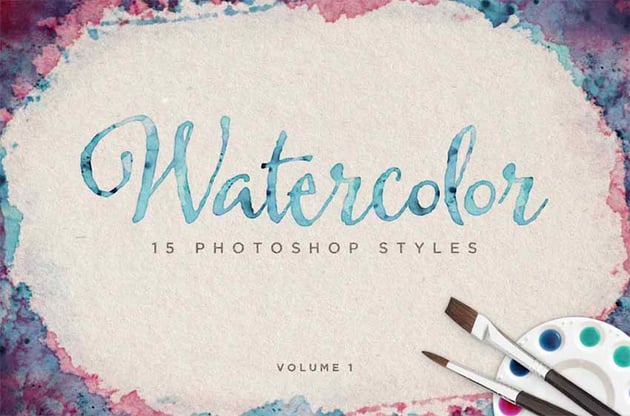

With 15 different watercolor styles to choose from, you can't go wrong when you choose Cool Text Effects Photoshop. These styles were handcrafted using hand-brushed watercolor strokes to create a totally realistic look, and then scanned so they can be applied to text, shapes, etc.
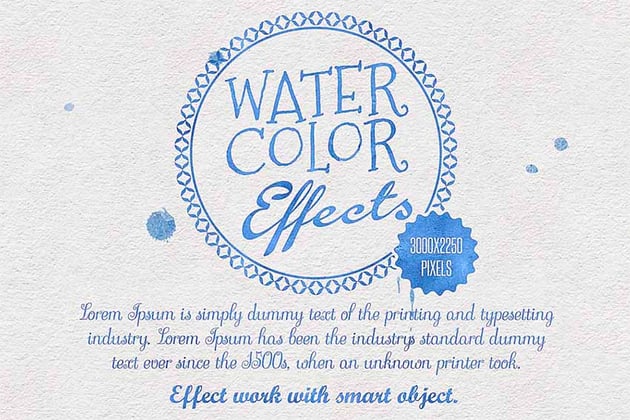
Watercolor Text Effect Photoshop (PSD)
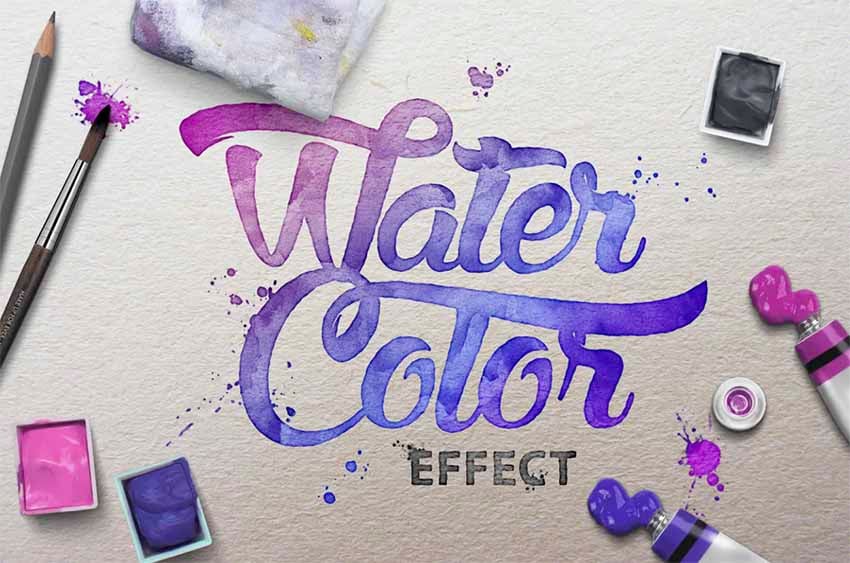
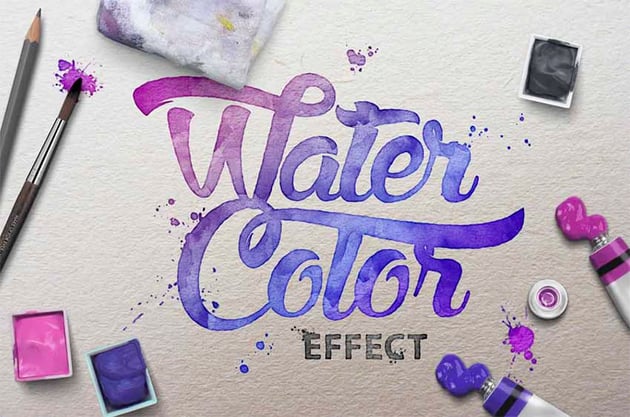

Create text that looks as if it has been painted with a watercolor brush when you use Watercolor Text Effect Photoshop. The effects in this collection are easily accessible using smart objects.
Watercolor Magic Text Effect Photoshop Kit (ABR, PAT, ASL, AI, EPS, PSD)
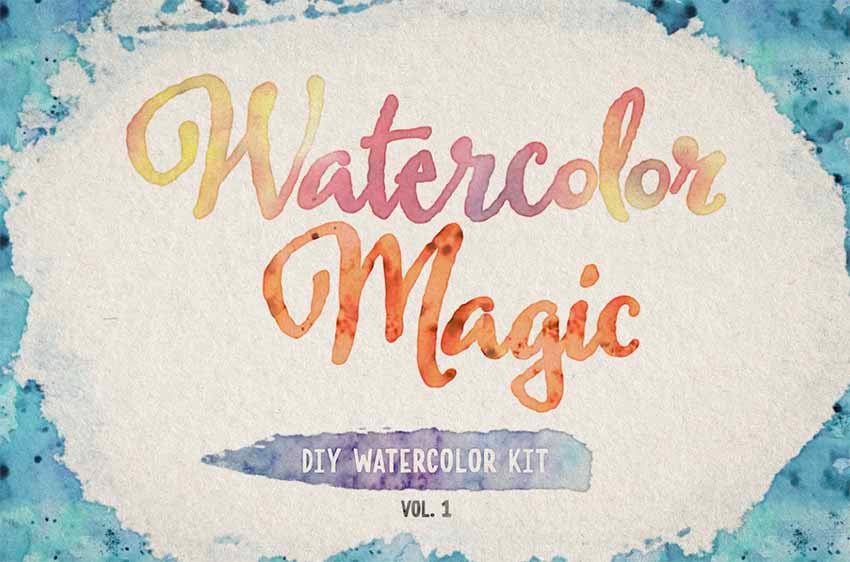

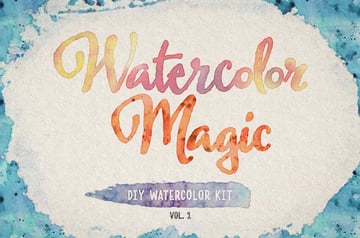
Watercolor Magic Text Effect Photoshop contains 15 realistic watercolor Photoshop styles, 25 handmade Photoshop brushes, 15 seamless Photoshop patterns, and 31 hand-drawn vectors. In other words, more resources than you could ever need to create your own unique-looking text.
Watercolor Effect Photoshop (PSD)


Create your own cool-looking text with Watercolor Effect Photoshop. The package also contains six high-resolution paper textures you can use as backgrounds for your projects.
More Photoshop Text Effect Tutorials
Here are more top Photoshop text effect tutorials and resources to try from Envato Tuts+:

 How to Apply an Outer Glow to Layer Styles in Photoshop

 How to Create a 3D, Glowing, Retro Text Effect in Adobe Photoshop


 How to Make a Graffiti Text Effect With Photoshop Layer Styles


 How to Create a Realistic Neon Light Text Effect in Adobe Photoshop

 40 Creative Photoshop Text Effects With Vibrant Styles


 How to Create 10 Different Useful Layer Style Text Effects in Adobe Photoshop

 How to Create a Watercolor Font With Brush Fonts and Watercolor Effects (+Ideas)


 By
By


