

Welcome! Let's draw some pets
Hi, I'm Chris Piascik. I'm a professional illustrator and letterer.
I recently drew my dog Dottie, and the folks at Envato asked if I’d do the same for a few of their team’s pets. So, I picked a handful to show you different ways you can stylize and animate characters.
These techniques include:
- Simple shapes
- Anthropomorphism
- Hand lettering
- Simple motion animation
- Surprise wild card!
Let’s dive into five techniques that’ll bring your pet drawings to life.
Check out top assets from Envato
The Envato library grants you access to unlimited creative assets in the broadest range of categories. For a low monthly fee, your subscription grants you all the downloads you want.
Fonts, brushes, graphics, design templates—you name it, Envato's got it all.
Simple shapes: Emma the Border Collie
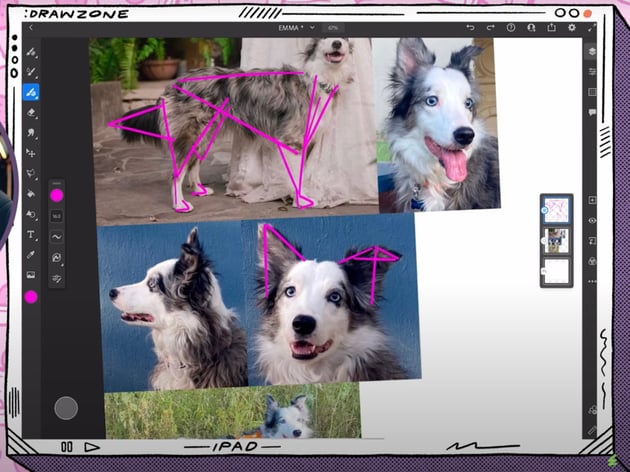
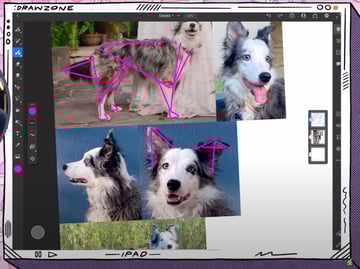
Our first subject for this pet drawing tutorial: Emma, a very photogenic Border Collie.
This technique is all about simplifying the drawing into basic geometric forms—in this case, triangles.
Step 1
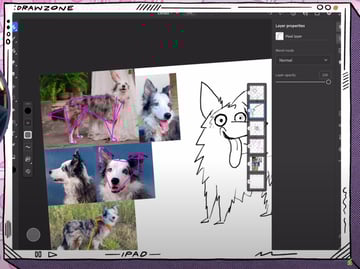
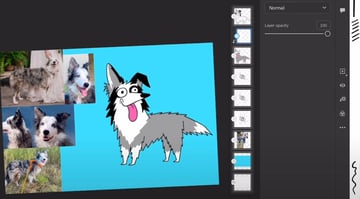
We started by pulling together a document with photos of Emma, picking shots that showed off her essential features.
Her body and head are full of triangle shapes: big triangle for the body, triangles for the legs, triangle for the head, even her folded-over ear became two triangles.

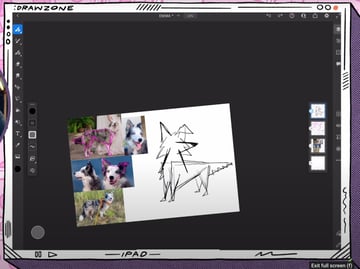
Step 2
Start by sketching it out loose and quick. Give her a cute look-back pose, exaggerating her nose further to the side.


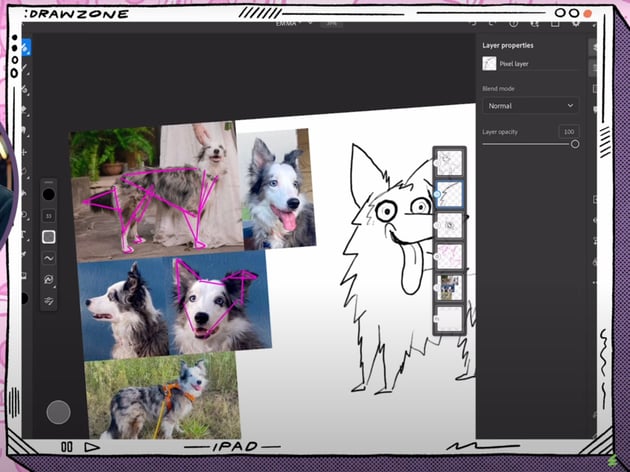
Step 3
With the sketch in place, bring down the opacity and make a new layer to clean it up.
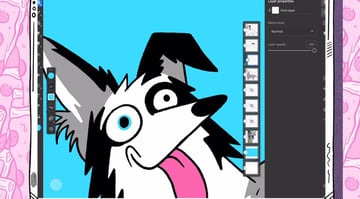
- Draw big and round eyes to highlight her personality.
- Pull up the smile.
- Exaggerate the tongue hanging out.
- Give her little triangle paws.
- Add extra fluff around her body.

Step 4
Repeat step 3, bringing down the opacity and adding another layer on top. This time, we'll create a cleaner version with more confident and intentional lines.


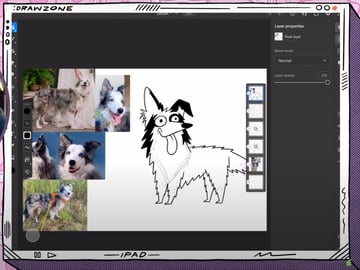
She’s already looking like Emma!
Step 5
It's time to add some color. In the same fashion, let's simplify her color palette to black, white, and gray.
- Set the top layer (the one with the final draft) as a reference layer.
- In a new layer below (gray layer), select a gray color for the body and a bright pink for the tongue.
- Release the reference from the top layer and add a clipped layer (white layer) in between the gray and the top layers.
- Add white details in different areas of the fur.
- Add a layer (black layer) in between the white and the top layers.
- Add black details in different areas of the fur and a blue iris in the eyes.

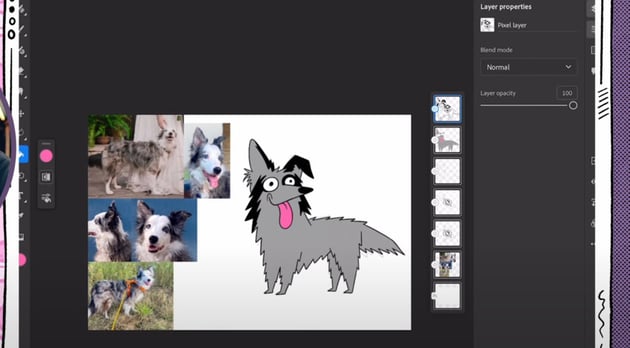


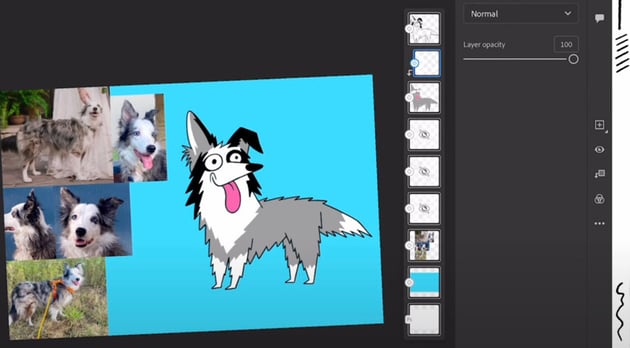


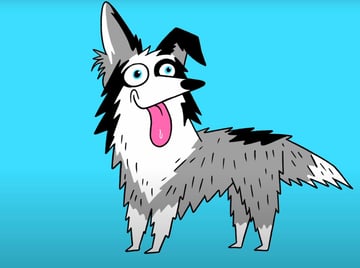
And that's it! We created a fun and pretty accurate representation of Emma.
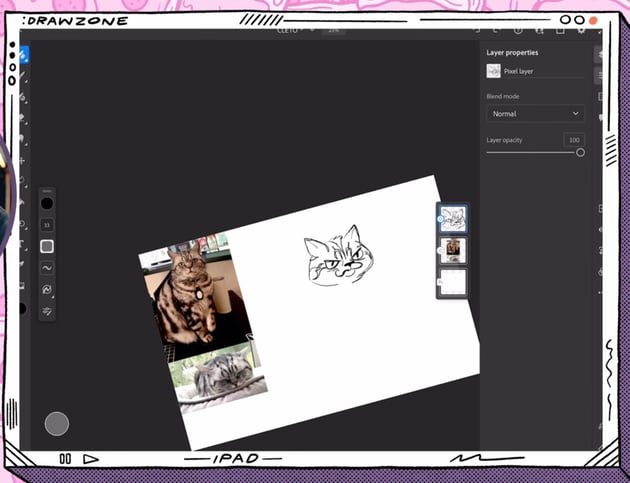
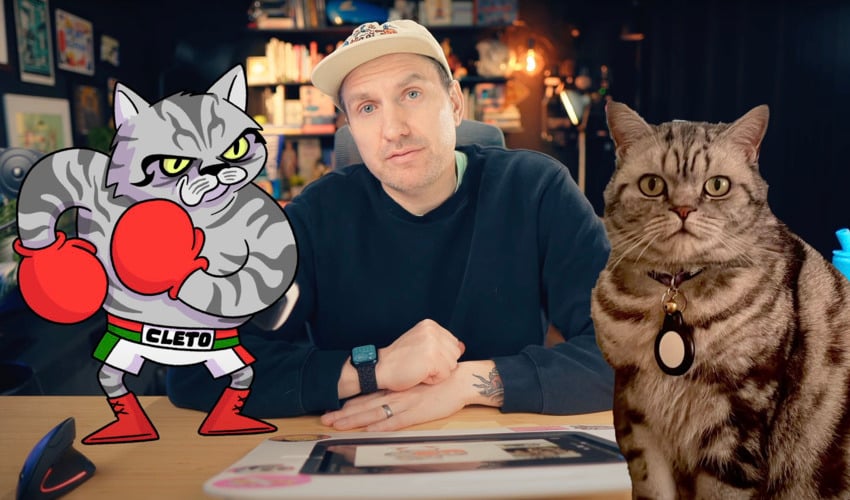
Anthropomorphism: Cleto the cat
Let's keep drawing pets with fun techniques. Next up is Cleto, a cat named after a famous Mexican boxer. So, of course, we have to make him a boxer.
We'll give Cleto human-like traits. Standing upright, fists up, and rocking boxing gloves. He’ll be ready to knock out any challenger!
Step 1
This cat has a round face and big eyes. So let's get started:
- Draw a big circle for the face.
- Add small-ish ears, out to the side.
- Draw two big and round eyes, low on the face. Add stretched pupils.
- For the angry boxer expression, add two lines downside as eyebrows.
- Draw a little smirk.


Step 2
Add a new layer on top to refine that sketch. Let's do the following:
- Adjust the head shape of the head to make it a bit less round, pulling the sides out.
- Give it pointier ears.
- Exaggerate the facial expression even more.Add an exaggerated wide nose.
- Add its distinct features, like the stripes on its head.


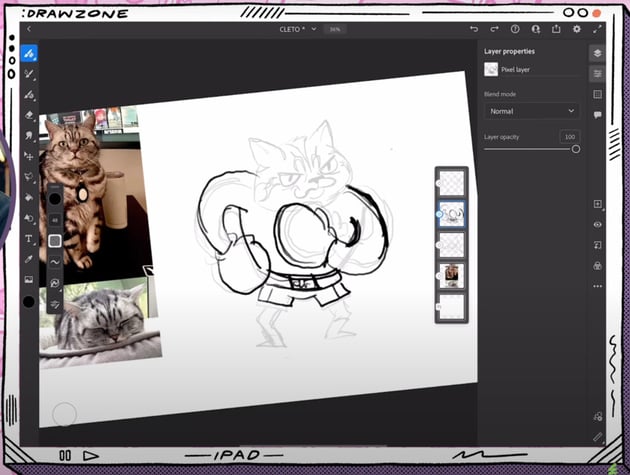
Step 3
In a new layer, we'll work on Cleto's body. He's chonky, so we're giving him a thick body.
- Start with a broad torso.
- Add big, rounded arms with boxing gloves on the fists.
- The lower part of his body is smaller, with short and simple little legs.


Step 4
Bring down the opacity and make a new layer to clean this sketch up.
- Refine the pose with better proportions.
- Add the shorts with stripes on the sides.
- Draw a waistband with the name on it.
- Give it a pair of boxing boots.


Step 5
Just like we did with our Emma sketch, the next step consists of creating a cleaner version with more intentional lines. To do this, lower the opacity of the layer you're working on and create a new one.
This will be your final canvas before coloring Cleto the cat.
Step 6
Time to add some color!
- We'll keep his markings in gray so the facial features stand out more.
- Use a lighter gray for the overall body.
- Add red for the boxing gloves and boots.
- We'll design shorts inspired by the Mexican flag, so they're green, white, and red. Write “CLETO” in the middle.
- Use yellow for the eyes.
Finally, we'll add some shadows with a multiply layer in a light purple-gray to pull it all together.
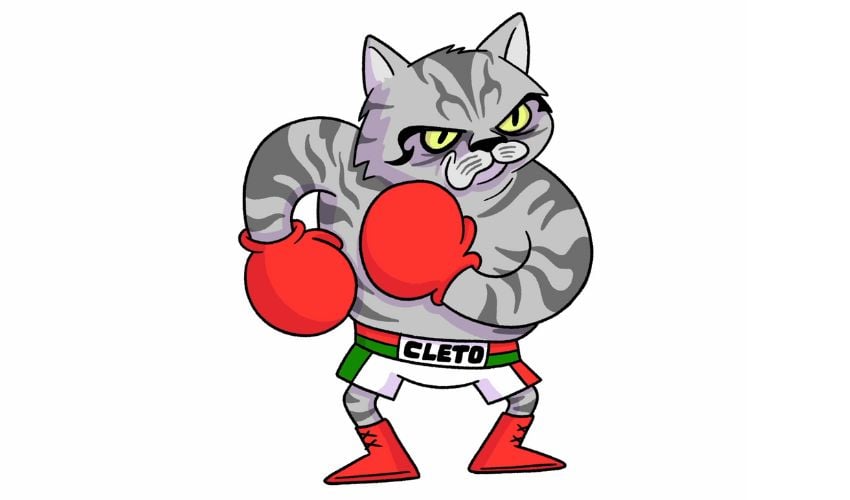


Cleto is ready to take over the ring!
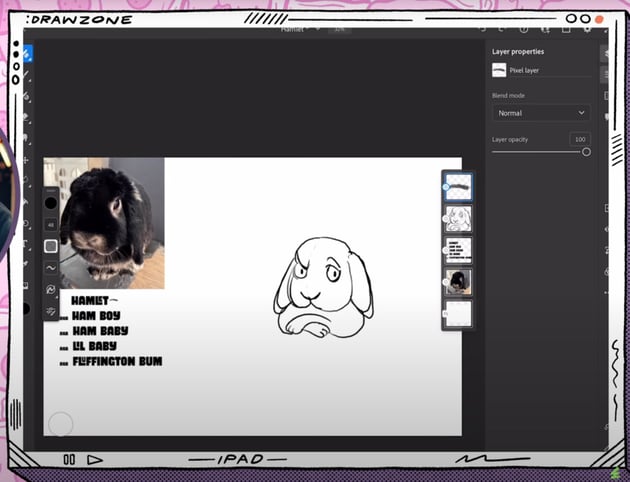
Lettering: Hamlet the bunny
Meet Hamlet, aka Ham Boy, Ham Baby, Lil Baby, or Fluffington Bum. With a name like that, lettering was a must.
Step 1
We'll use Hamlet’s fluffy shape as a starting point.
- The body is like an upside-down heart.
- Draw a fluffy top and floppy ears.
- Draw a side eye: the bunny is judging us.
- Exaggerate the expression with crossed paws.
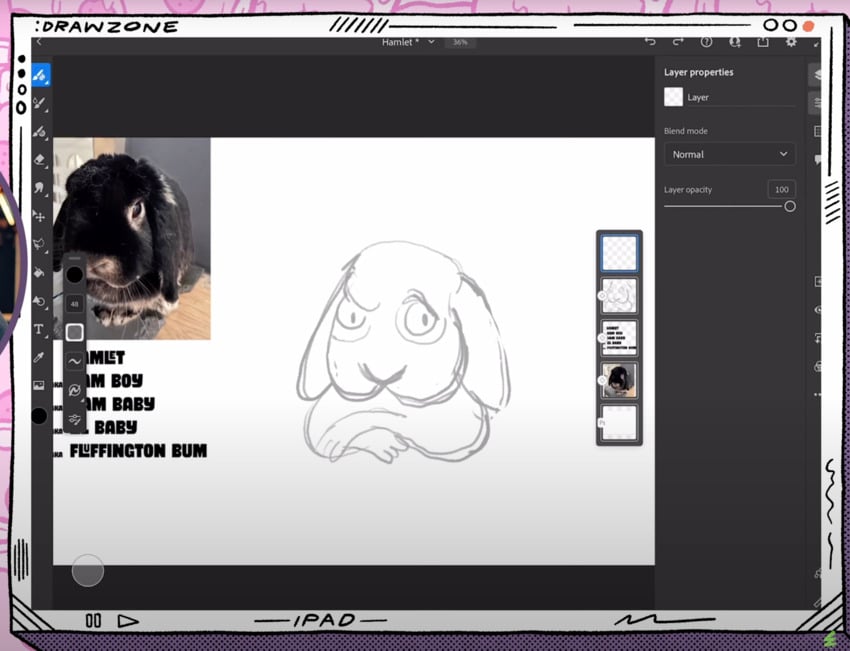


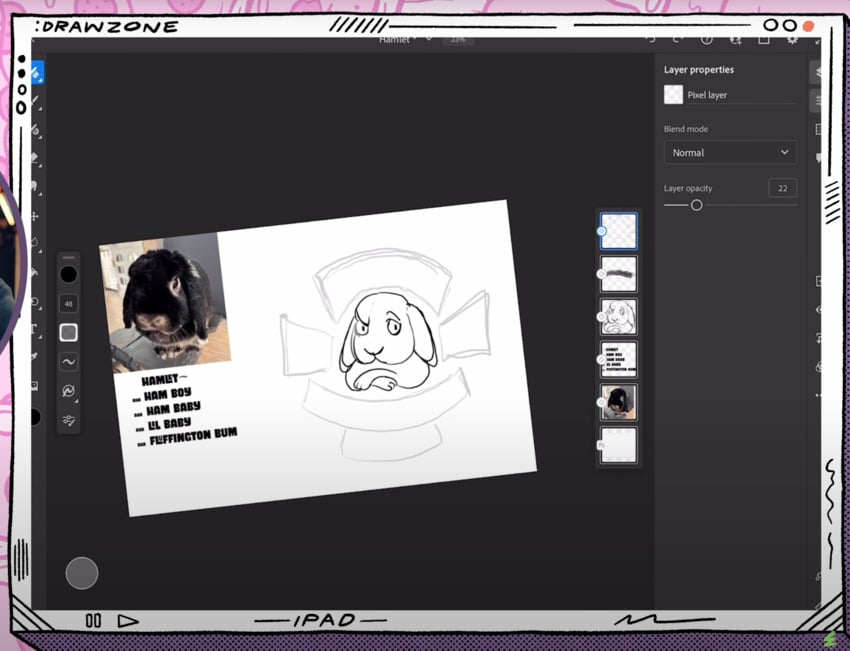
Step 2
We want his judgy side-eye look to be clearer, so let's lower the opacity of this layer and add a new one on top.
- Draw a reference vertical line in the middle of our bunny's face.
- Refine his features, making sure the expression is more prominent.


Step 3
Let's get to the main element of this technique: the lettering! Our layout looks something like this:
Plan lettering layout:
- "Hamlet" at the top
- "Fluffington Bum" at the bottom (maybe on two lines)
- Other names on the sides
We'll block out the words with shapes.


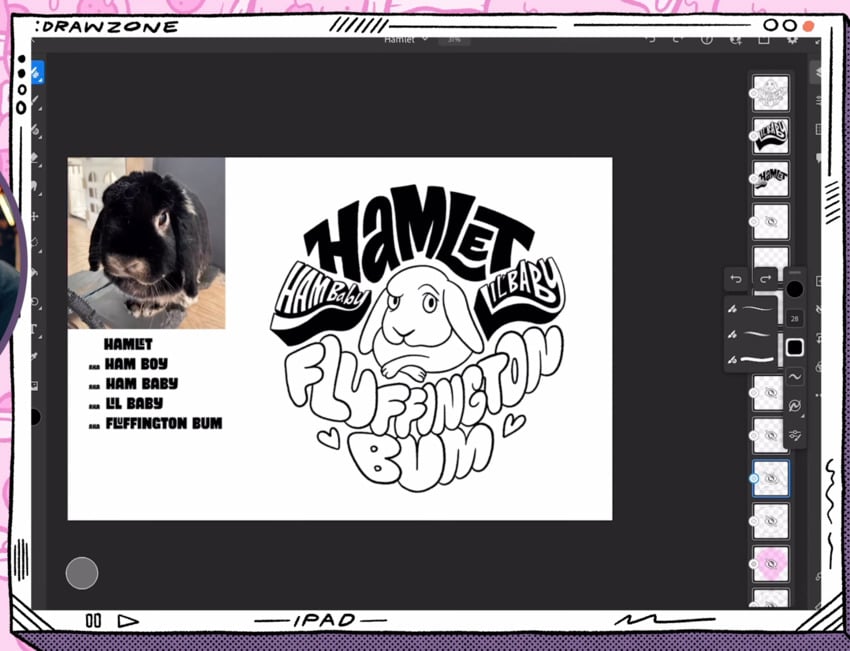
With the shapes refined, draw the words into each space.


Step 4
We'll refine our lettering by doing the following:
- Use guides to style each word.
- Start with the side banners: "Ham Baby" and "Lil Baby". Give it a 3D-shape style. Add a tail to the Y.
- Sketch "Hamlet" with a big M in the middle. Tuck the L and the E into each other. Add a tail to the H. Try a lowercase a.
- For "Fluffington Bum" draw playful, chunky letters.
Create a layer on top to fix any problem areas where the spacing is odd. Don't forget to be playful!


Step 5
We'll now add the color to our drawing. Let's try the following:
- Red-pink tone for the background.
- Dark gray for the body of the bunny.
- White for the eyes.
- Soft beige tones for the markings around the eyes, the nose, the lower part of the face, the ear, the chest, and the paws.
For the lettering, we'll avoid black so that our character stands out. We'll use the following colors:
- "Ham Baby" and "Lil Baby": dark gray for the outline and beige for the filling.
- "Hamlet": light red.
- "Fluffington Bum": dark pink for the outline and super light pink for the filling (almost white).
Just like with Cleto the cat, we'll add shadow with a light purple multiply layer.

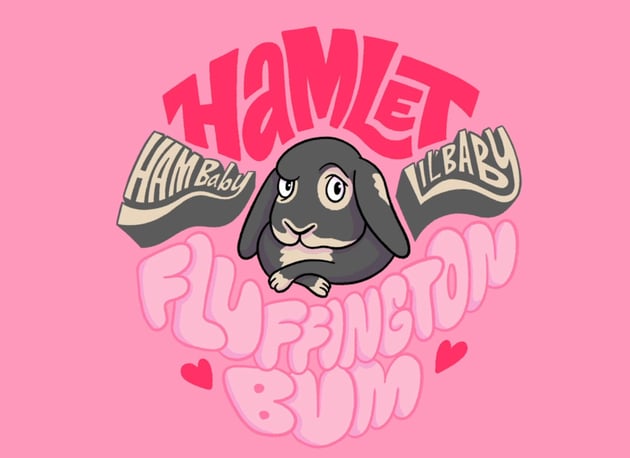

There's our lettering illustration of Hamlet, aka Ham Baby, aka Lil Baby, aka Fluffington Bum!
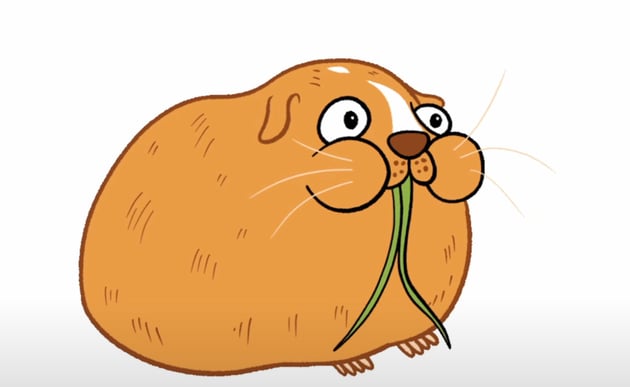
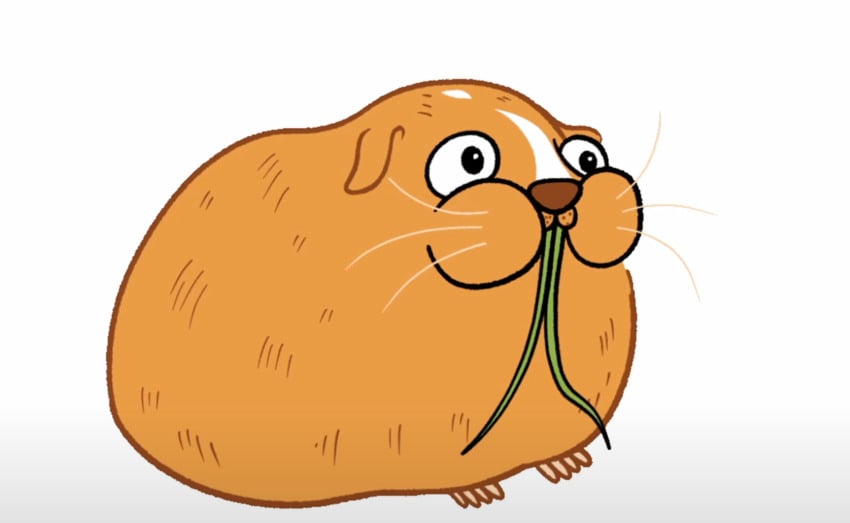
Simple animation: Ginger the guinea pig
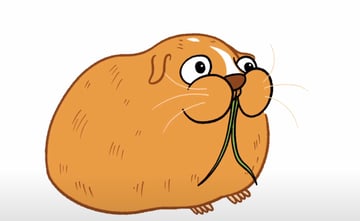
Meet Ginger, the guinea pig who stares blankly into the void while casually chewing grass. Ginger is a simple shape—like a ball with a face.
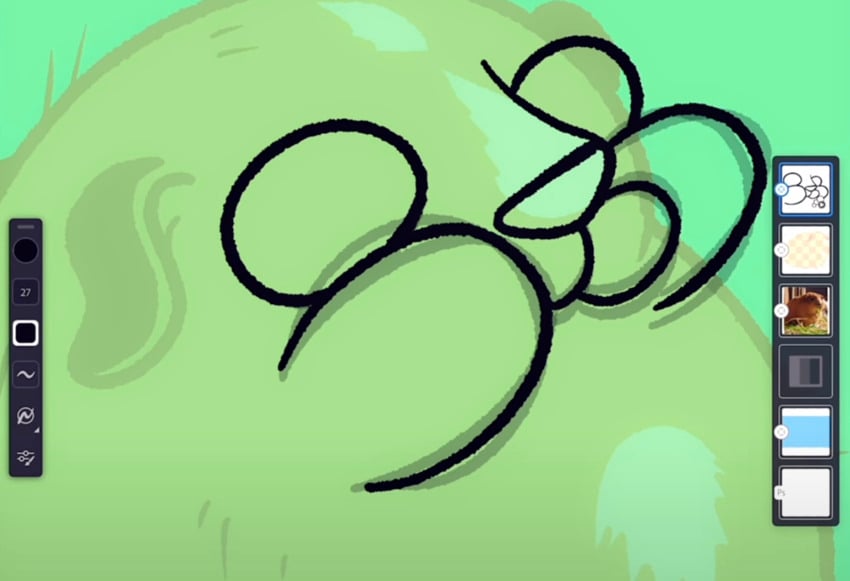
Step 1
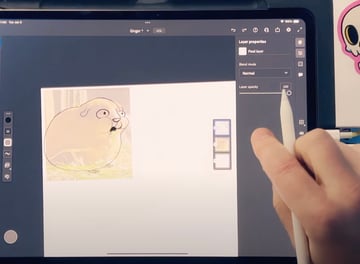
We'll get started with a sketch. We'll use the photo of Ginger as our base layer, so lower the opacity and add a new layer on top.
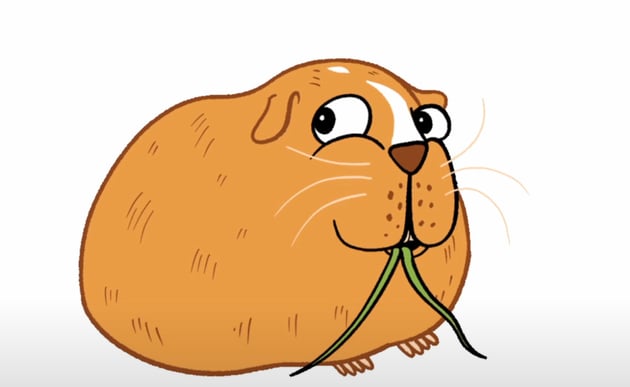
- Trace its overall body shape.
- Exaggerate the cheeks and the mouth. The mouth is slightly open.
- Simplify the nose.
- Add big eyes for expression.
- Draw small, floppy ears.


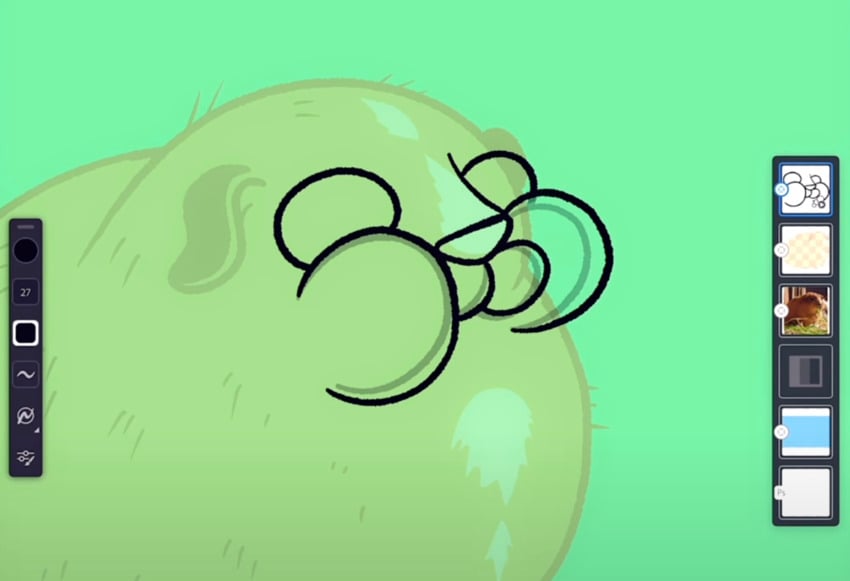
Step 2
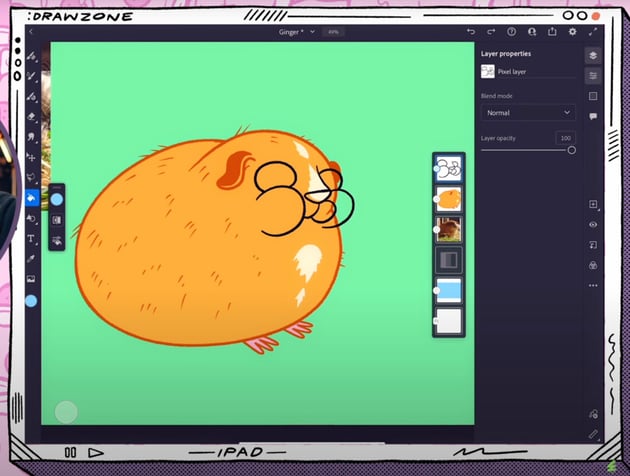
Now, we'll use Adobe Fresco to animate this guinea pig. In order to do that, we'll separate our drawing in two different layers: one for the face and one for the body.
So go ahead and add a new layer where you'll trace the body shape. Once you're done, create another layer and trace only Ginger's facial features.


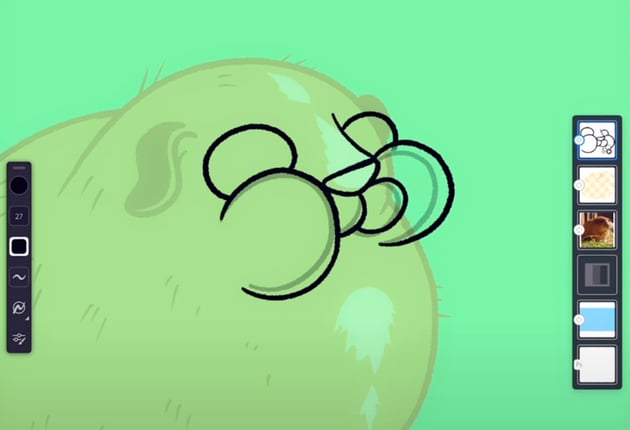
Step 3
Place yourself on the face layer. We'll start animating it:
- Click the animation button in Fresco.
- Duplicate facial layer into 5 frames.
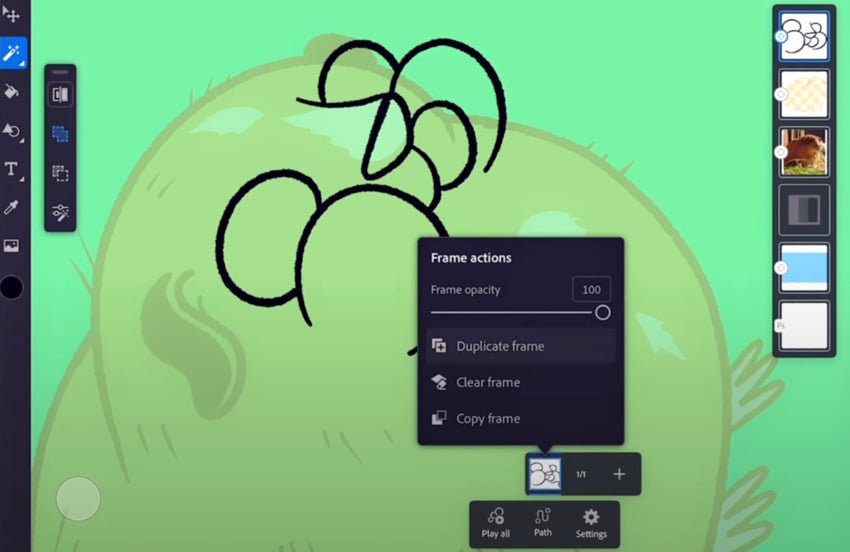


Now, erase the cheeks and mouth from the second, third, fourth, and fifth frames, since that's what we'll be animating. Once you've done that, this is how we add the motion:
- Leave the first frame just like it is.
- In another frame, draw skinny, compressed cheeks.
- Add an in-between frame for smoother animation, creating a middle point between the first and now third frames.
- Duplicate the first frame at the end for a temporary looping reference.
- Add a mega-chonky cheek frame.
- You can now delete the reference frame from the sequence.

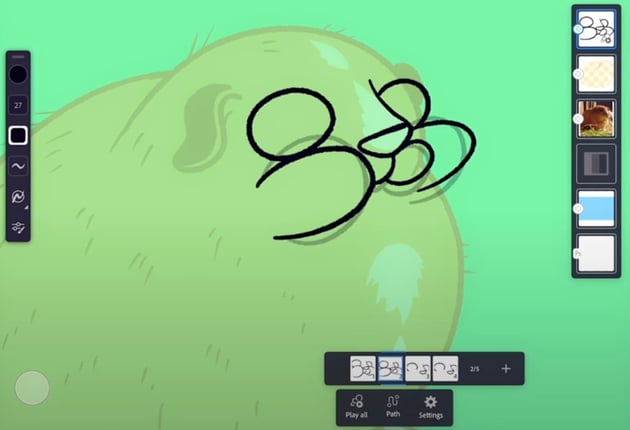


Test the loop. How does it look?
Step 4
Once we have that covered, we can redraw the sequence with a more exaggerated movement. This time, we'll animate the nose too.
We'll simply do this by following the same steps than before, with a small difference:
- The nose moves a bit higher on each frame.
- We add some dots in the whiskers area which are also moving slightly up with each frame.
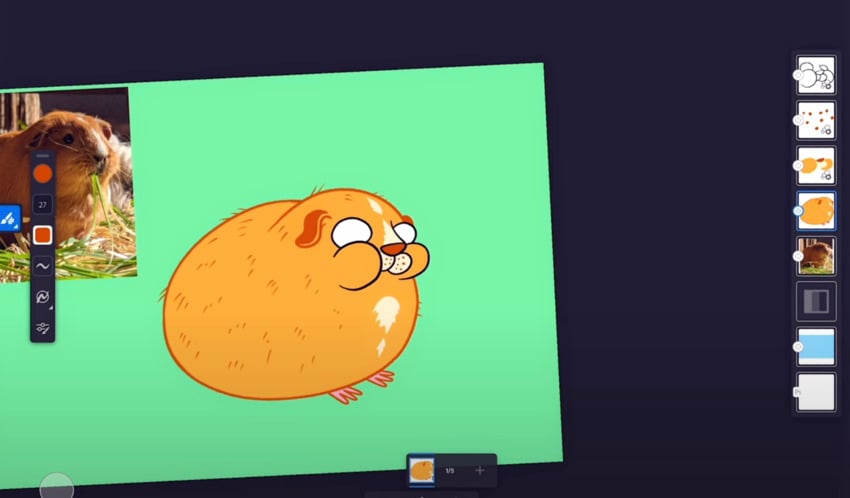


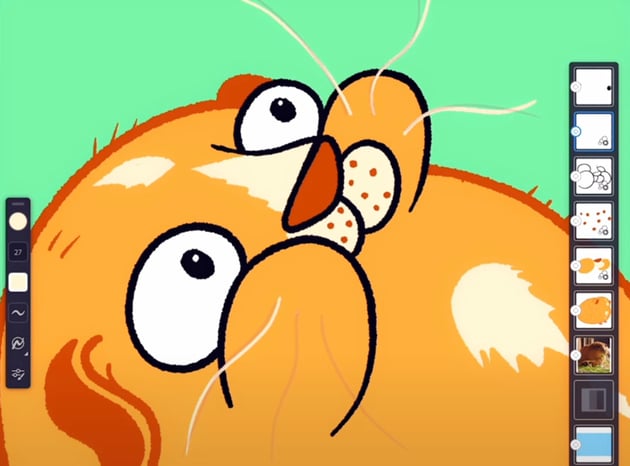
Step 5
Time to add the rest of the details.
We want to give Ginger the staring-into-the-void look, so let's add black pupils in the eyes with a small white highlight on them.
Following the same steps, we can animate the eyes too by slightly changing the size of the pupils in a five-layer sequence.


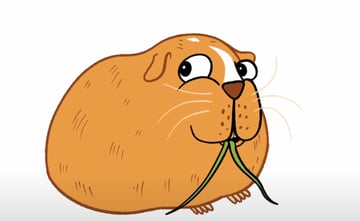
Ginger also has wild whiskers, so let's add those.
- Create a new layer and add a few, pointing in very different directions.
- Add the same amount of frames as in the cheeks layer to wiggle them a little bit as the cheeks move.
- Just like in the previous step, you can duplicate the first frame at the end for a temporary looping reference.
- Add an in-between with a middle point.
- Delete the reference frame.


Step 6
Last but not least, we want Ginger to eat some grass. So we'll add it along with some motion of its mouth dropping, and a blink for a fun extra touch.
So, to add the grass:
- Draw green grass with darker outlines.
- Create the same amount of frames as in the previous layers, and very slightly move the grass on each of them.
- Duplicate and align the layers to match the frame count.


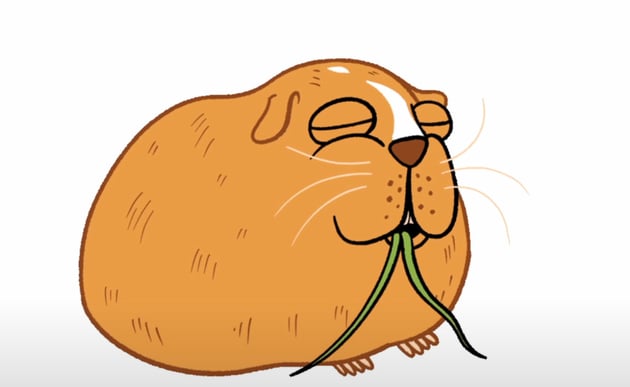
Loop the chewing several times, and then add a paused frame at the end with the mouth dropped and a blink with closed-eye frame.
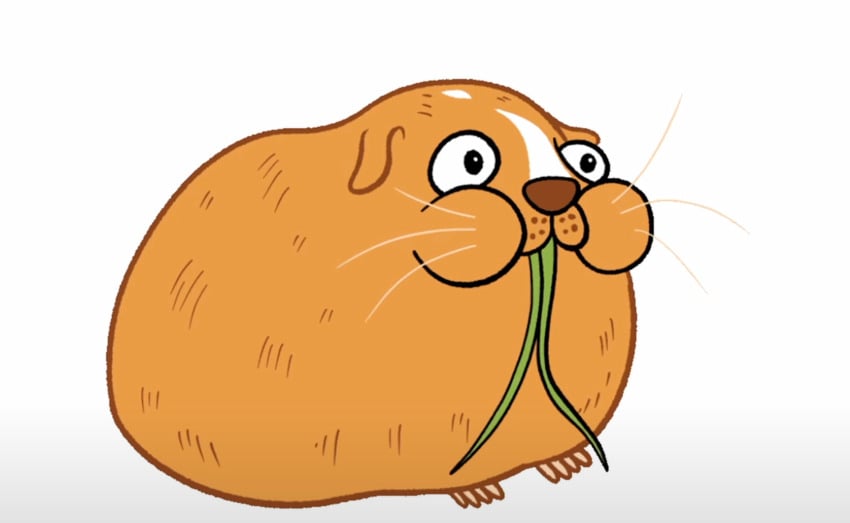


Even with just a few frames, the animation makes Ginger fun and charismatic.
BONUS technique: Red the shrimp
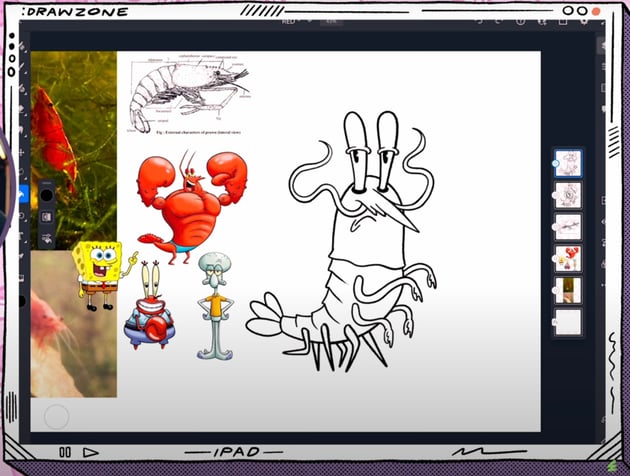
Last but not least: Red the shrimp. The reference photo doesn't really look like anything. So let's reimagine Red the shrimp as a character straight out of the world of SpongeBob.
Step 1
We'll use an anatomical shrimp diagram and some Spongebob characters as reference.


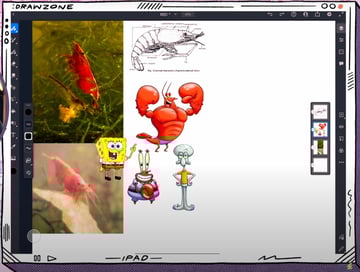
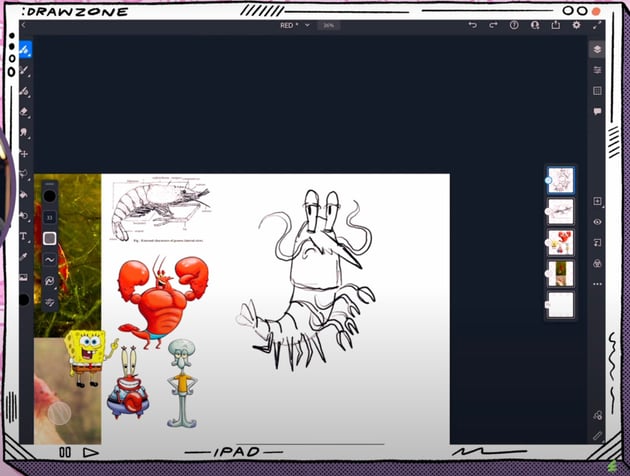
Now, let's start sketching Red:
- Try to emulate the top part of the anatomical shrimp for our character's head.
- Do the same with the tail for the lower body, and add a tail fan.
- Sketch big eyes that bug out at the top of the head. Add angled eyelids and a side look to give it an attitude.
- Draw the mouth with a disapproving gesture by making a downward curve.
- Draw tentacles as the mustache.
- Make the body segments.
- Sketch some cartoon legs and grabby arms.

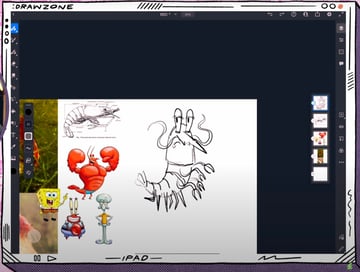
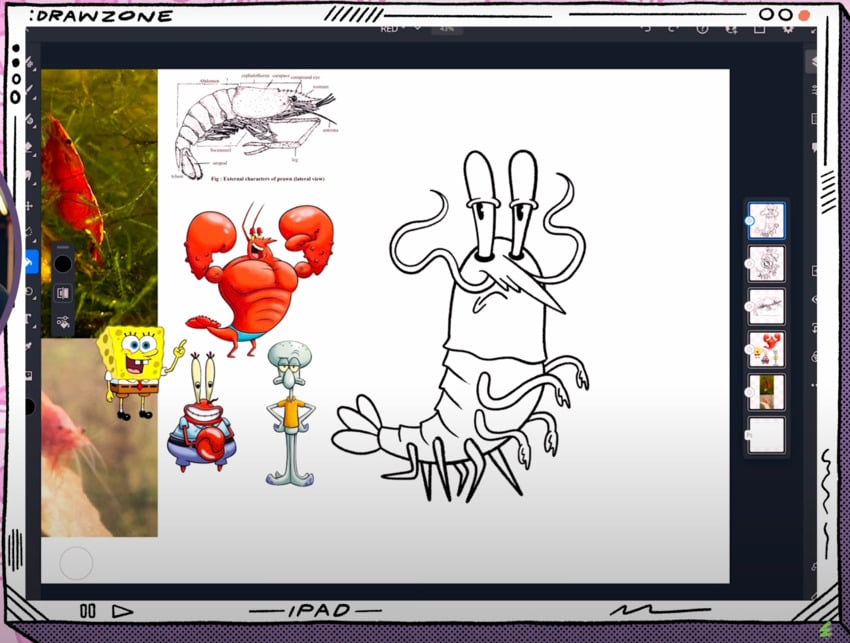
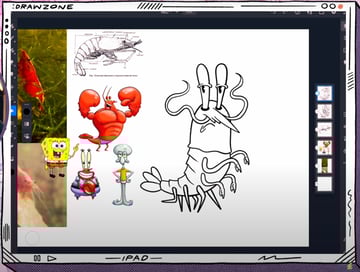
Step 2
Just like with all of our previous characters, we'll tighten up the linework.
You know what to do: lower the opacity, create a new layer, and refine the lines to have a clean sketch.
Step 3
Finally, let's add some color and a little bit more detail.
- Bright red for the body.
- Darker red to add some shades.
- Lighter red to add some highlights.
- A cream white color for the eyes.
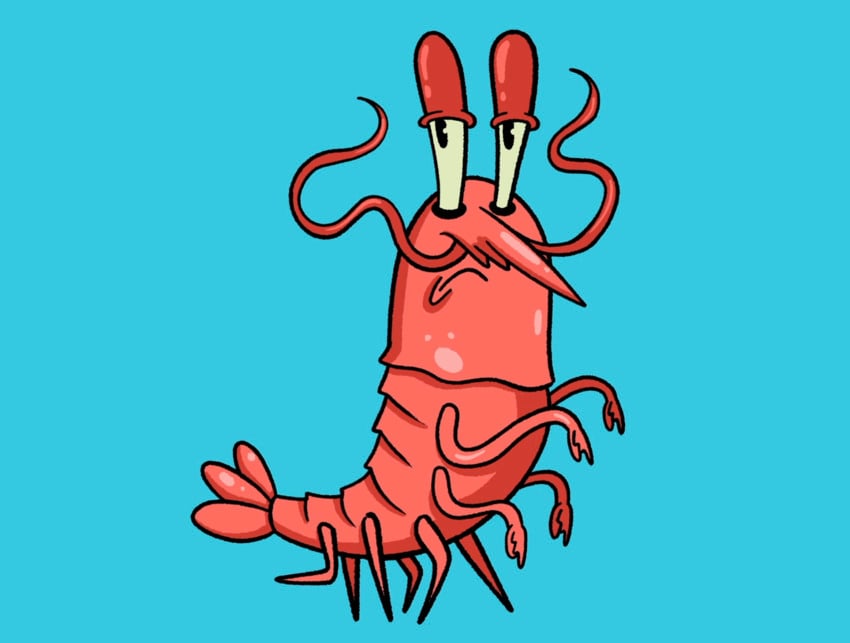


And that’s our cartoon shrimp!
That’s a wrap!
Here’s our final crew: Emma the triangle-powered Border Collie, Cleto the boxer cat, Hamlet the judgy bunny, Ginger the existential guinea pig, and Red the shrimp with an attitude.
Don’t forget to check out the rest of the amazing content on Tuts+. We have awesome illustration and Adobe Fresco tutorials for you to explore. You can also find my channel by searching Chris Piascik on YouTube.

 30+ Best Procreate Tutorials for Beginners and Advanced!


 Which iPad Is Best for Drawing and Digital Art? (Beginner to Pro)


 Animal Illustration Inspiration: Character, Wild and Cute!


 43 Cool Cat Logo Designs (Creative Cat Logo Ideas)

 15 Cat & Dog Fonts (Plus Paw Print Fonts!)

 Hand Lettering: How to Vector Your Letterforms

Hope you had as much fun as I did drawing and animating this Adobe Fresco artwork!


