
 Lessons: 9Length: 1.6 hours
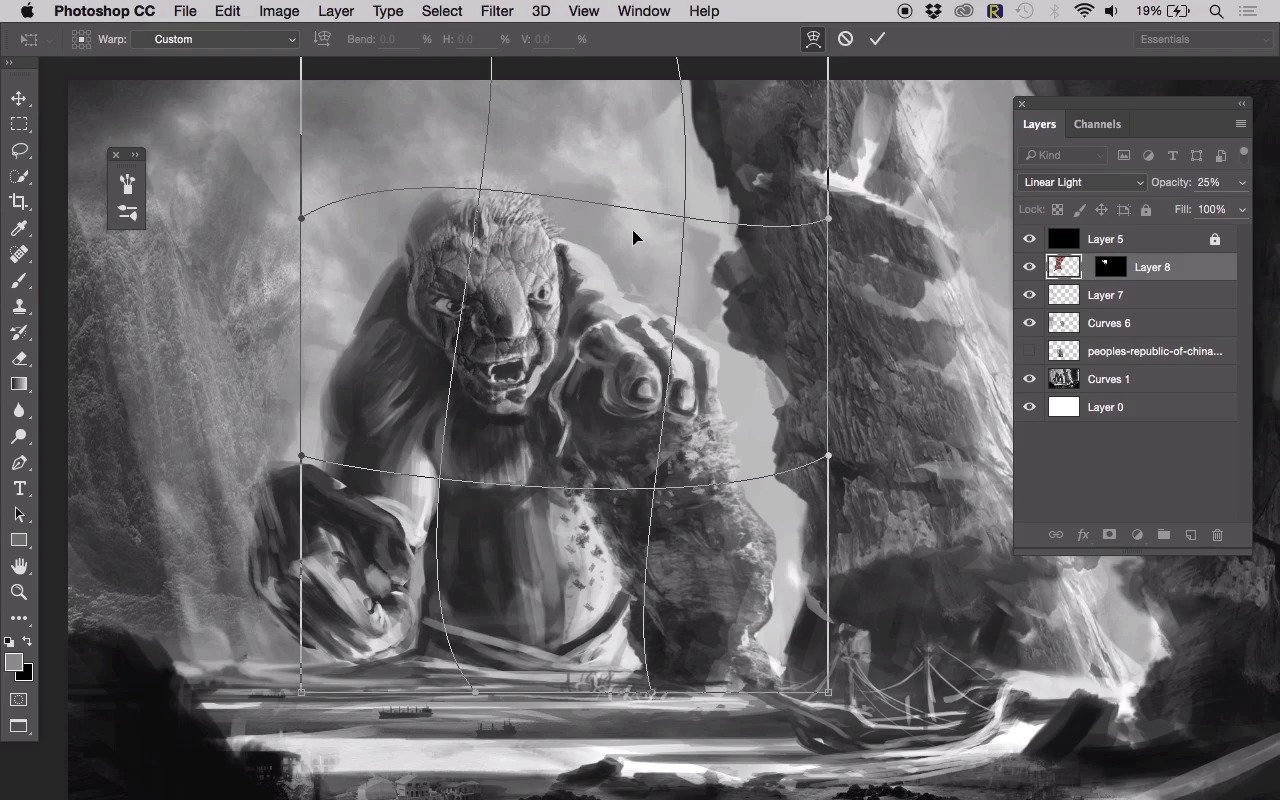
- Overview
- Transcript
4.3 Texturing the Giant
In this lesson, we will use some advanced techniques to add some textures to our giant.
1.Introduction
1.1Introduction00:51
1.1
Introduction
00:51
2.Composition, Depth, and Structure
2.1Composition, Depth, and Structure16:16
2.1
Composition, Depth, and Structure
16:16
3.Designing the Giant
3.1Begin Designing Our Giant14:53
3.1
Begin Designing Our Giant
14:53
3.2Giant Design Completion10:25
3.2
Giant Design Completion
10:25
4.Using Photos to Create Realistic Textures in Our Painting
4.1Photo Manipulation and Blending Modes10:43
4.1
Photo Manipulation and Blending Modes
10:43
4.2Adding Details to the Mountains12:11
4.2
Adding Details to the Mountains
12:11
4.3Texturing the Giant10:58
4.3
Texturing the Giant
10:58
4.4Adding Color17:58
4.4
Adding Color
17:58
5.Conclusion
5.1Conclusion02:22
5.1
Conclusion
02:22


