

What is KitBash?
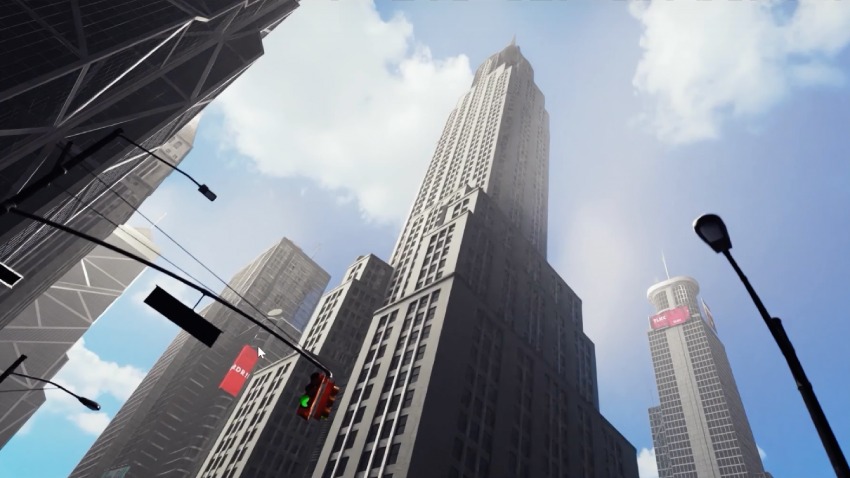
Creating a 3D city in Blender doesn’t have to mean hours modeling every detail from scratch. By using KitBash3D assets, large-scale environments can be built quickly — and they look incredible. In no-time, you'll be participating in the latest 3D design and illustrations trends!
Shall we continue to learn about creating a 3D city with this KitBash3D and Blender tutorial? Let's go!

But, what is Kitbash 3D and why use it?
If you're unfamiliar with the awesomeness that is Kitbash 3D, allow us to introduce you. It's a super cool source for professionally-made modular 3D assets used in games, films, and TV (including Marvel, Netflix, Epic Games, and more).
This means that if you're looking to create an animated movie in Blender, you can count on Kitbash3D.
Why Kitbash?
All that's impressive. But why use Kitbash at all? You don't even know:
-
Perfect for creating environments without modeling from scratch
-
Massive time-saver
-
High-quality, production-ready models
-
Modular structure makes large-scale scenes easy to put together
All in all, it's in your best interest to follow along this KitBash3D and Blender tutorial!
Skip the modeling, start building, save time, and stay creative — focus on storytelling, not repetitive modeling.
Envato integration
Envato can be the ultimate creative companion for your 3D projects! With a low monthly subscription, you get unlimited downloads of four major Kitbash kits. This includes premium assets like skyscrapers, streets, signs, and vehicles to make your city scene even more epic-er.
Importing KitBash assets
To use the Kitbash city assets, you're gonna have to import them first (obviously)! Move over your items to Blender, one of the best graphic design softwares, to start creating:
Step-by-step import guide
-
Download the kits:
-
From Envato’s 3D section → “Explore Now” → KitBash3D site
-
Choose KitBash city kits like Manhattan, City Streets, etc.
-
-
Unpack the files:
-
Look for
.FBXand.OBJformats
-
-
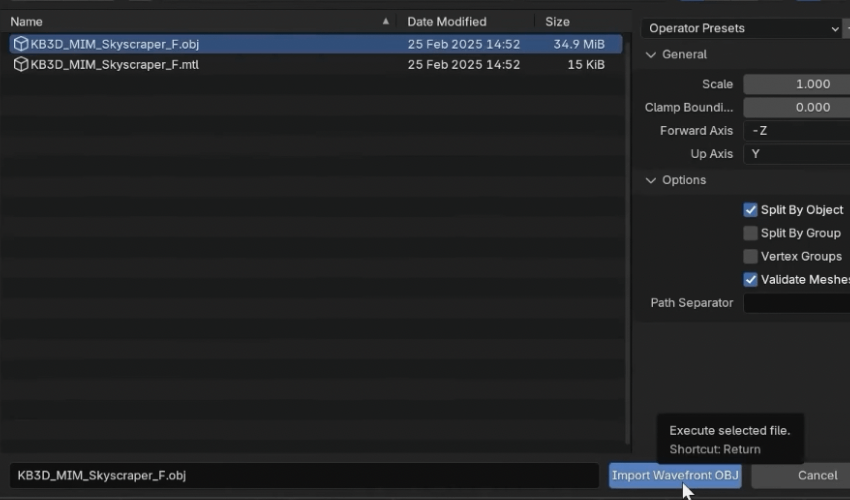
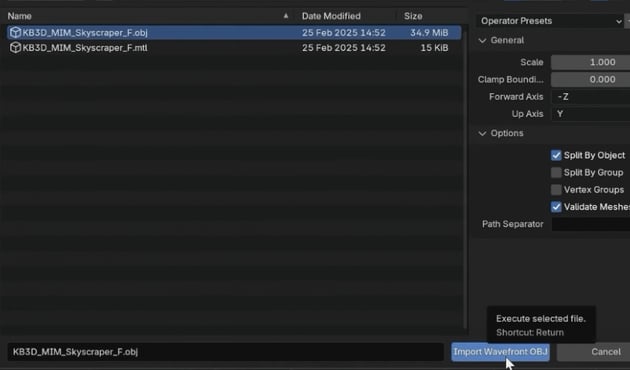
Import into Blender:
-
Go to File > Import > Choose OBJ or FBX
-
Select the model file from the KitBash folder and hit Import
-
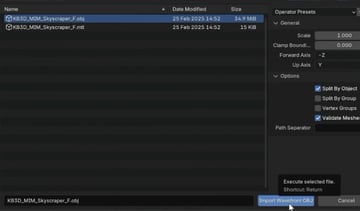
-
After import, you’ll see multiple scattered objects
-
Select all related pieces → Hit M → New Collection
-
Name it clearly (e.g. “Skyscraper F”)
-
Delete default camera and cube to clean up
-
Collections help you stay sane as the scene grows
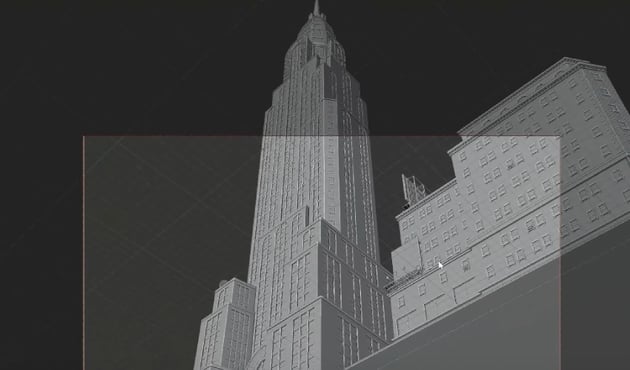
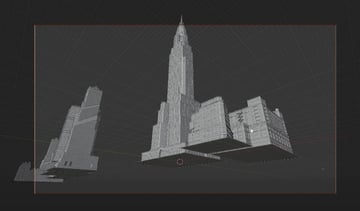
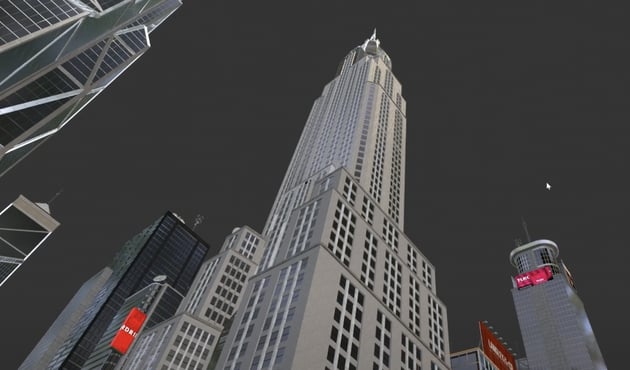
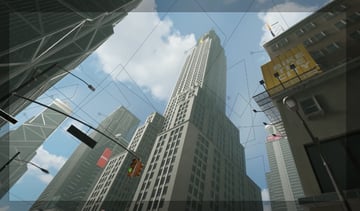
Blocking out the scene
Enough introduction, downloading, importing, and organizing. Let's get our hands dirty and start building our city in Blender!
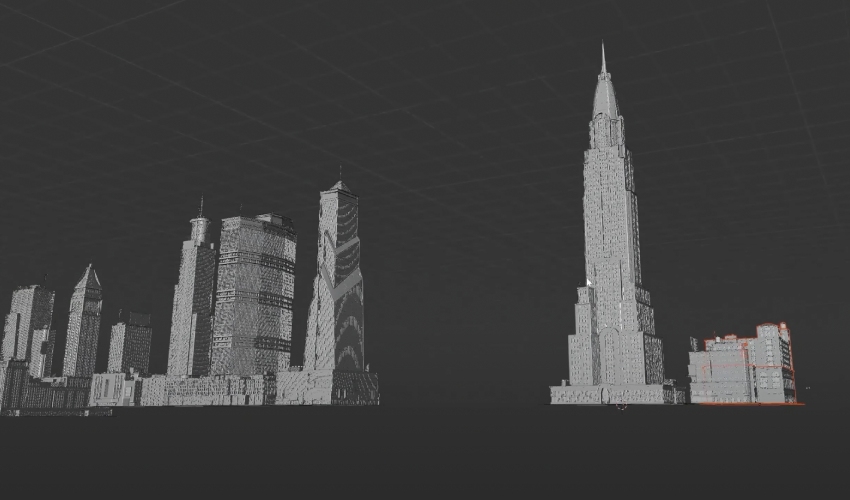

Start with a focal point
-
Choose a main building (e.g., Skyscraper C) to anchor the composition
-
Use the G key to move buildings into place
-
Use Z-axis bird's-eye view to align objects cleanly on the ground plane
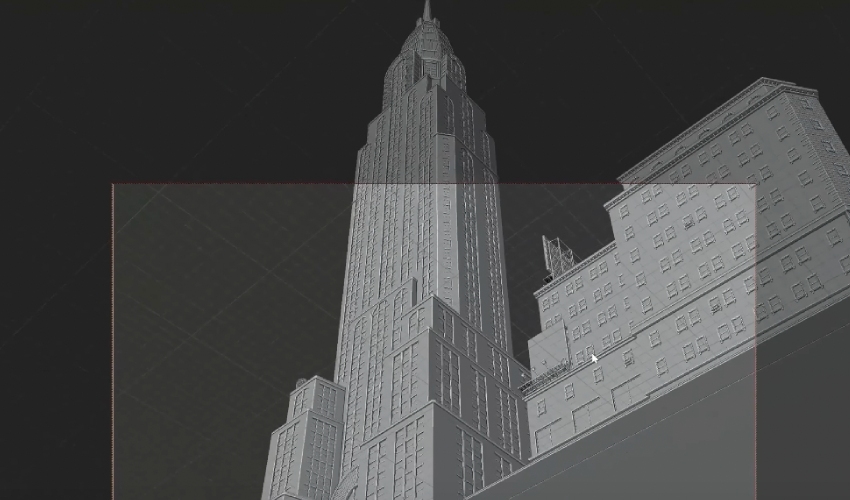
Avoid the clipping nightmare
-
Zooming out hides your scene? Fix it:
-
Press N
-
Go to View tab
-
Add a zero to “Clip End” (e.g., from 1000 to 10000)
-
No more disappearing buildings
-
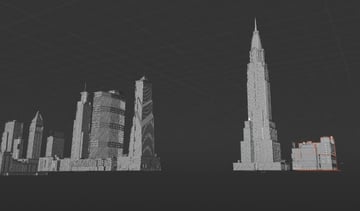
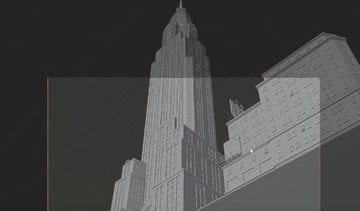
Scene tips
-
Leave space for roads and alleys to break up building blocks
-
Use overlapping structures to create depth
-
Keep negative space for the sky—it’ll help the final image breathe
Camera placement
You need every point of view to get this project done! It all comes down to the camera placement, so check out how to do it just right for this 3D Blender city.
Drop in a camera
-
Press Shift + A → Add Camera
-
Move it out of any imported folders to keep visibility clear
Get in position
-
Switch to Z-axis (top view) and drag the camera to face the main structure
-
Use Camera View Toggle to preview the shot as you build
Camera settings
The camera is placed, but is it set? Not yet. Here's how to get the exact look that will make your 3D Blender city more interesting and epic:
Dial in the cinematic feel
-
Select the camera and go to Object Data Properties
-
Change Focal Length to 20mm
-
Wider angle
-
Exaggerates scale
-
Makes buildings look towering and epic
-
Set the view like a pro
-
Press N → Tick Camera to View
-
Move around the scene as if you're the camera
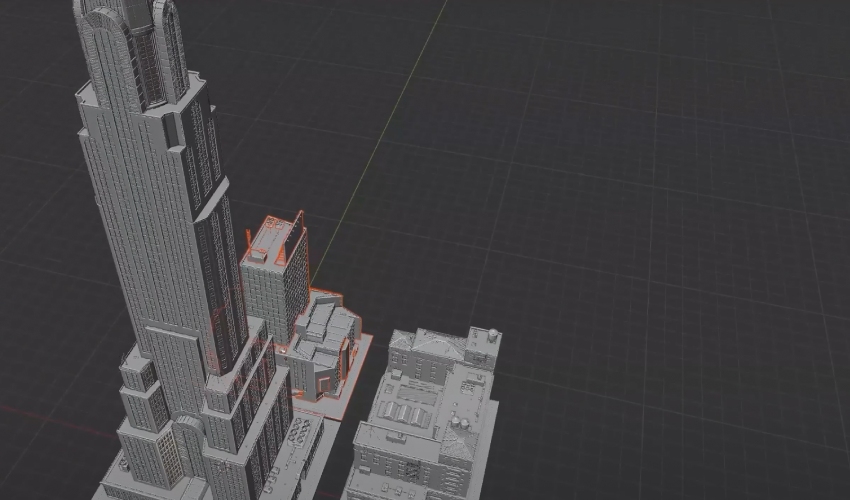
KitBash workflow
We're going full throttle now. To get things done, we need to continue working on our city: adding, removing, moving, and tweaking the scene.

Dual viewports for the win
-
Drag the top-right corner of the viewport to split the screen
-
One panel stays in Camera View, the other for editing
-
No more jumping back and forth—build and preview simultaneously
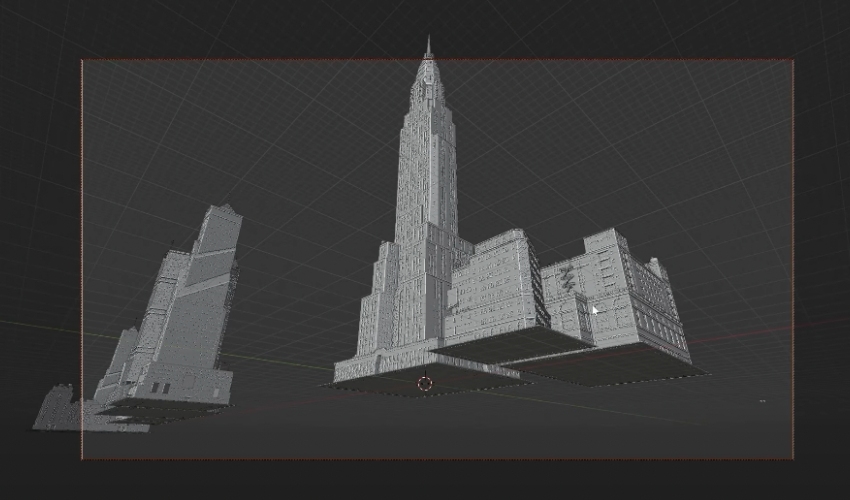
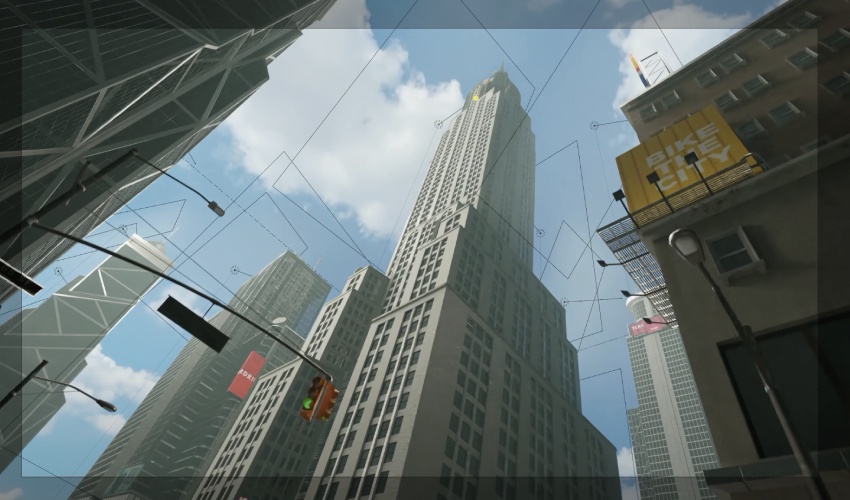
Building composition
-
Arrange buildings to create:
-
Leading lines
-
Diagonal depth
-
Layered silhouettes
-
-
Place taller structures behind or beside focal buildings for added interest
Add life & scale
-
Bring in details like:
-
Street lamps
-
Traffic lights
-
-
Even small elements like these boost realism and make scale feel grounded
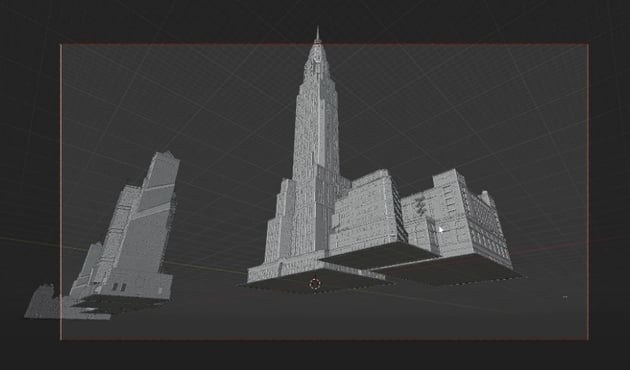
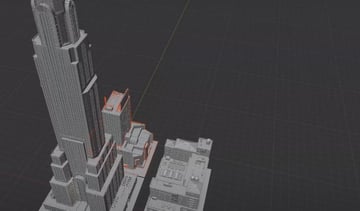
Final tweaks
-
Nudge building placements to shape the skyline
-
Avoid blocking the main focal points
-
Use traffic objects to enhance foreground and midground areas
Realistic textures
Let's continue with this Blender tutorial! We have to work on making those buildings pop with reflective, realistic window materials.

Work one skyscraper at a time
-
Hide all other assets to keep things running smoothly.
-
Focus on a single building (e.g., “Skyscraper C”).
Set up the material
-
Go to Material Properties.
-
Switch to Material Preview mode.
Locate window materials
-
Find materials associated with glass or reflection (e.g.,
Glass Cyan). -
Select it and apply it to the window geometry.
Dial in the settings
-
Roughness: Set between 0.0–0.2 for full reflectivity.
-
IOR (Index of Refraction): Set to 1.5 for realistic glass reflections.
Rinse and repeat!
-
Apply this method to every building with windows.
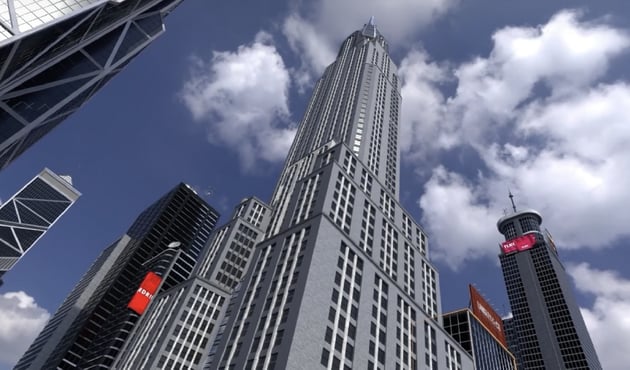
Lighting (HDRI)
It's time to get romantic and set the mood with photoreal lighting and an HDRI in Blender.


Switch to Cycles Render Engine
-
In Render Properties:
-
Set Render Engine to Cycles.
-
Change Device to GPU Compute for faster previews (if you’ve got the hardware).
-
Enable Noise Threshold.
-
Set:
-
Max Viewport Samples: 128
-
Render Samples: 256
-
-
Grab a free HDRI
-
Get one from Polyhaven – look for skies or city-based environments.
Add HDRI to scene
-
Go to the Shading workspace.
-
Switch to Rendered Preview mode.
-
Use Shift + A → Image Texture, load the HDRI image.
-
Connect the HDRI to the World Shader.
Add control nodes
-
Add Mapping and Texture Coordinate nodes:
-
Connect Generated → Vector
-
Connect Vector → Vector (Mapping Node)
-
Adjust the HDRI rotation
-
Use the Z Rotation in the Mapping node to change the direction of sunlight.
-
In the example, setting it to 88.3 created ideal sunlight hitting from the top left.
Lighting (fill lights)
We need some lighting details up in this city. The goal here is to enhance the HDRI with targeted lighting that sculpts the scene.

Add an area light
-
Shift + A → Light → Area Light
-
Move it into position with G (Grab) and scale it with S.
Dial in the light settings
-
Set Power between 6,000–10,000 depending on scene needs.
-
Rotate and position it to hit key parts of your buildings.
Warm it up
-
Change the light color slightly to a warm hue for realism.
Light each building
-
Duplicate lights for each skyscraper.
-
Position them so the tops of buildings catch the strongest light (as if from the sun).
Group the lights
-
Group your lights together for easier toggling.
-
Turn them off/on to compare before and after.
Lighting (volumetric fog)
Feeling like adding some atmospheric depth and haze with volumetrics? Let's go.


Add the fog volume
-
Shift + A → Mesh → Cube
-
Rename it
Fog. -
Scale it to cover the entire city.
Set up the fog material
-
In Shader Editor:
-
Create a new material named
Fog. -
Replace Principled BSDF with Principled Volume.
-
Connect Volume → Volume input of the Material Output.
-
Tweak the fog properties
-
Density: Set to 0.002 for subtle haze.
-
Anisotropy: Between 0.3 and 0.5 for directional light scattering.
-
Emission Strength: Try 0.001 or 0.0001 for glow/smog.
-
Adjust Color for a warmer or cooler tone.
Preview in Rendered mode
-
Switch back to Rendered Preview to see the effect.
-
Add buildings back in to view how the haze affects depth perception.
Final touches (Envato textures)
We're basically done with this KitBash3D and Blender tutorial. Next up, we're going to add the secret sauce—lens flares and overlays for cinematic polish.

Get PNG overlays
-
Download transparent PNGs like lens flares or dust from Envato.
Add a plane for the overlay
-
Shift + A → Mesh → Plane
-
Move it to your camera’s position:
-
Select the plane, then the camera.
-
Ctrl + C → Copy Location
-
Ctrl + C → Copy Rotation
-
Move slightly forward with G + Z
-
Set up the overlay material
-
In Shading workspace:
-
Create a new material (e.g.,
Flares) -
Add:
-
Image Texture (your PNG)
-
Emission Shader
-
Transparent BSDF
-
Add Shader
-
-
-
Hook up:
-
Image Texture → Emission Color
-
Emission + Transparent → Add Shader → Surface
-
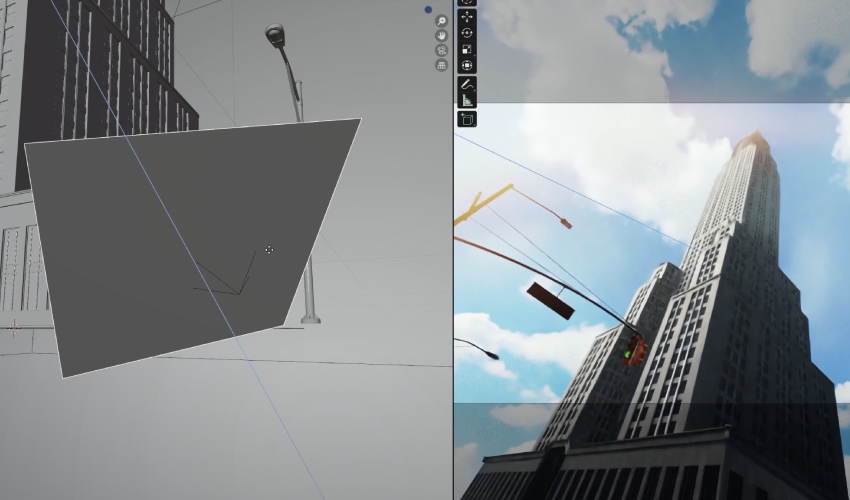
Position the flare
-
Switch to Double Viewport:
-
Left: scene layout
-
Right: camera view
-
-
Use G + X/Y/Z to reposition and scale the plane.
Post-processing
Time to start post-processing mode. Here, we're gonna color grade like a pro to get those cinematic vibes right in Blender.

Color Management settings
-
Head to Render Properties → Color Management
-
Change:
-
View:
Filmic -
Look:
High ContrastorVery High Contrast
-
Adjust Curves
-
Enable Use Curves
-
Adjust:
-
Dark tones: Slight lift for shadow detail
-
Light tones: Boost for punchy highlights
-
-
For color grading:
-
Increase the blue channel highlights for cooler tones
-
Or decrease it for a warm sunset look
-
Play with Exposure and Gamma
-
Minor tweaks here go a long way in refining your final output.
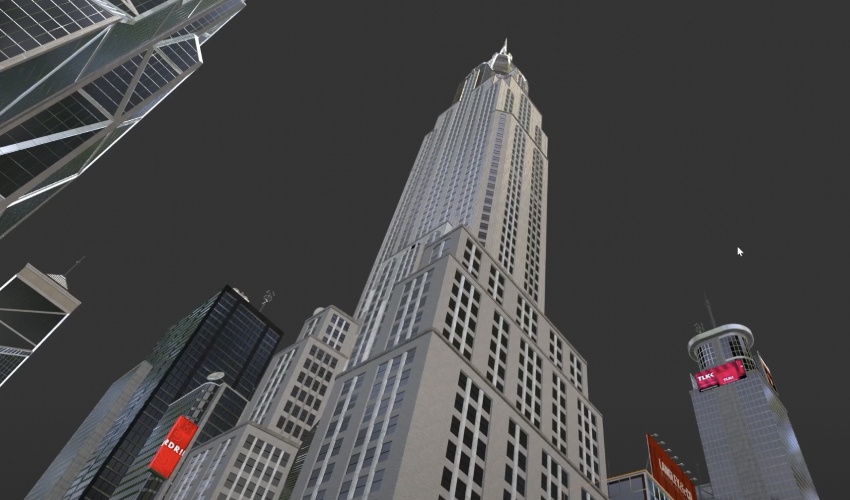
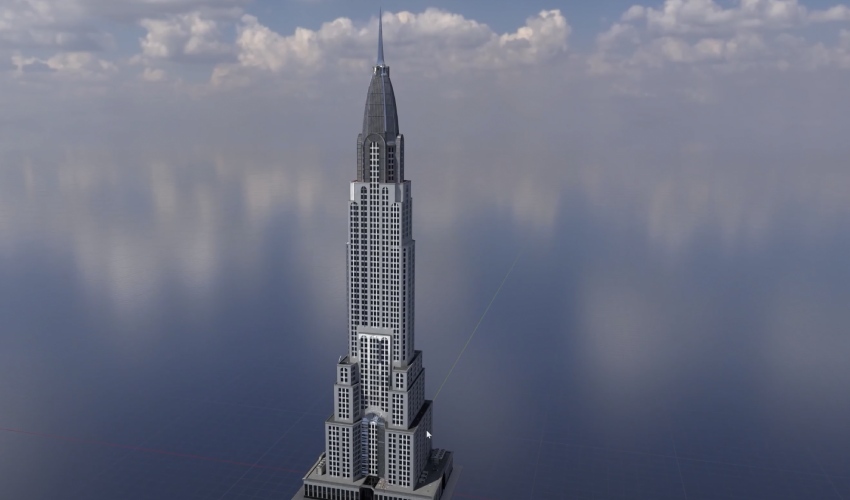
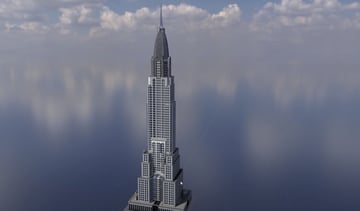
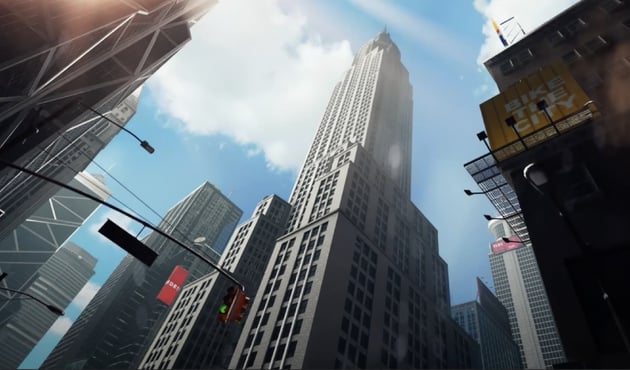
Rendering
Let's end this thing! We're gonna lock in the scene with a clean, high-quality 3D render.


Final checks
-
Verify:
-
Render Engine: Cycles
-
Resolution: Set your desired output size
-
Sampling: Reasonable values for balance between speed and quality
-
Ready to go?
-
Double-check all lights, overlays, materials, and fog.
-
Hit F12 and let the render engine work its magic.
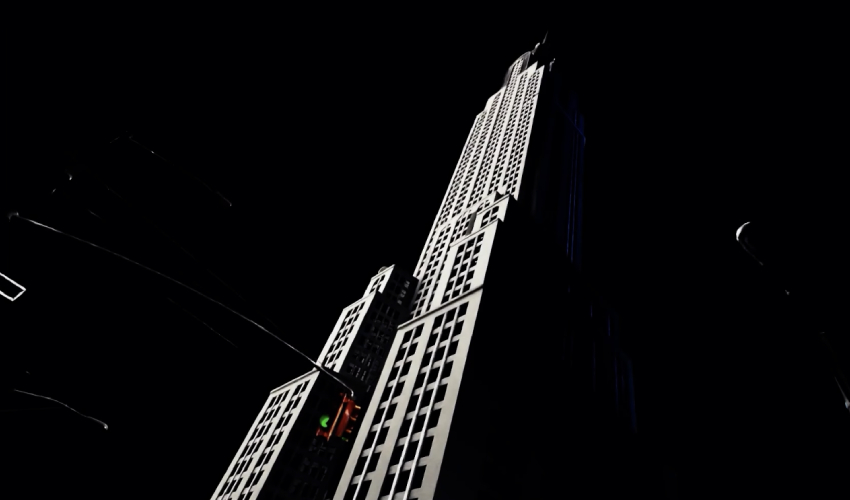
Ta-dah! The final output of this 3D city Blender tutorial should now be dripping with that high-end, cinematic polish!
Make Envato your creative partner for your 3D projects!
You're a master when it comes to building a 3D Blender city. But if you're looking to fully explore your ability to create 3D art, pair up with Envato. It recently launched a massive 3D category filled with premium assets (including KitBash 3D items). For a low monthly fee, you get unlimited access to them and so much more!
Want more? Envato has state-of-the-art AI tools to make your creation process even smoother. For example, you can use ImageGen as your generative AI in 3D to assist you in letting your imagination fly. The best part? All of Envato's AI features are included with your subscription!


